Welcome to my blog. I live, knit, crochet, spin and craft near the Northumbrian Coast (but not too near – the waves won't be splashing my yarn!).There's a story in every stitch, every grain of sand, every blade of grass. I thought I'd blog about it…
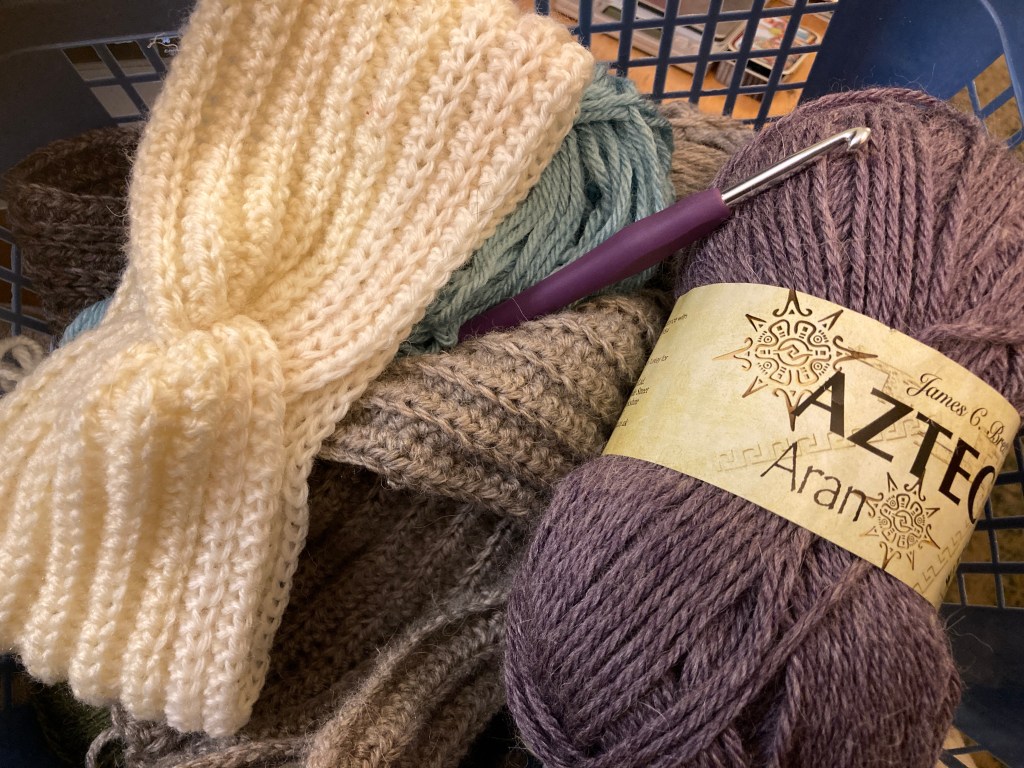
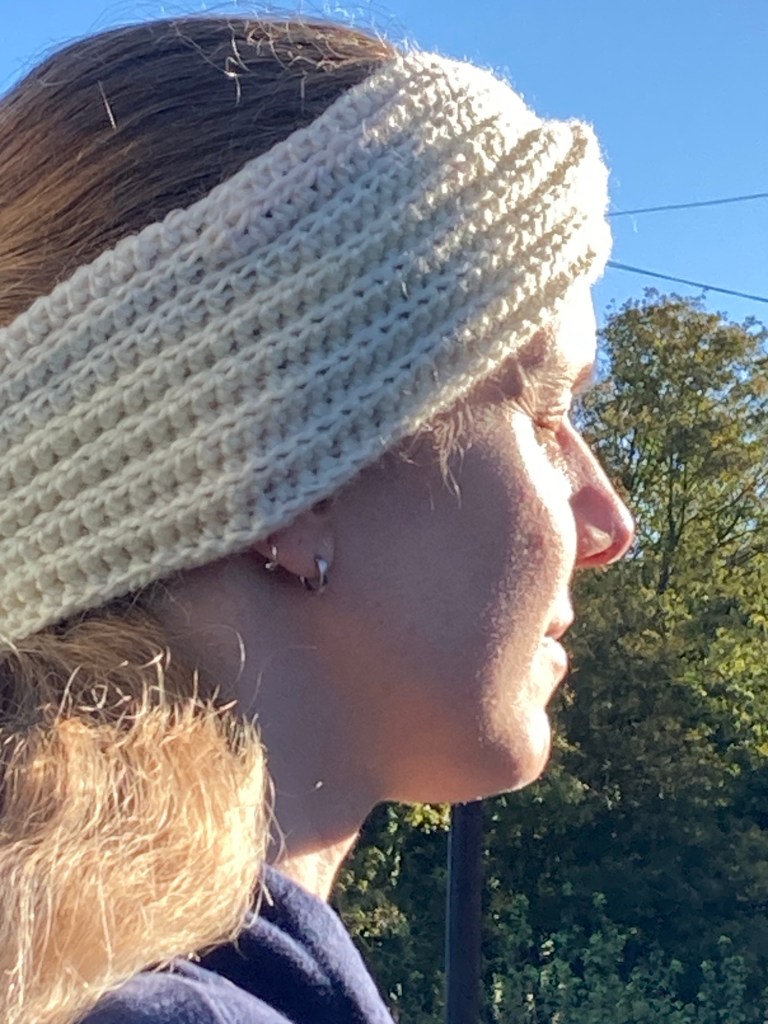
I’m currently making final preparations for my next improvers workshop at Amble Pin Cushion this coming Thursday 30th October This time we are making cosy textured headbands.
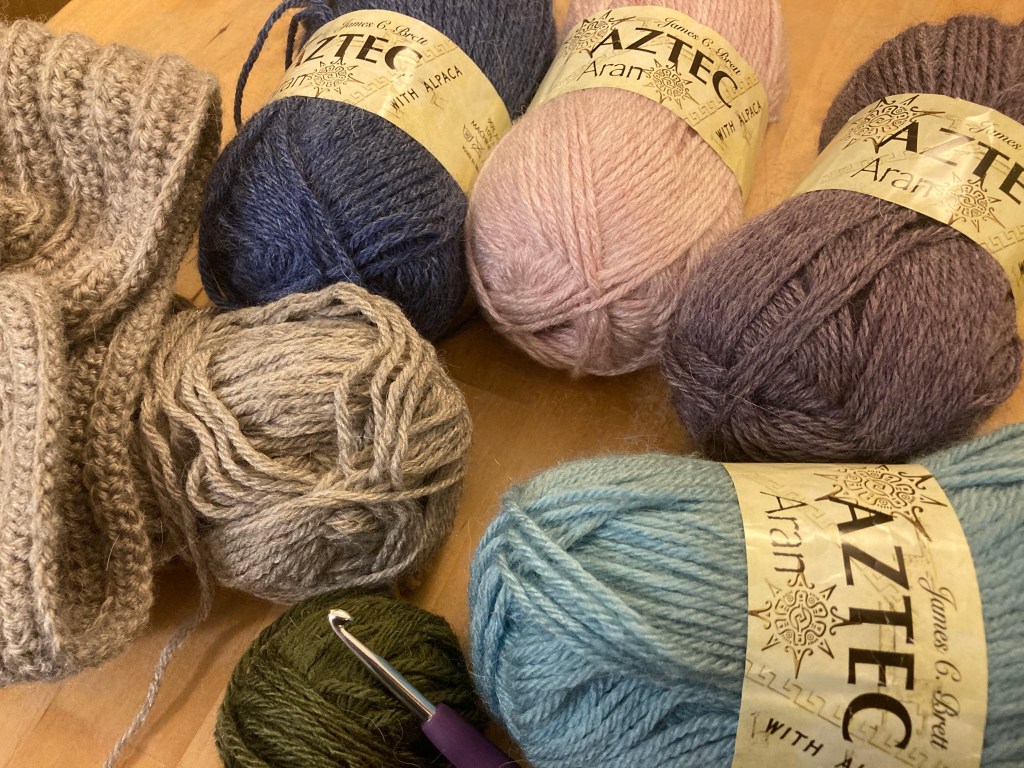
Participants will receive a complimentary 100g ball of James C Brett Aztec yarn in the colour of their choice. This includes some alpaca in the fibre blend that gives it a gorgeous soft feel. This Aran weight yarn is thicker than the double knitting I use in my beginners classes, and requires a bigger hook – 5mm. Here’s a small selection of some of the colours available.
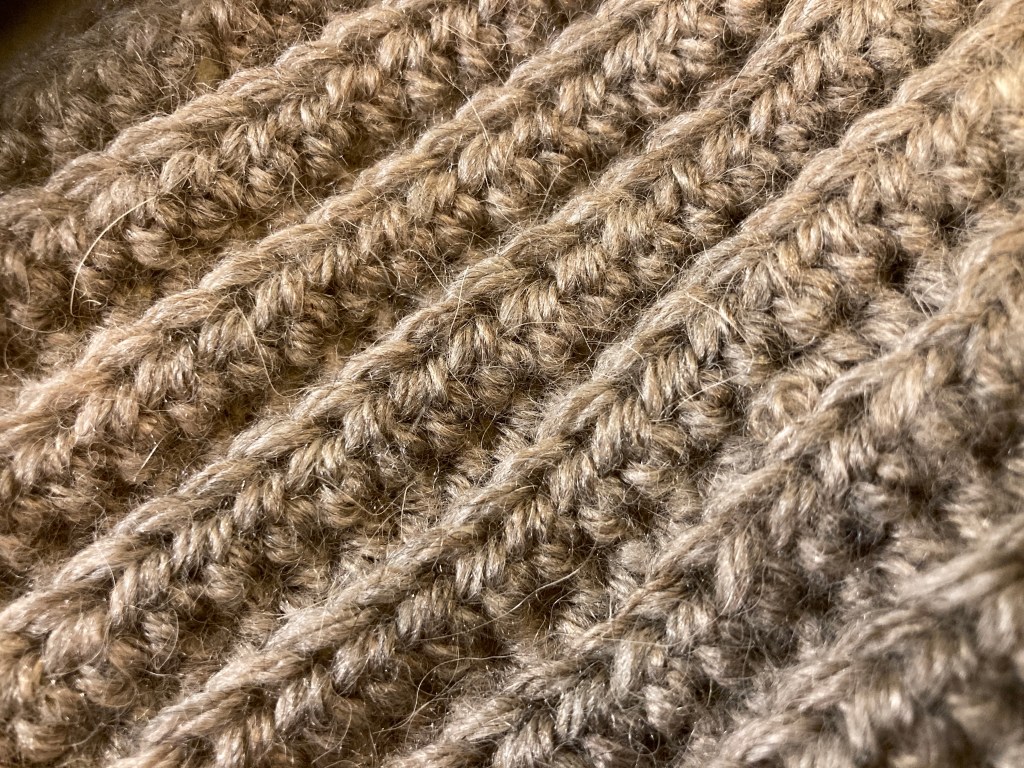
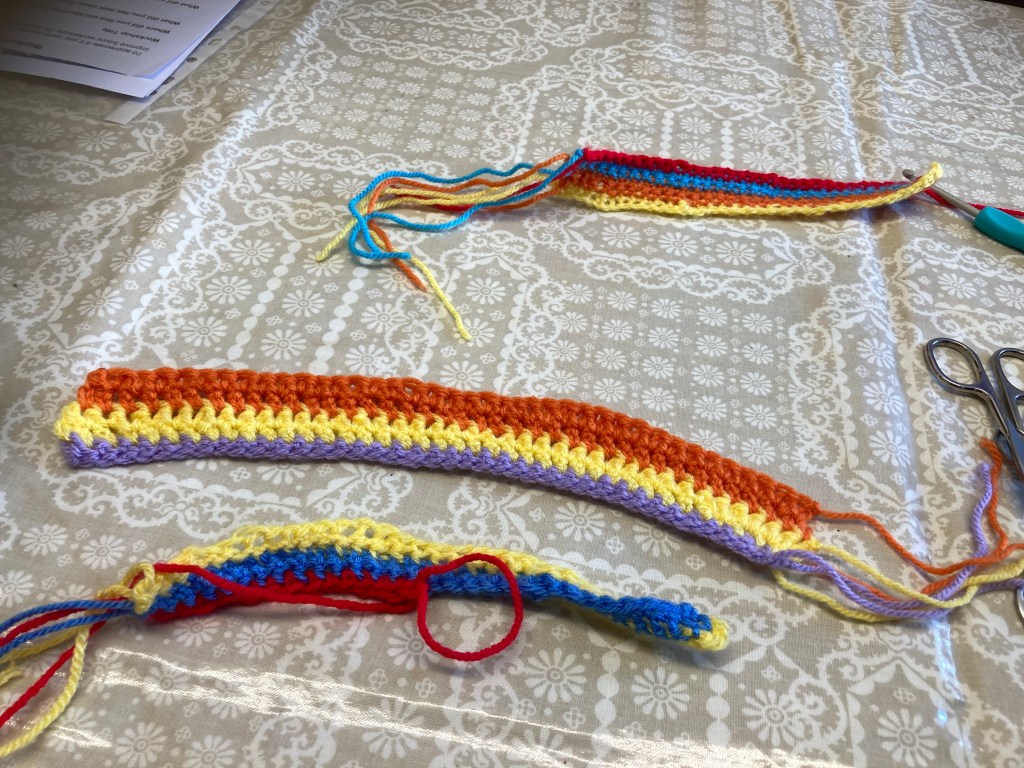
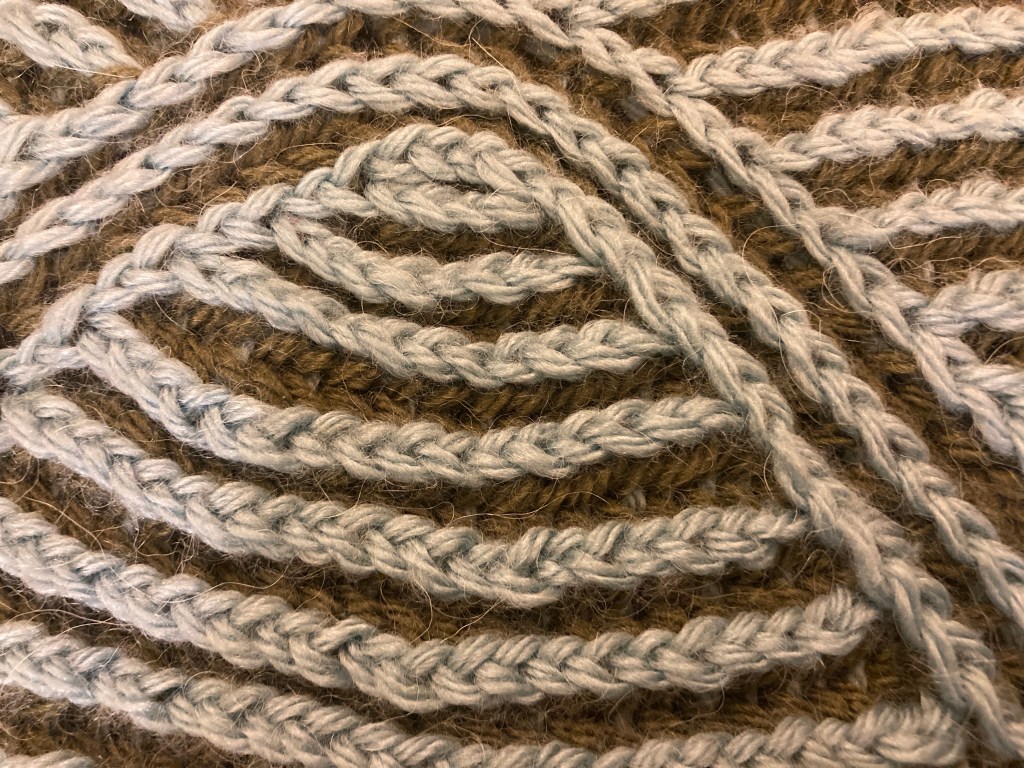
We’ll be perfecting our half treble stitches (UK terminology) and learning how the stitch placement creates the ridged effect, which resembles knitting.
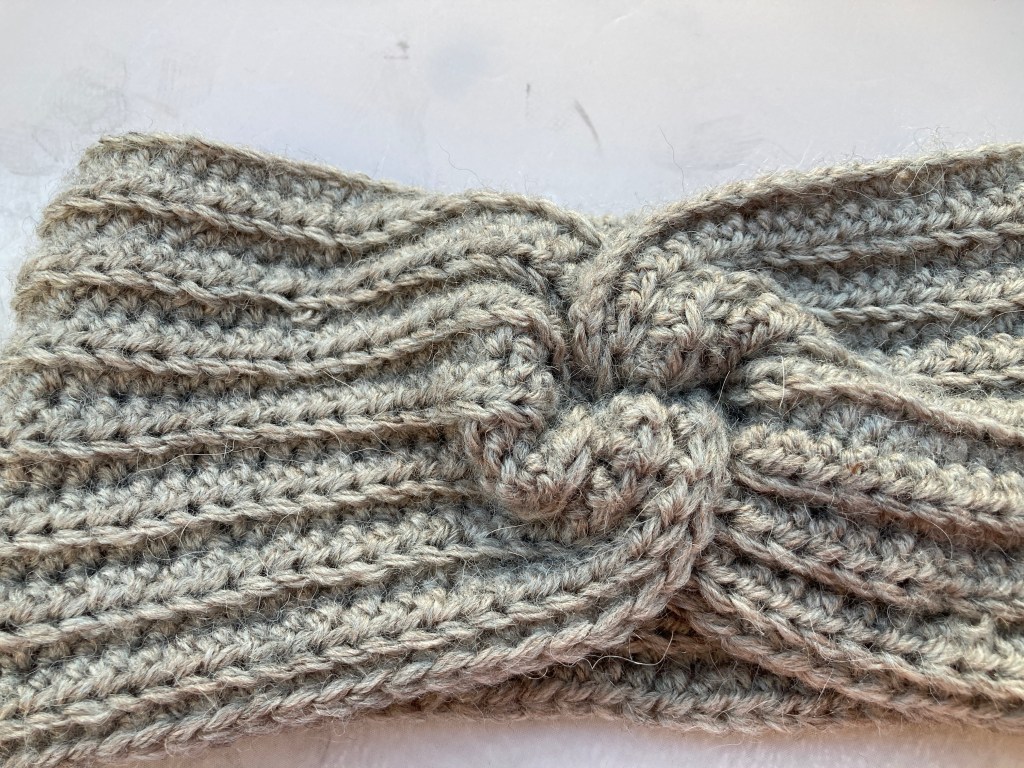
Having mastered the basic stitches, we’ll then go on to make the headband. I’ll be explaining how to adapt the pattern for different child and adult sizes and how to make the central twist.
As usual I’ll provide full illustrated instructions to complete the headband at home, including left-handed versions of how-to stitch guides for those who need them. There’s still places left – full details can be found here.
It’s the first brand new workshop I’ve developed in a while and it’s nice to do something new , especially something seasonal…..perfect as colder weather approaches. There’s enough stretch for a comfortable fit, whether you wear your hair up or down and the band is wide enough to keep your ears warm when the wind is biting
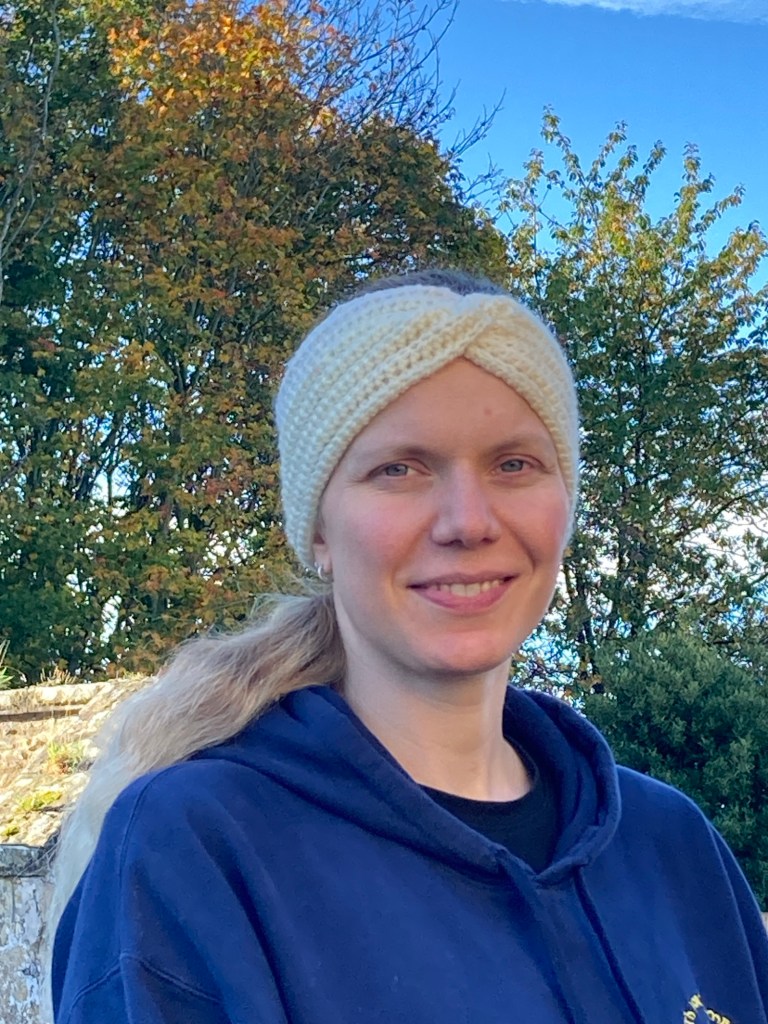
My friend Edi kindly agreed to model it so we did a little photoshoot – you can see how great it looks and what a perfect fit it is.
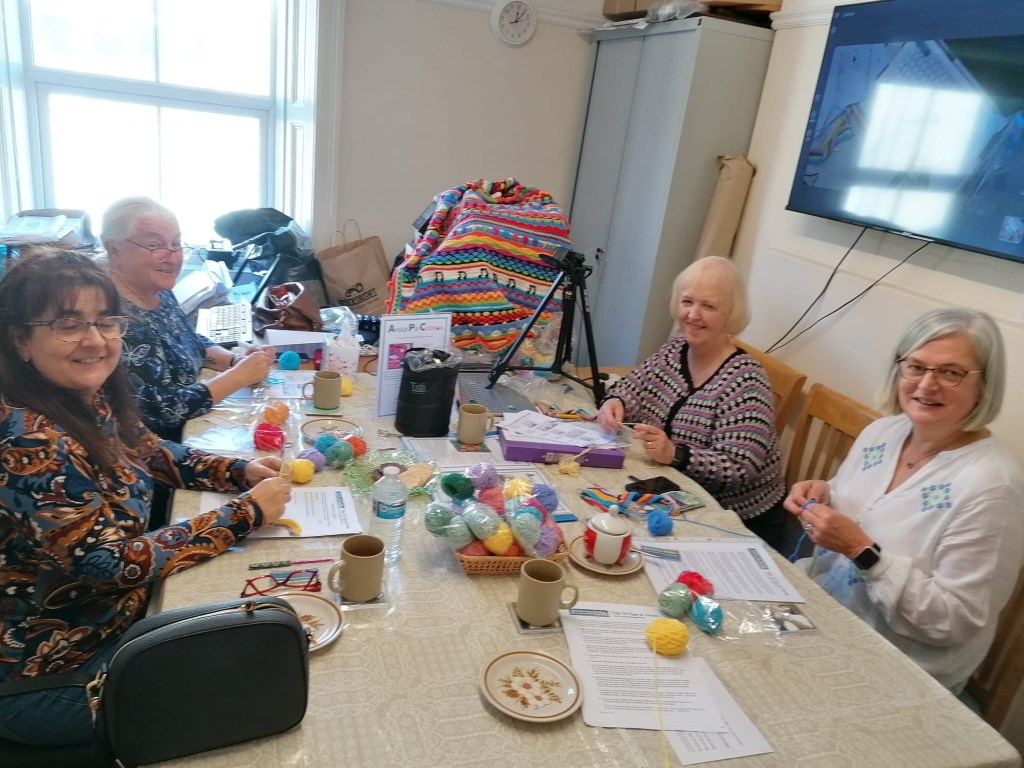
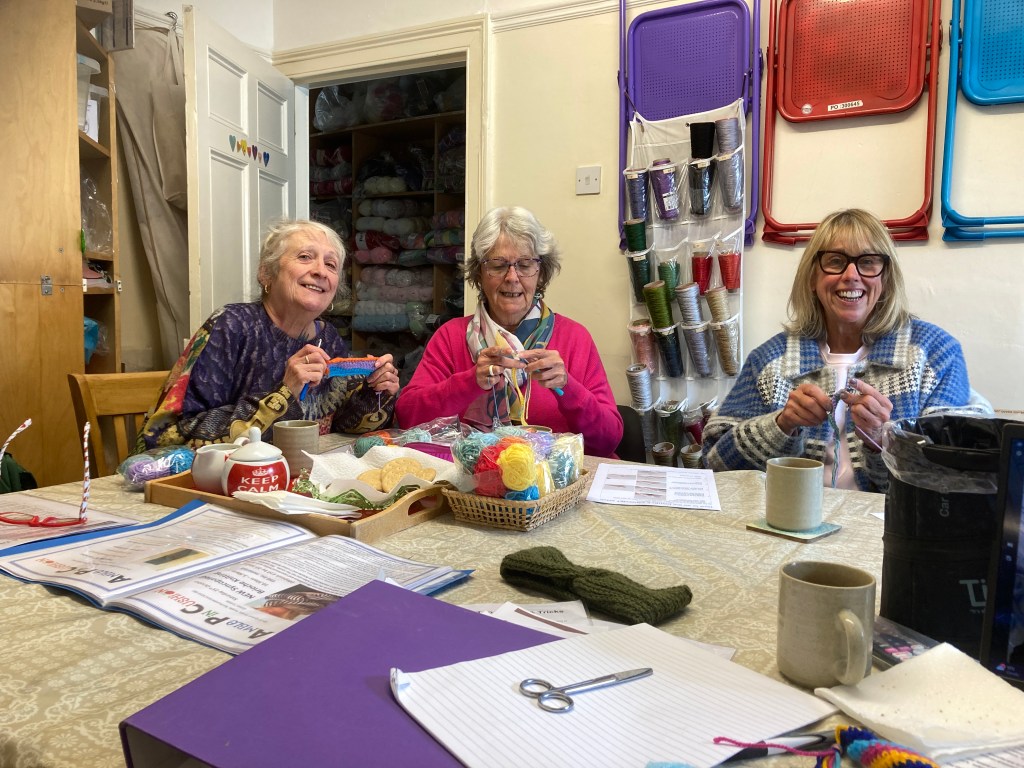
I had the great pleasure of teaching six more beginners the crochet basics recently at Amble Pin Cushion
In my “Crochet For Absolute Beginners” Workshop we start by going through the principles of how to hold your hook and yarn to maintain tension and maximise control of the hook. I feel it’s important not to be too prescriptive about this. After all, everyone’s hands are different. I myself don’t have full movement in my wrists. I’ve taught people with arthritic conditions and a lady who had very little movement in her left forefinger. In every case I’ve tried to find a hold that works comfortably and effectively to suit that person. I’ve also developed some illustrated “how to” sheets in both left-handed and right-handed versions. Crochet should be accessible for everyone!
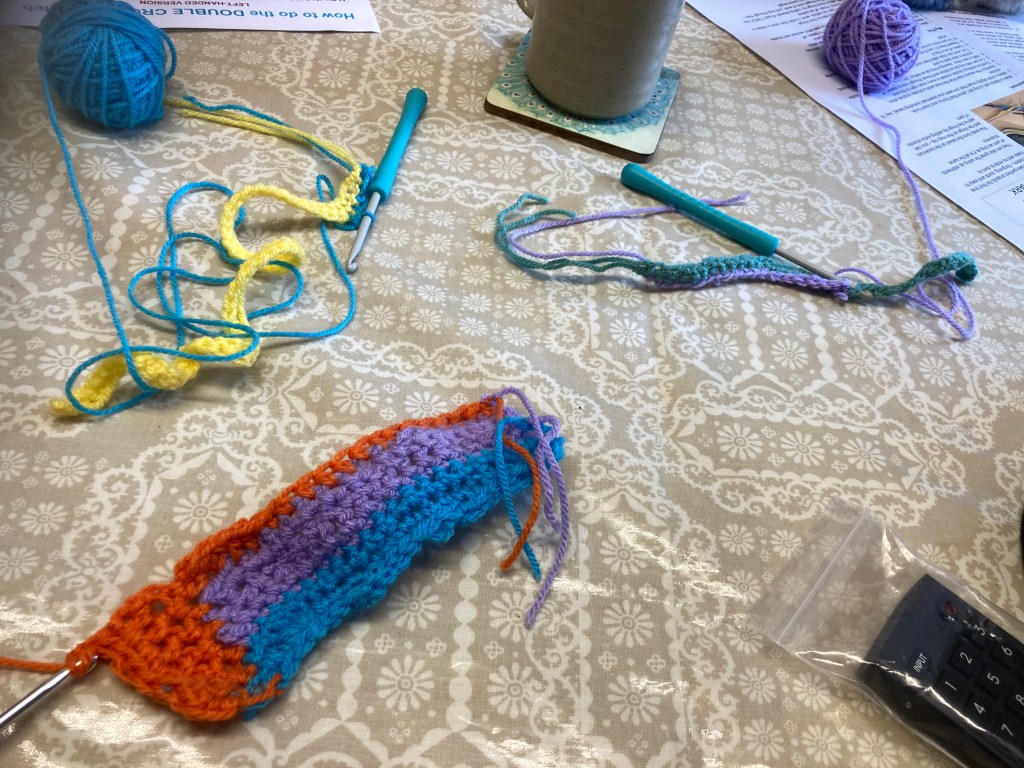
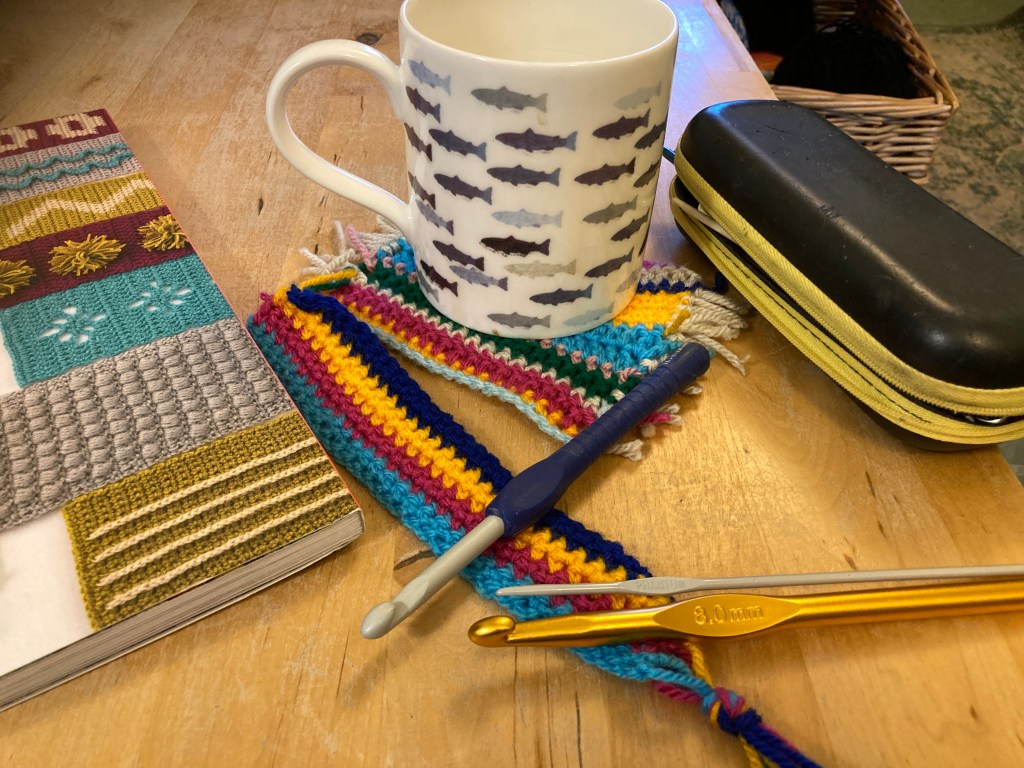
It’s always nice to come away from a workshop with something you’ve made, so my beginners worked on some colourful striped bookmarks (I also gave them full instructions to take away in case they didn’t finish or wanted to make more at home). I think they absolutely nailed it!
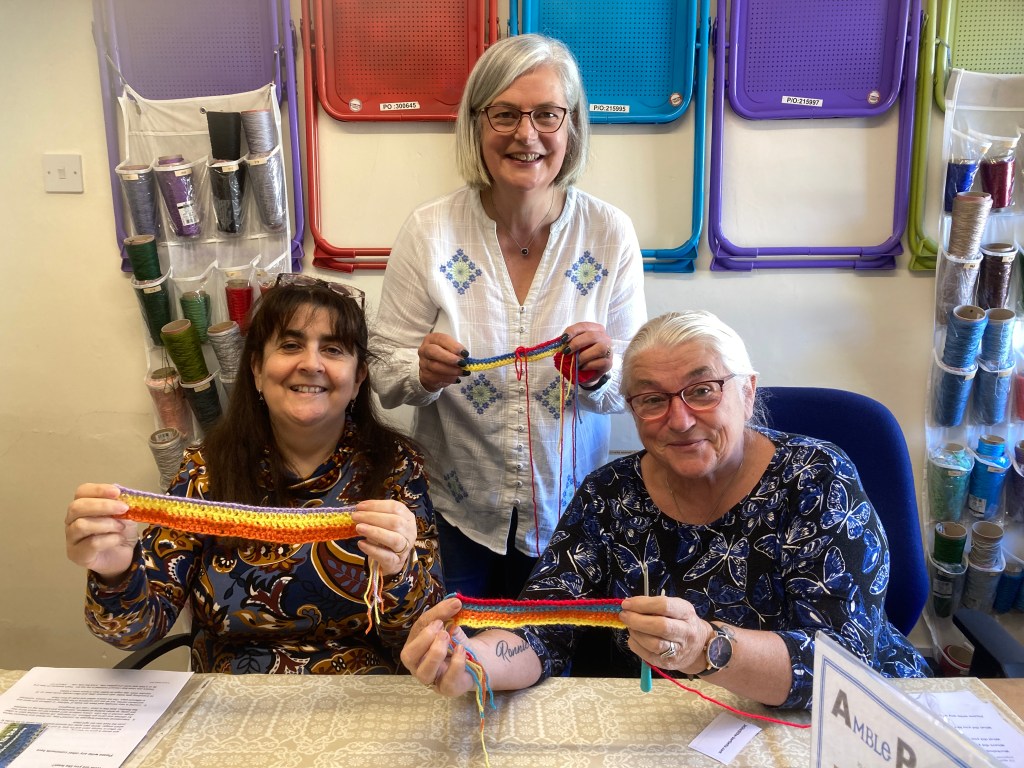
All three made great progress and were crocheting like pros by the end of the session.
I think they enjoyed themselves. They certainly look pleased with their work, and rightly so!
Look out for news on my next workshop….coming very soon!
I had the great pleasure of teaching six more beginners the crochet basics recently at Amble Pin Cushion
In my “Crochet For Absolute Beginners” Workshop we start by going through the principles of how to hold your hook and yarn to maintain tension and maximise control of the hook. I feel it’s important not to be too prescriptive about this. After all, everyone’s hands are different. I myself don’t have full movement in my wrists. I’ve taught people with arthritic conditions and a lady who had very little movement in her left forefinger. In every case I’ve tried to find a hold that works comfortably and effectively to suit that person. I’ve also developed some illustrated “how to” sheets in both left-handed and right-handed versions. Crochet should be accessible for everyone!
It’s always nice to come away from a workshop with something you’ve made, so my beginners worked on some colourful striped bookmarks (I also gave them full instructions to take away in case they didn’t finish or wanted to make more at home). I think they absolutely nailed it!
All three made great progress and were crocheting like pros by the end of the session.
I think they enjoyed themselves. They certainly look pleased with their work, and rightly so!
I’m currently getting ready for my next improvers workshop at the end of this month. This time we are making cosy textured headbands.
Participants will receive a 100g ball of James C Brett Aztec yarn in the colour of their choice.. Aztec includes some alpaca in the fibre blend that gives it a gorgeous soft feel. It’s an Aran weight yarn so thicker than the double knitting I use in my beginners classes, and requires a bigger hook – 5mm).
We’ll be perfecting our half treble stitches (UK terminology) and learning how the stitch placement creates the ridged effect, which resembles knitting.
Having mastered the basic stitches, we’ll then go on to make the headband. I’ll be explaining how to adapt the pattern for different child and adult sizes and how to make the central twist.
As usual I’ll provide full illustrated instructions to complete the headband at home, including left-handed versions of how-to stitch guides for those who need them. There’s still places left – full details can be found here.
It’s the first brand new workshop I’ve developed in a while and it’s nice to do something new , especially something seasonal…..perfect as colder weather approaches.
My friend Edi kindly agreed to model it for this photo so you can see how good it looks and what a nice fit it is.
I’ve been continuing to teach crochet this year at Amble Pin Cushion, developing new courses and honing my skills as a tutor.
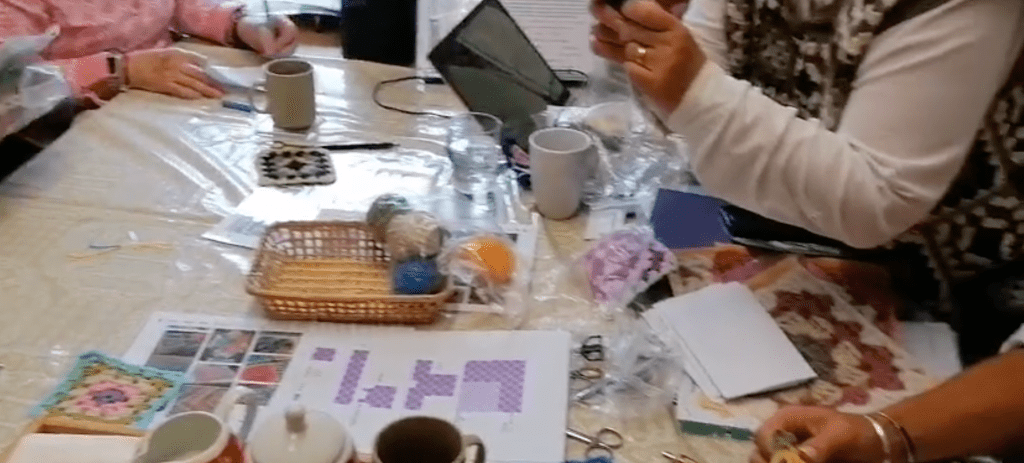
It was workshop day last Thursday, teaching 10 participants over 2 sessions. I teach a maximum of 6 people per session. It’s about the right number for the room I use but I also want to ensure that everyone gets the tuition they need,, and avoid spreading myself too thinly. I limit the sessions to 2 hours at a time.. Teaching can be quite intensive and I don’t want to run out of steam!
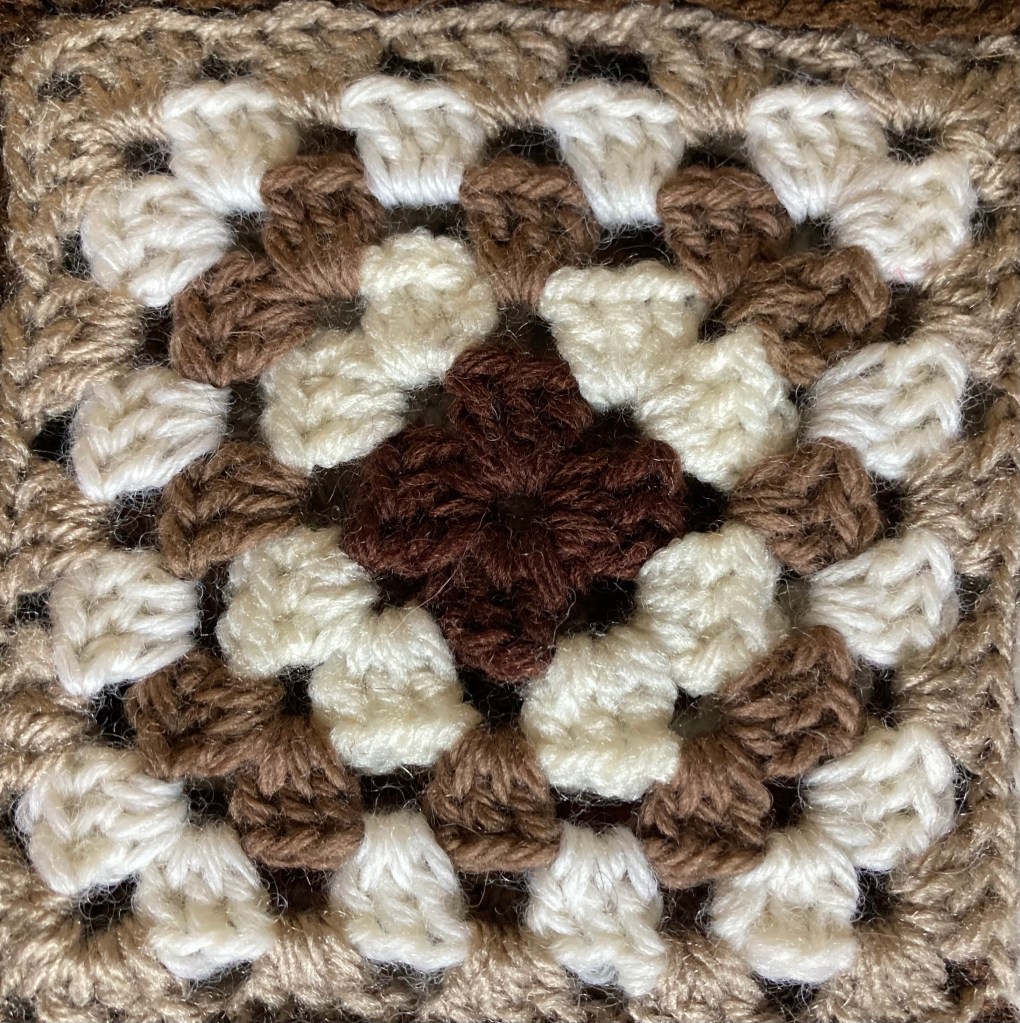
We were making the classic granny square, so called (I think) because our grandmothers and those before them were the queens of recycling and ‘make-do and mend”. Nothing was wasted out of a need to be frugal. These crocheted squares were the perfect way to use up scraps of yarn left over from other projects or unravelled old and unwearable jumpers. The squares could then be joined up to make colourful blankets and other useful items. Granny square garments are now gaining popularity as much for their looks as their sustainability.
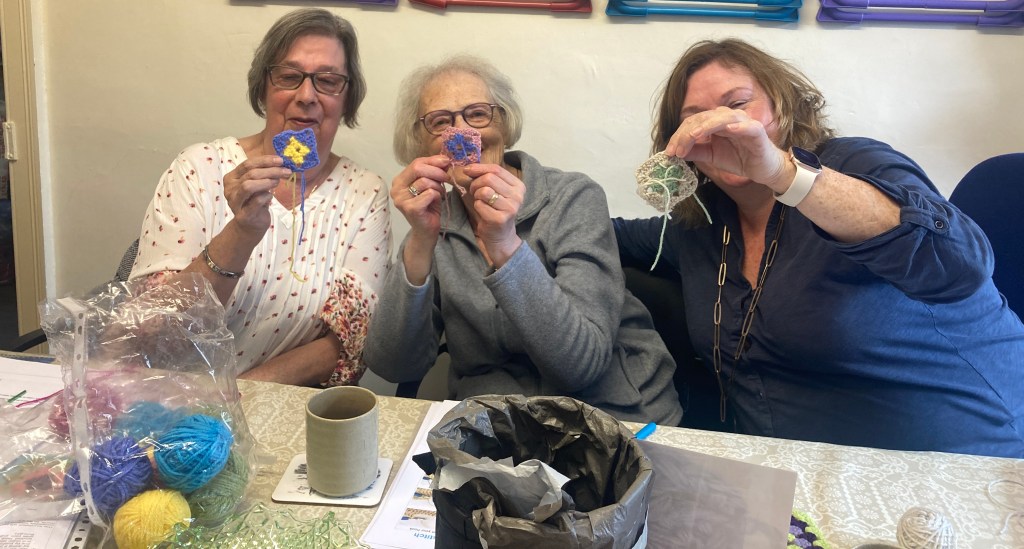
I did enjoy Thursday – both groups were an absolute pleasure to meet and to teach…. and from far and wide too, with one crocheter from Australia (now living locally) and another who has local connections but was visiting from the USA , where she now lives.
There was a range of abilities too, from complete beginners, those needing a bit of a “refresher course” and one experienced crocheter who wanted do her homework to prepare for an imminent big Granny Square project.
I was really proud of the progress they all made in just 2 hours. They went away with full instructions to complete their granny square and make more, how to join them together and some helpful tips and tricks, along with a yarn pack to practice at home. I wonder if they’ll get hooked on crochet!
One of my new workshops this year is “Crochet for Absolute Beginners” This came about following a conversation with another crochet tutor. We agreed that describing a workshop as “suitable for beginners” covers a pretty broad range of abilities, from true beginners with zero experience to those that are pretty good at the craft, but are either not very confident or they haven’t picked up a crochet hook in some time. I began crocheting when I was about 8 years old, taught by my grandmother and when you’ve been doing it that long you take some of the skills involved for granted. It’s all too easy to assume that others will have some basic knowledge.
That’s why this workshop was developed: for people who have never picked up a crochet hook – nothing is assumed! It really is back to basics and though participants may get as far as making a bookmark, there is no pressure to complete anything in the session.
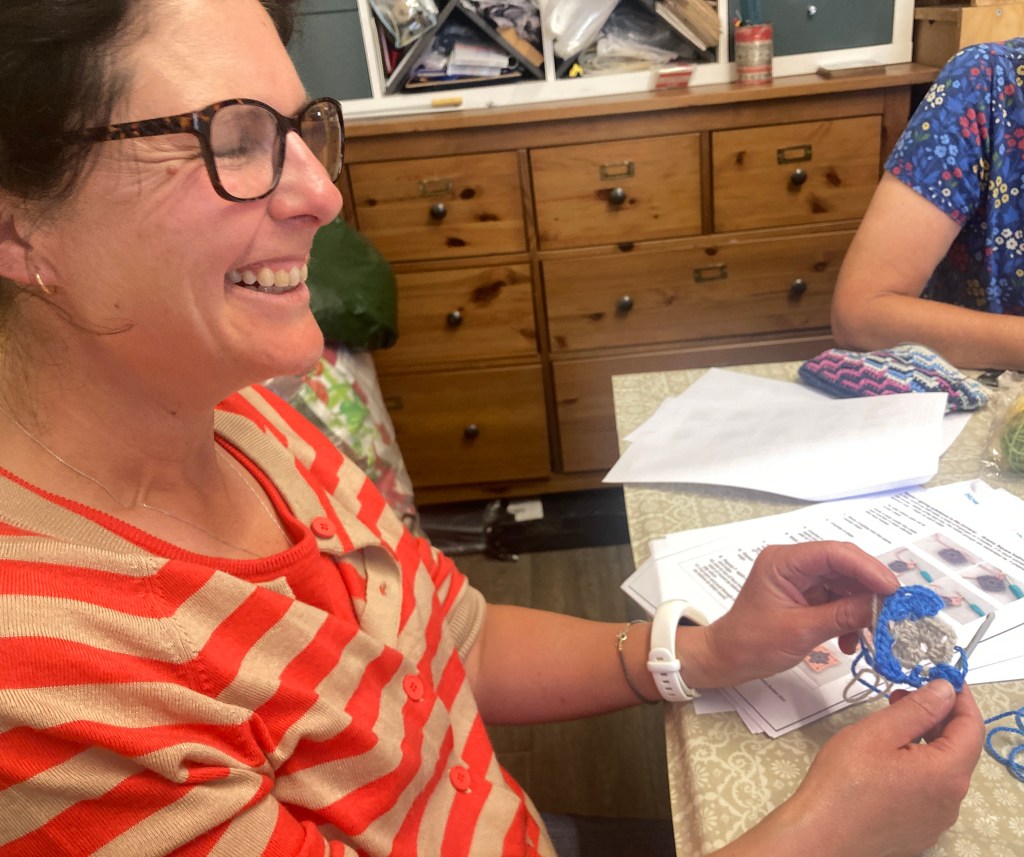
As well as some basic stitches we cover the principles of holding the wool and hook, to maintain tension and control the hook efficiently. I feel very strongly that there is no set way of holding your work, wool and hook as long as you can stick to those basic principles. After all, everyone’s hands are different: left or right- handed, large or small, with long or short fingers, maybe some joint stiffness or other impairment. I try to work with my students to find the best hold for them. I’ve also recently begun to develop some new hand outs for left-handed participants – I tried them out for the first time last week in the Granny Square workshops and they seemed to work well.
I have run the Absolute Beginners workshop a few times now and it’s going really well, but there’s always room for improvement. I ask everyone to complete a very short anonymous evaluation at the end of each session. It’s good to get feedback so I can improve what I do and get ideas for future workshops. A left-handed participant on one of the first Absolute Beginners sessions inspired me to develop the LH specific handouts I used for last week’s Granny Squares.
I think it’s important to have fun too. Enjoyment is important for its own sake, but it turns out that it also helps people relax and stops their crochet becoming too tight!
One particularly enjoyable session included a husband and wife. He had bought her a crochet kit as a gift and he suggested that it would help her learn to use if she did a workshop and she agreed, but only on the condition that he came along to. They both did well, but he was exceptional. producing some really beautiful skilled crochet work Then, he confessed. After they booked on, he had been watching You Tube tutorial videos on the quiet and practicing in secret! No wonder he’d got so good!
Do you have any funny crochet-related stories to share. I’d love to hear them
STOP PRESS
I’ve just added an extra Absolute Beginners Session to run on Saturday 4th October from 10.30 to 12.30pm. (The one on Thursday 25th is now full, but please check for cancellation).
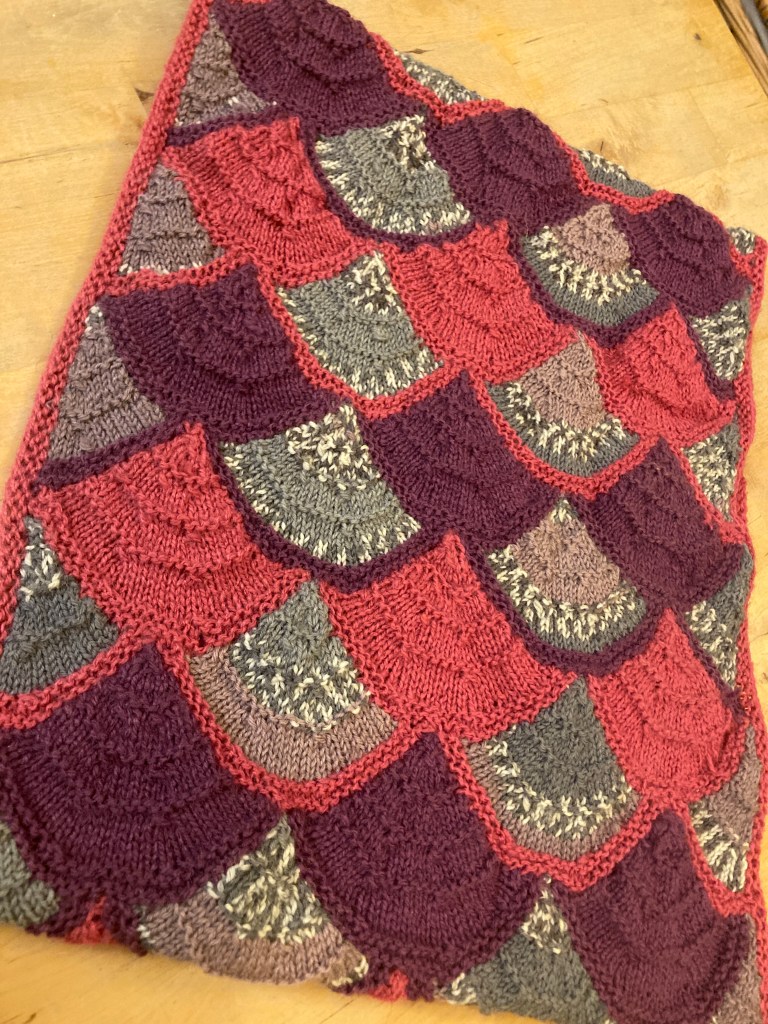
After Saturday’s Embroidery with Sea Glass workshop I got to thinking about a couple of others I’ve been to over the last year. Almost a year ago. I went on a worship on Entrelac and Modular Knitting with Judith Schur of Needlecase at Amble Pincushion. At the time I fell in love with Judith’s beautiful modular shell cowl and started to make my own – I got it finished a while back.
I used West Yorkshire Spinners Signature Sock Yarn in Woodpigeon (variegated in mauve, grey and white) and some pink and purple sock weight yarn I got from a stash sale. I’m so pleased with it – and learning this technique has cured me of my dislike of picking up stitches.
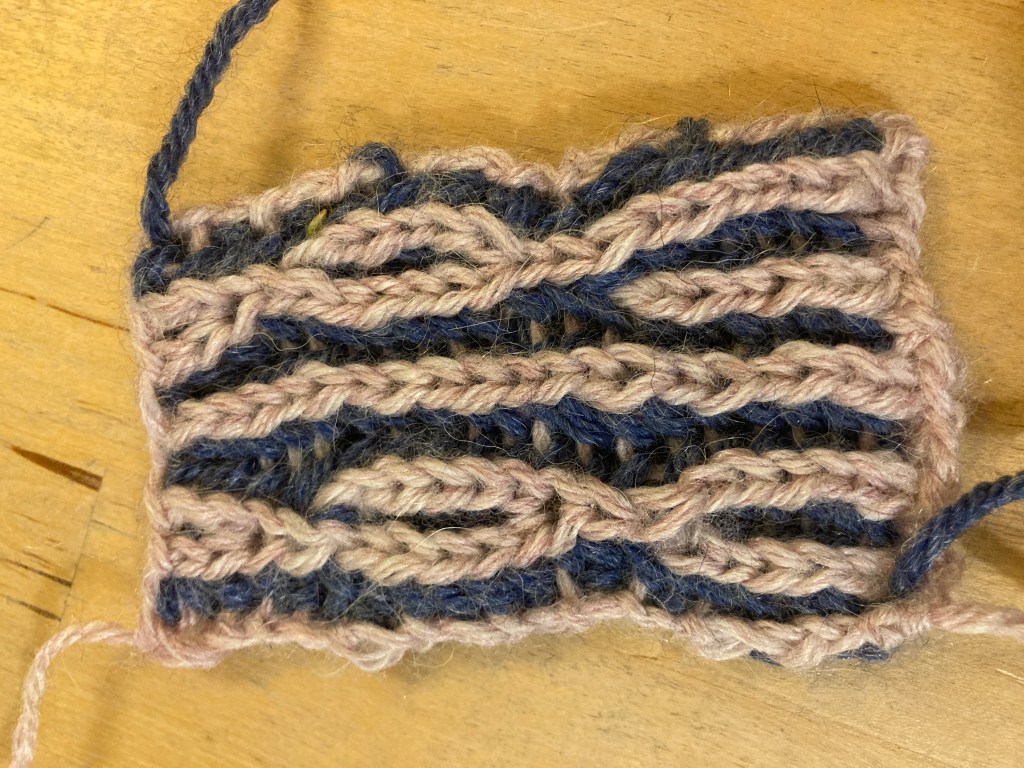
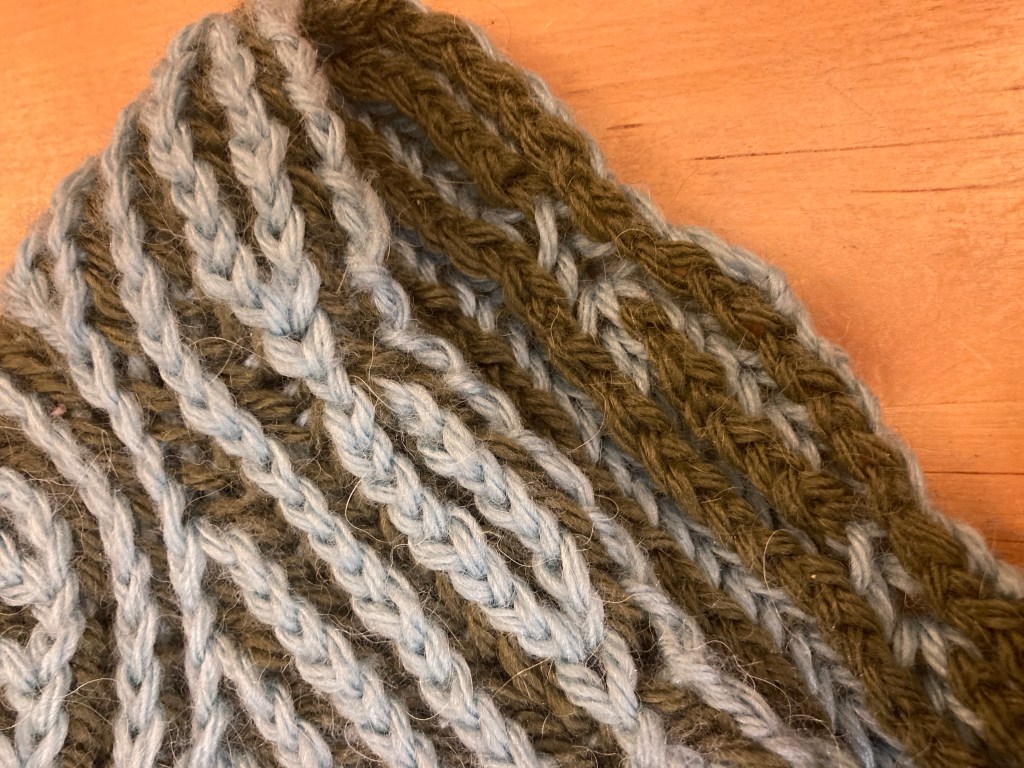
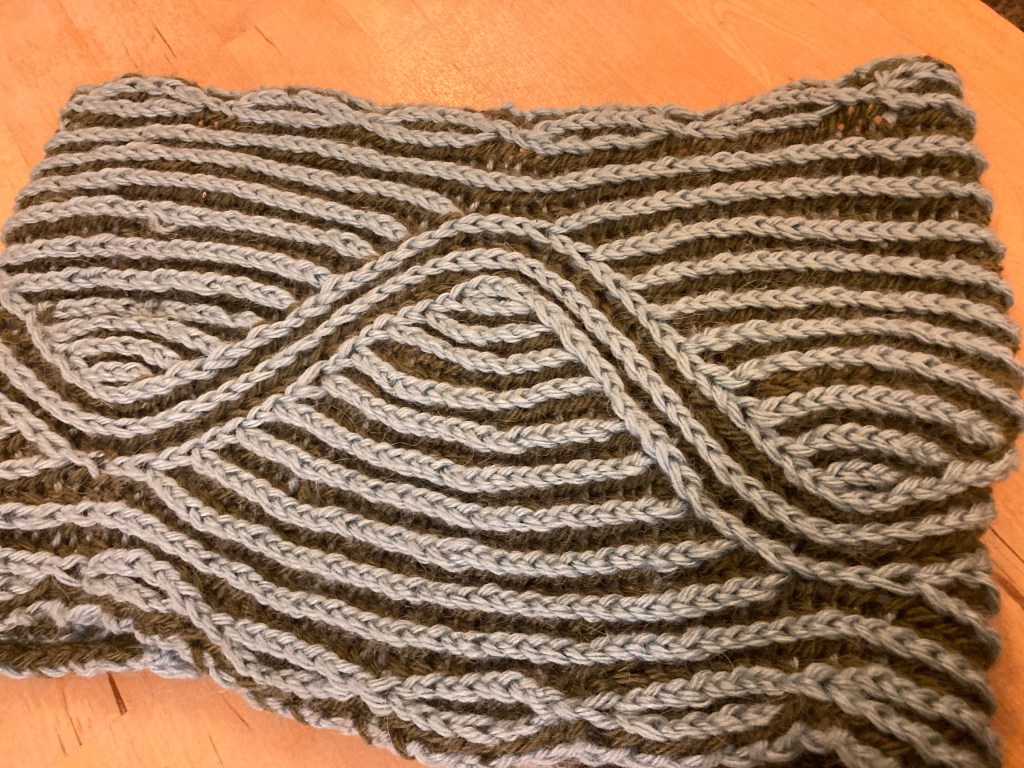
I went on another of Judith’s workshops a few months back. This one was on 2-colour brioche knitting. If you’ve never come across brioche knitting before, it looks a bit like K1 P1 rib and in the case of 2 colour brioche, the knit stitches are in one colour and the purl in another to form stripes…. then you can make the lines cross and form waves. It’s double thickness, so each row is knitted twice (you have to slide the stitches back along the needle before you knot the second one so you need to use circular or double pointed needles.). It feels really squishy .
During the workshop we learnt the techniques and produced a sample square ( I must admit I made a bit of a mess of mine, mainly because I was chatting to the other participants. I had another go and perfected my sample when I got home. Brioche does require a fair bit of concentration.
Next I started a cowl using one of Judith’s patterns. This and two balls of James C Brett Aztec were included in the price. I chose a pale duck-egg blue and a deep green – brioche looks most effective when you use strongly contrasting colours. It’s a lovely aran weight yarn with some alpaca in the blend which makes it really soft.
I did make some mistakes, but I pulled them out and kept going until I got it right. The end result looks amazing and is so lovely to wear – the softness of the alpaca and the squishy brioche knitting makes it incredibly cosy.
There was a clash of events in Newcastle the other week. I ended up attending both Novum, the arts festival, to sing with my choir who were supporting Cirque Bijou (as I described in the previous blog post) and also the North East Wool Show
This is the second year of the Wool Show – I thoroughly enjoyed it last year so was glad it’s back again.
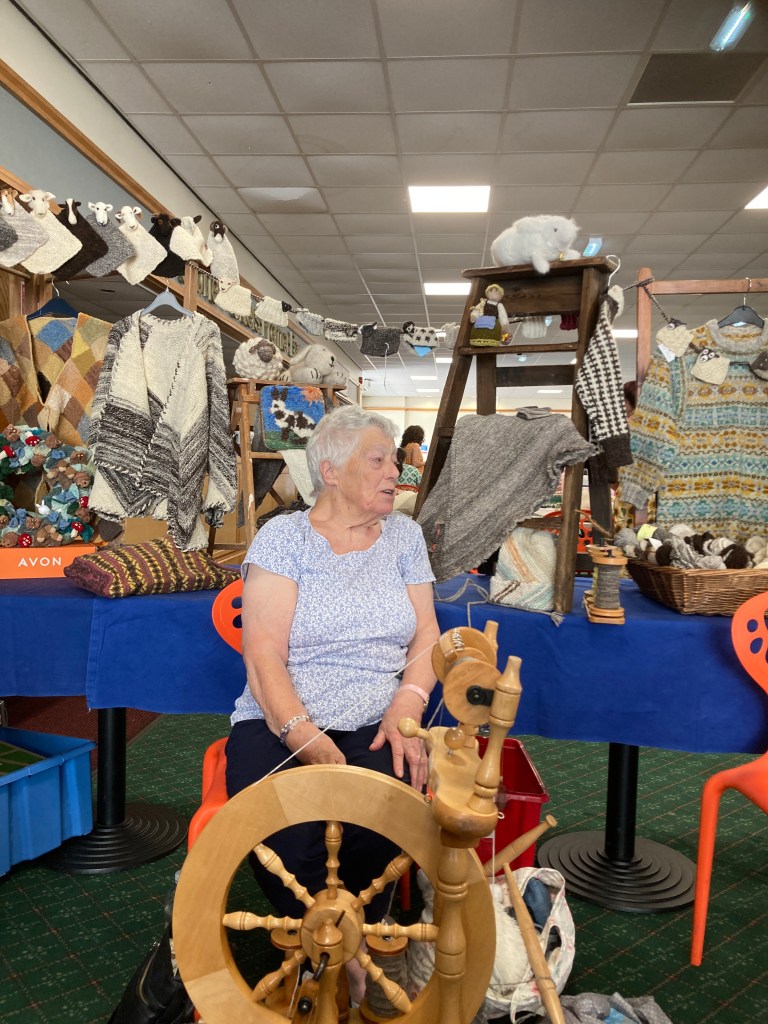
On the Saturday I joined some fellow members of the North Northumberland Spinners on our stand and spent a very enjoyable day demonstrating spinning.
One of my fellow spinners, J, in front of our stall
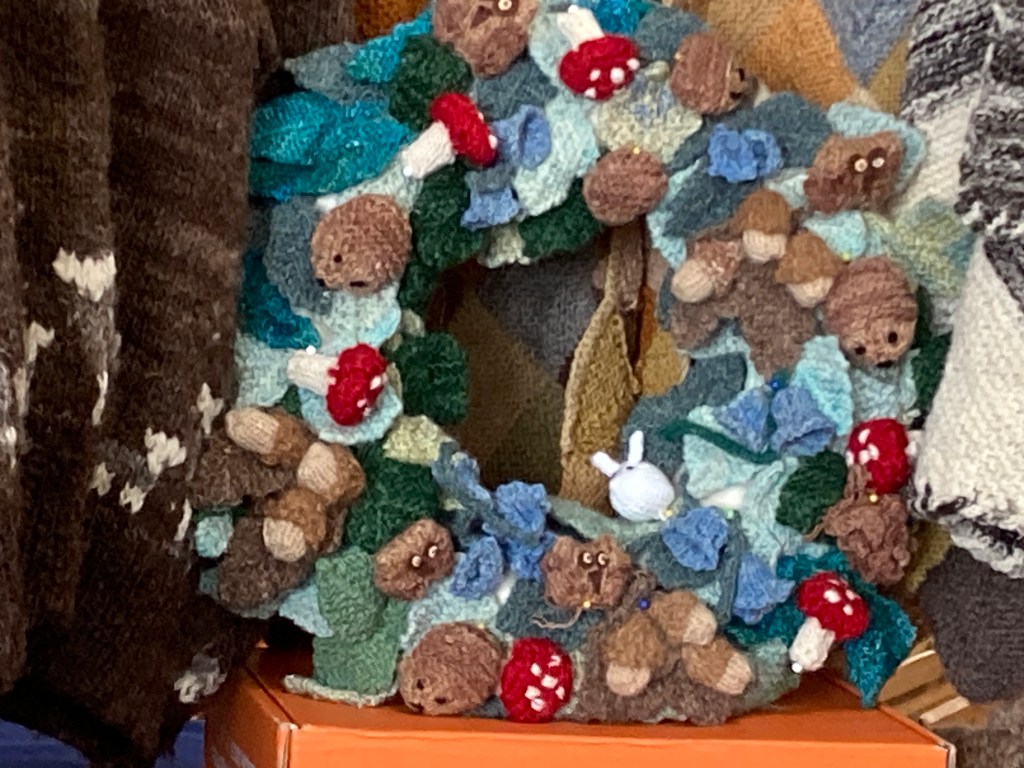
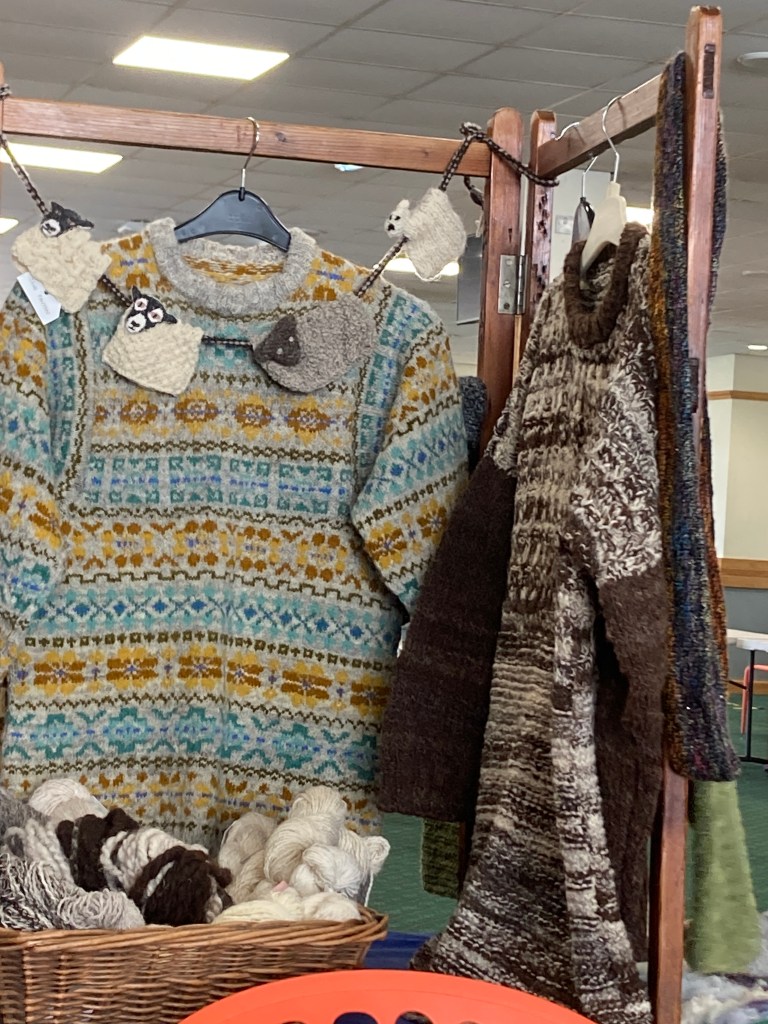
Our stall looked fantastic, with loads of lovely handspun and hand knitted items on display, some of them hand dyed too.
A, who runs the group (originally set up by her mother many years ago) was responsible for all this amazing work, including her lockdown project, a Fair Isle jumper (the handspun yarn is hand dyed too.
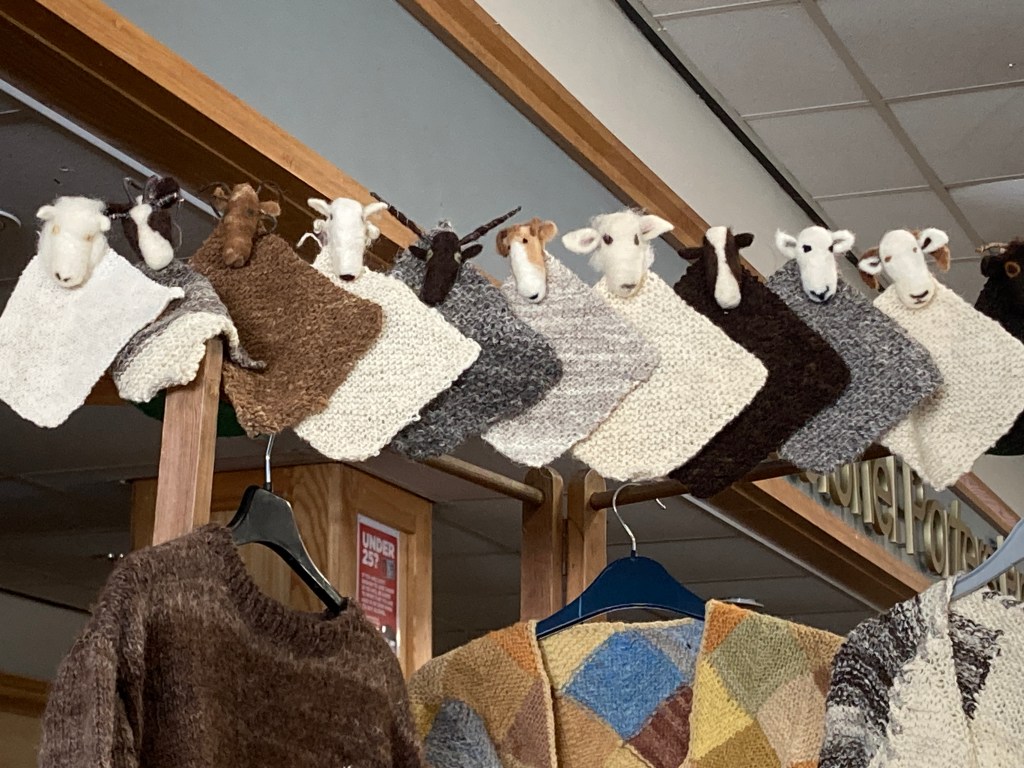
These sheep samplers attracted loads of attention. Each one represents a different sheep breed and is made from handspun yarn from that breed, with a needle felted head.
This was my first experience of demonstrating spinning and I absolutely loved it. Of course at a wool festival you are preaching to the converted! Spinning is a bit of a natural progression if you already knit or crochet – what could be better than making an item from yarn you have spun yourself?
Between us, we had three completely different spinning wheels: a traditional one, a modern folding treadle wheel and my e-wheel. A lot of our visitors had never seen an electric powered wheel like mine before and were quite intrigued. Without the need to work the foot treadles, e-wheels are perfect if you have limited movement or co-ordination in your feet and there was quite a lot of interest from disabled visitors.
We also operated a ball-winding service, for those who had purchased skeins of hand-dyed yarn at the show – there were so many to choose from in every colour imaginable. For a small contribution to charity, we converted the skeins into ready-to-knit balls of yarn.
I really enjoyed explaining the principles of spinning and showing people how my e-wheel works compared to the foot-powered ones.
At the end of the day I changed out of my handspun, hand-crocheted jacket and into the sequins to return to singing with the circus!
I was back to the Wool Show the following day for the shopping! I saw so many people I knew, including friends from my knitting and spinning groups and Amble Pin Cushion, so it was quite a social occasion too.
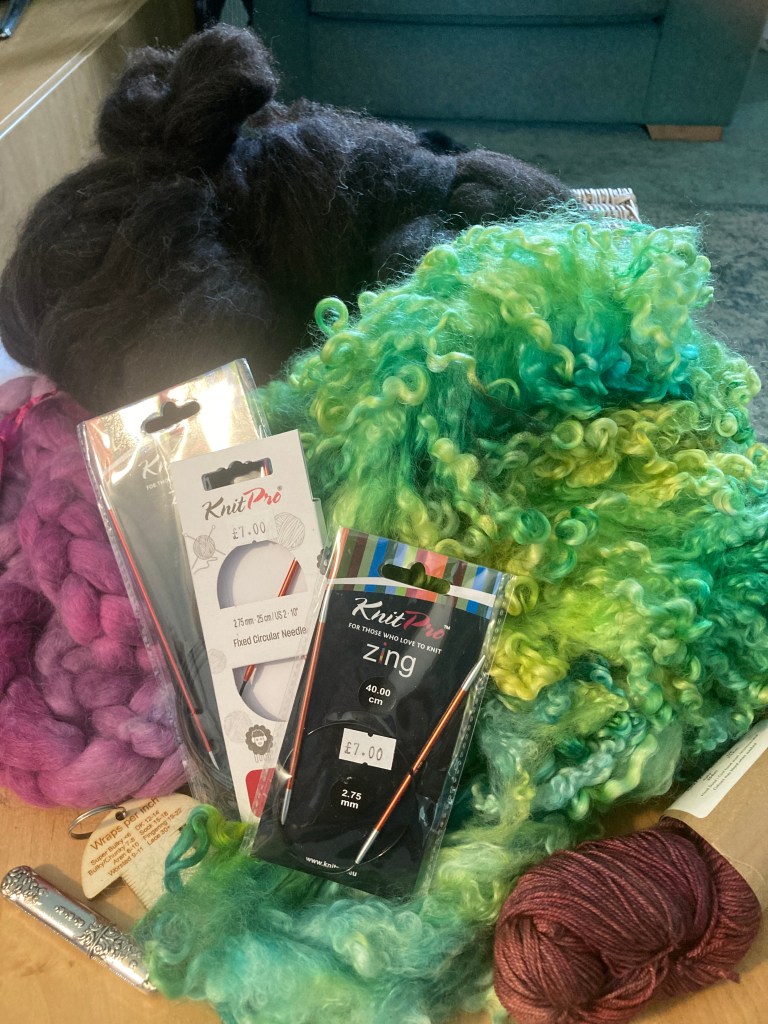
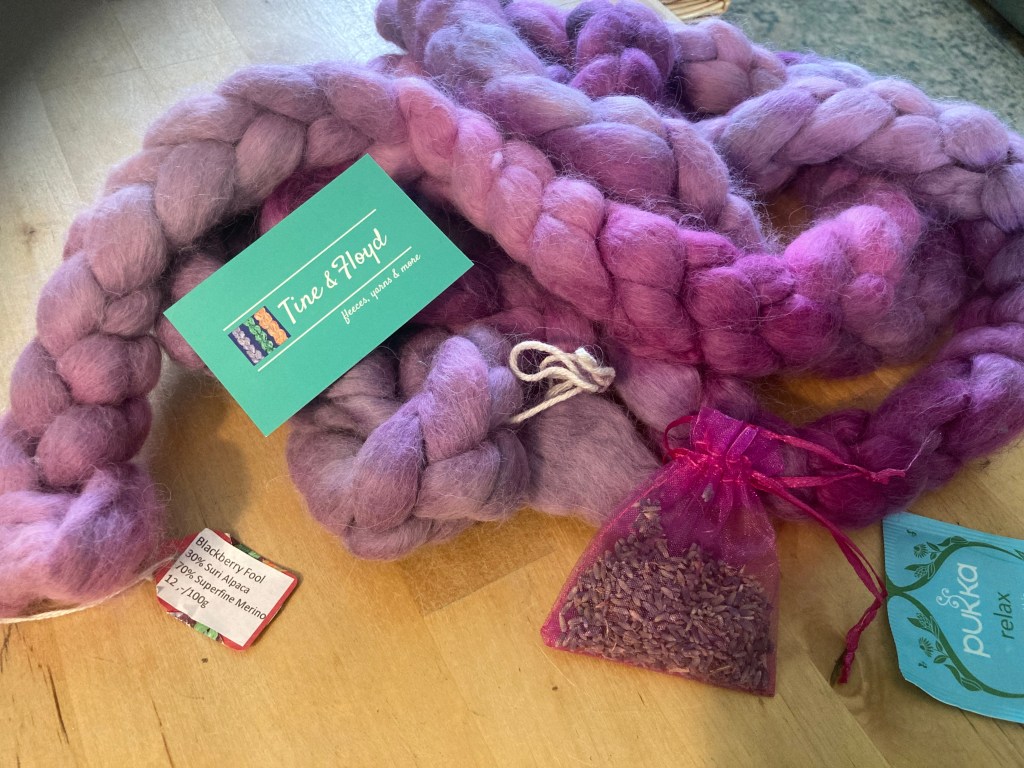
Of course I had to buy some fibre to spin! I bought more of this Siri alpaca and merino blend from Bettina of Tine and Floyd – I love that she always adds a lavender bag and tea to your bag! – I bought a skein of this colour way (it’s called Blackberry Fool) last year and was spinning it the previous day.
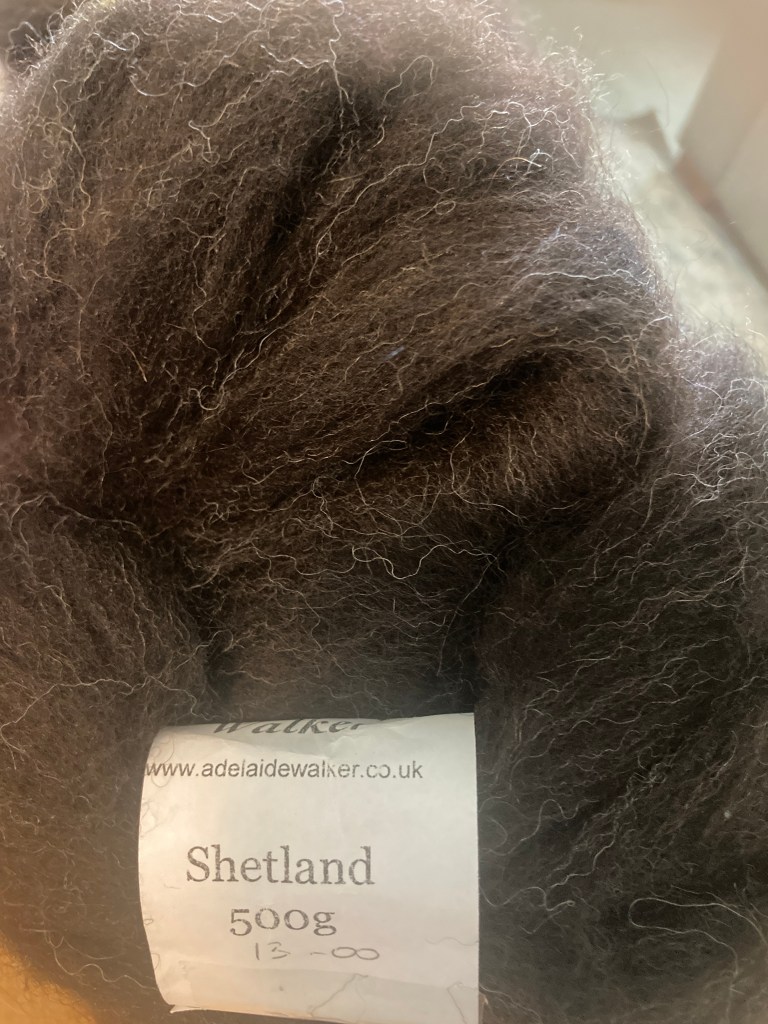
I also got some black Shetland tops from Adelaide Walker. I’m thinking of plying it with the pink/purple to make myself a jumper.
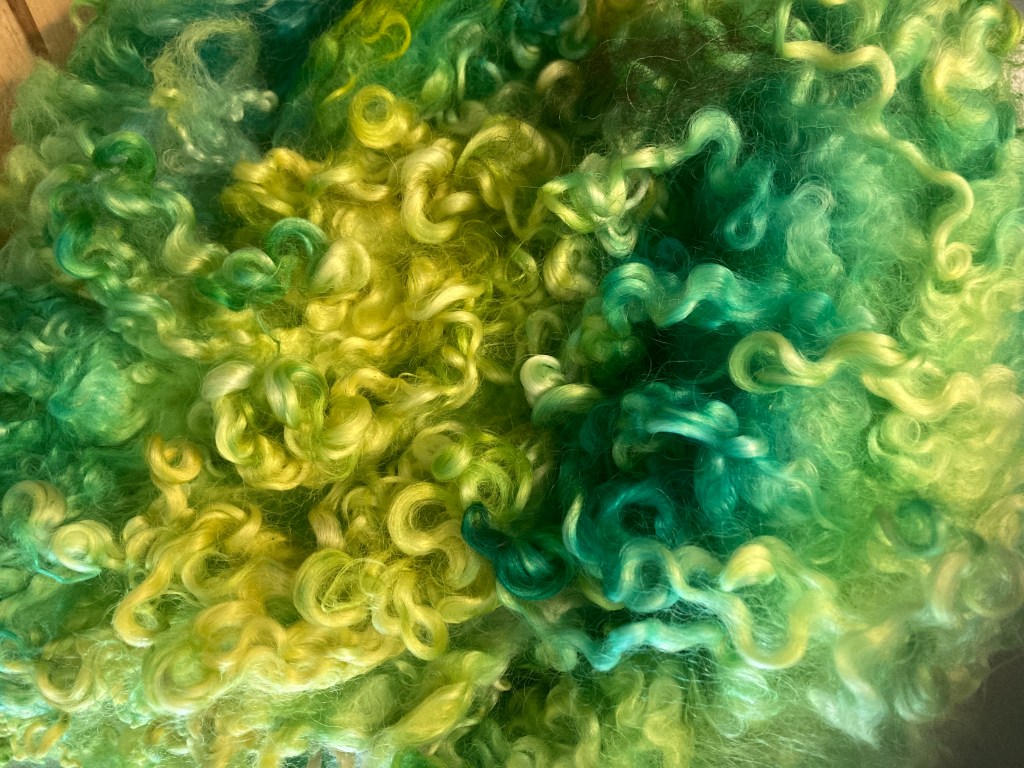
I also fancy making something in shades of green and I saw this. It’s hand dyed Leicester – look at those beautiful locks! It will take some preparation before I spin it but could make some gorgeous yarn.
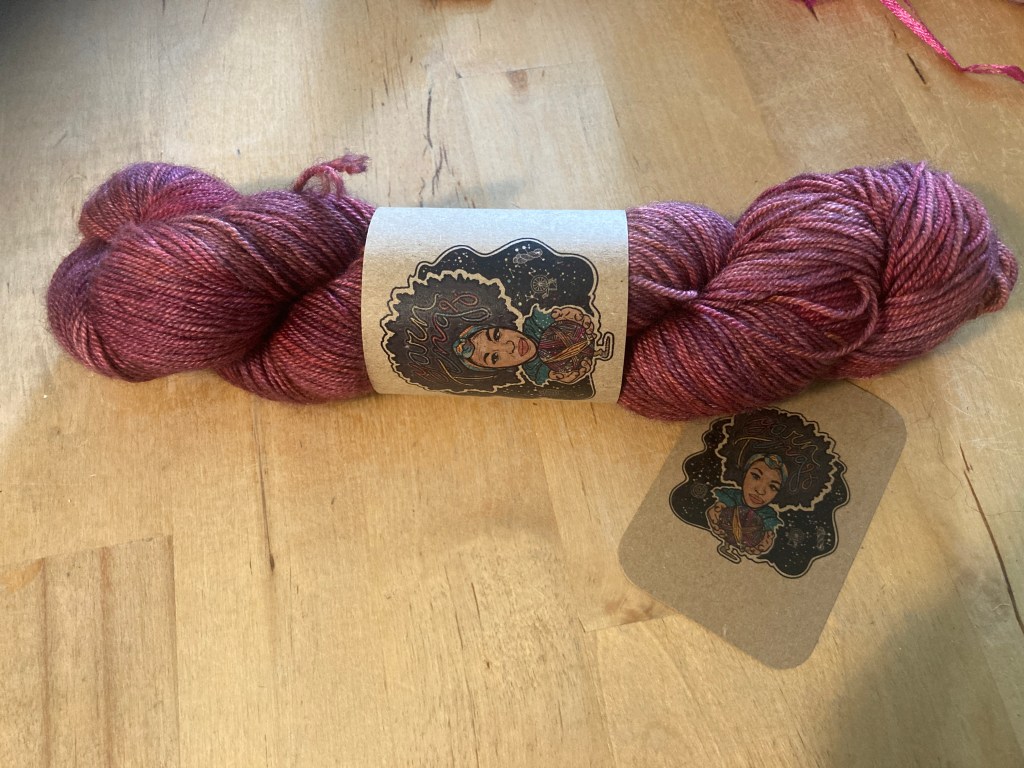
As I said earlier, there was a massive selection of had-dyed yarn available from lots of traders, but I particularly loved the deep rich shades on Yarn Tings stall – this is a merino/yak/silk blend, sock weight and it’s so soft – this shade is Firebird.
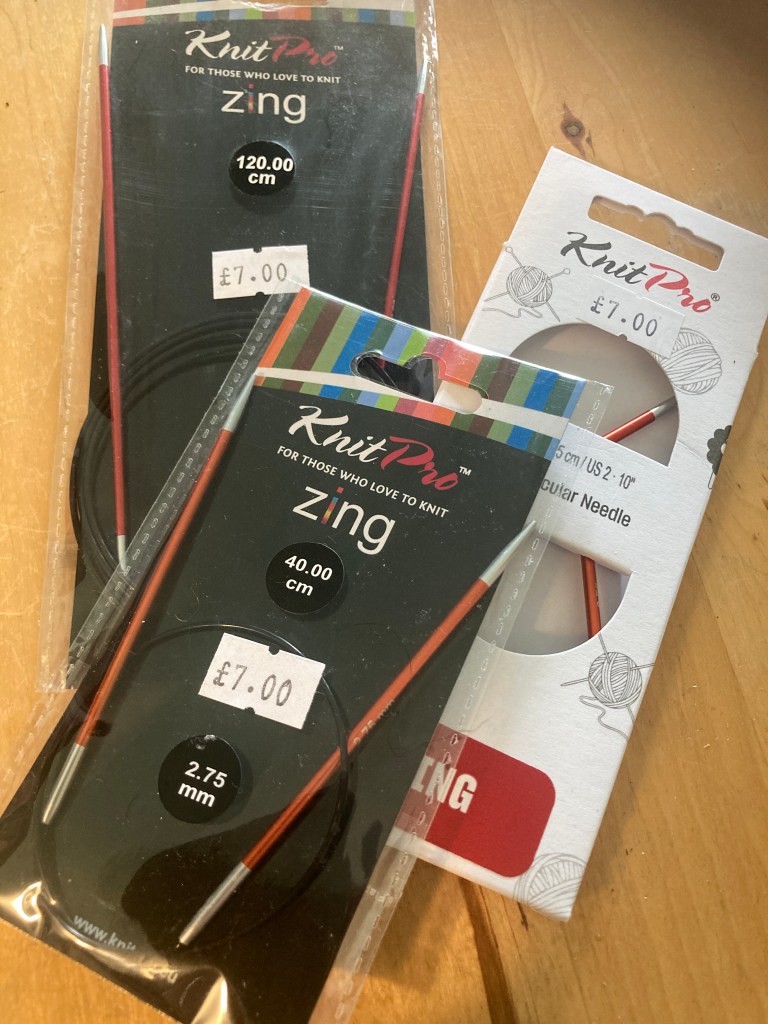
There were some fabulous tools and accessories too. I bought some of my favourite Knit Pro Zing needles. I got the interchangeable circular set some months back but I needed some extra small ones for a couple of projects – the interchangeables don’t go below about 3.25 mm.
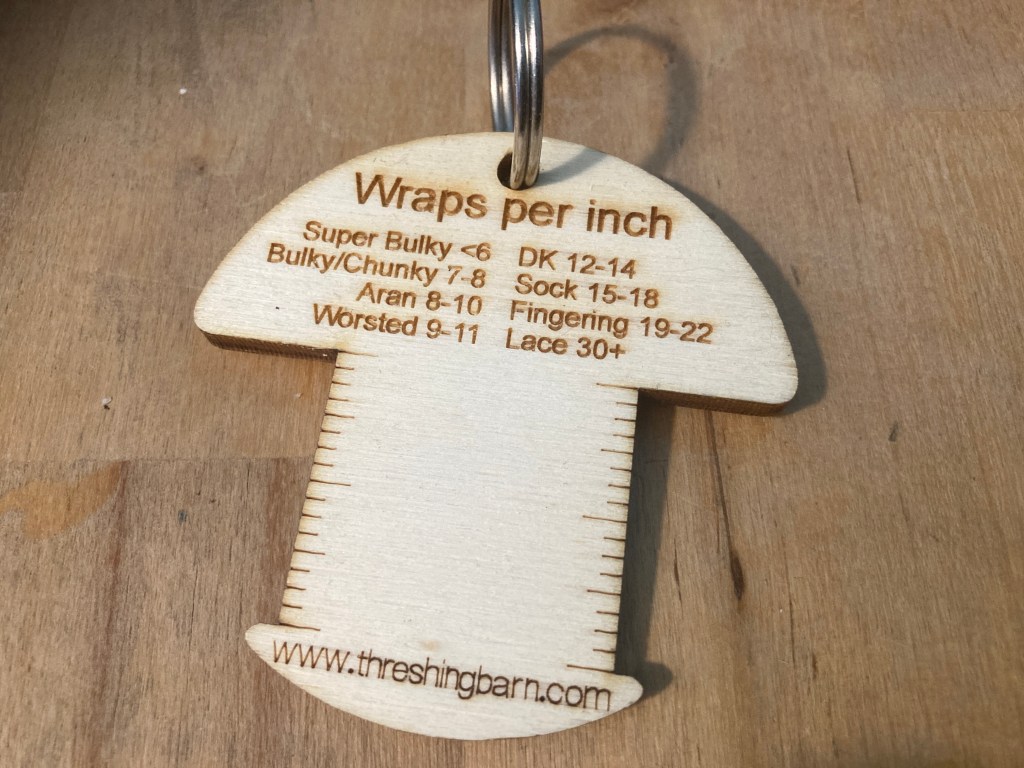
I got this wraps-per-inch gauge from Threshing Barn. I’m thinking of attaching it to the orifice hook on my spinning wheel, so it’s easier to find if I drop it.
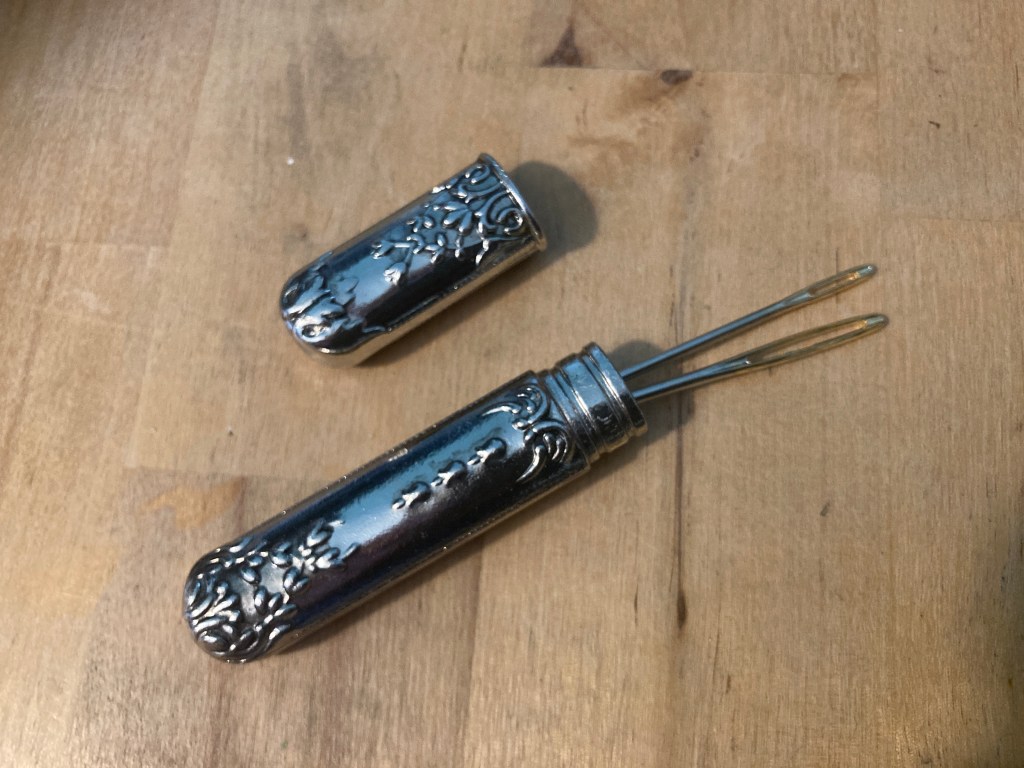
Then there was this needle case. isn’t it pretty?
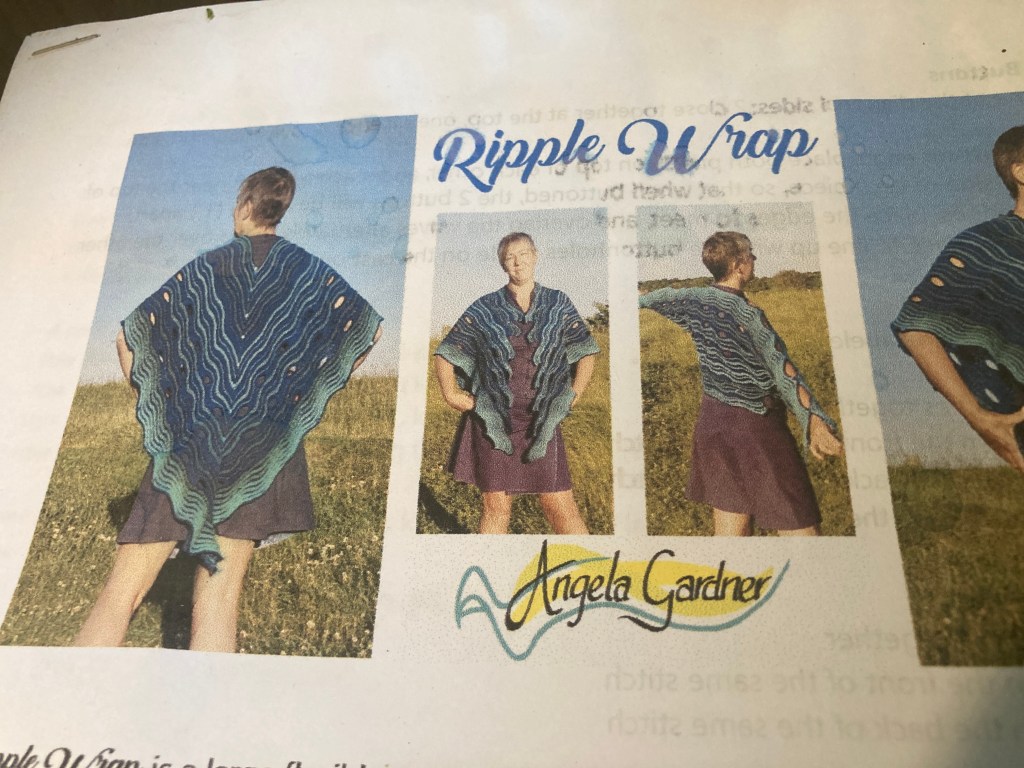
There were all sorts of kits and patterns available too. This shawl pattern caught my eye, though when I’ll ever get around to making I, who knows?
When I got home I downloaded a couple of other patterns that were made up on stalls . I certainly have lots to be getting on with.
I’d seen some publicity on social media recently about a stash sale. I hadn’t really thought a lot about it until I realised that it was on the way to Newcastle Airport, where I would be heading to pick daughter up on Saturday afternoon. I thought I’d call in.
If you’ve never been to a stash sale, they are a brilliant way of picking up crafting bargains. Those taking part each have table to set out their wares: anything they want rid of from their crafting stash that others may find a use for.
This one at Stannington Village Hall had been well-publicised and was extremely well supported, absolutely rammed with visiting crafters after a bargain, and there was so much to choose from. There was yarn, fabric, card making, embroidery and quilting supplies and more….absolutely all sorts! There was also a cafe area selling drinks and scones and a raffle in aid of a local food bank.
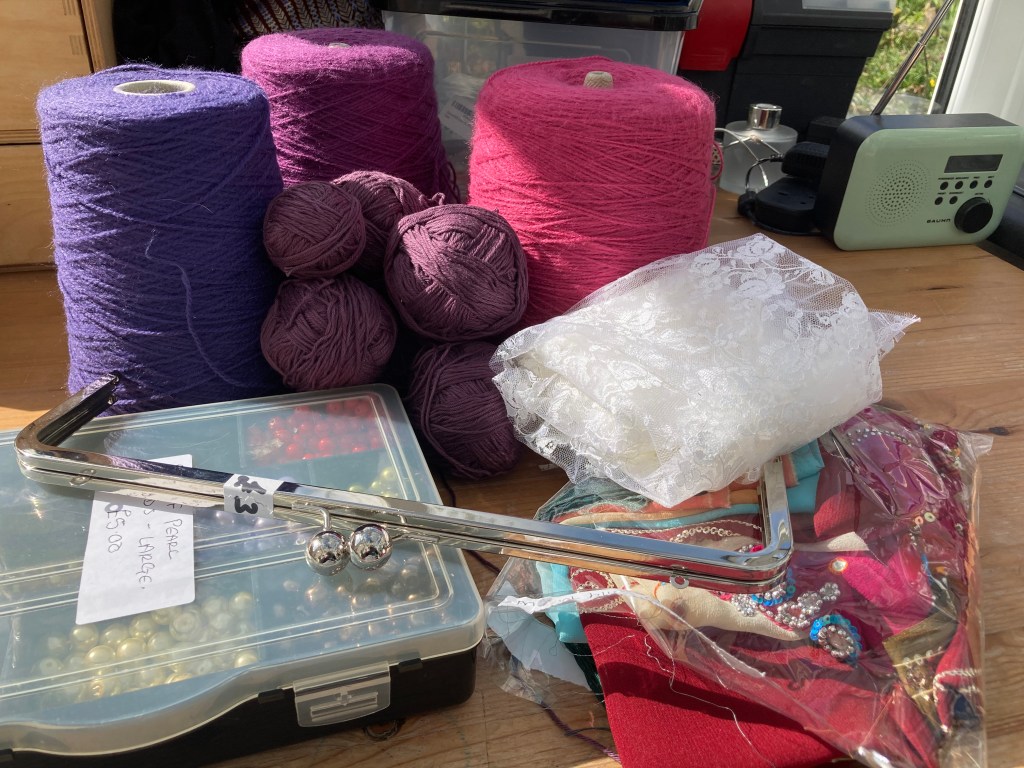
One of the first things I picked up was some yarn: some big cones of 4-ply in pink, magenta and purple at only £1 each. I also bought some claret coloured cotton yarn, also £1.
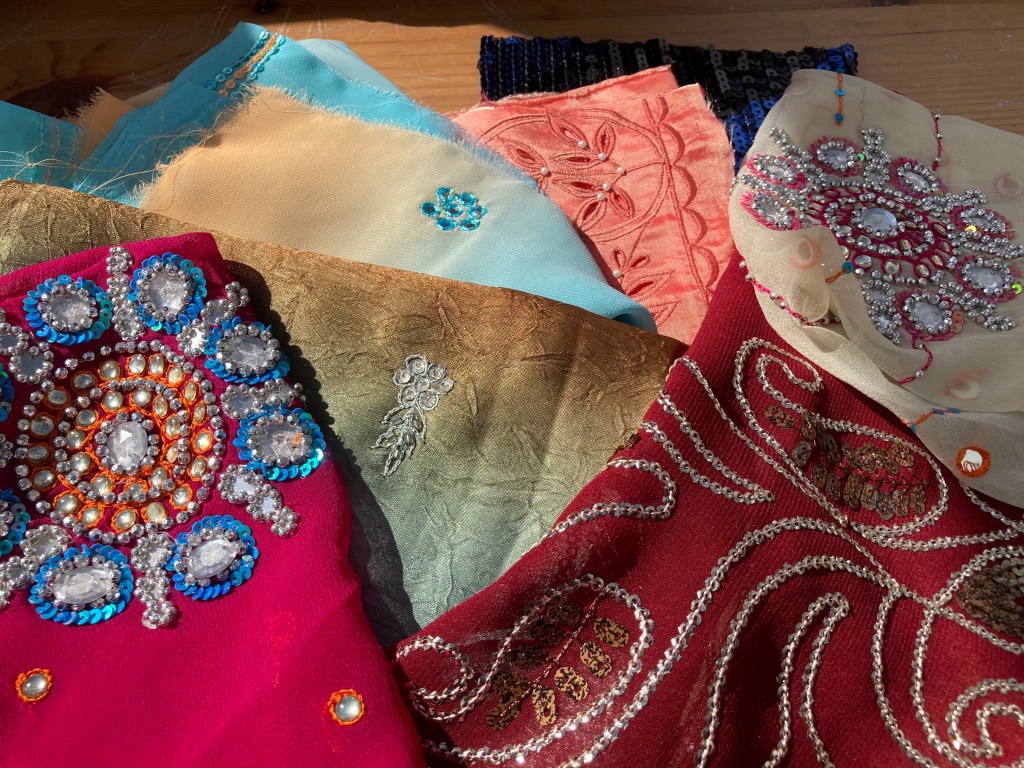
I saw a couple of people I knew, including one of the stallholders, a friend that I haven’t seen for ages, so it was lovely to have a catch up with her…and she had some lovely items for sale. This bag of small pieces of sari fabric with embellishments was only £5
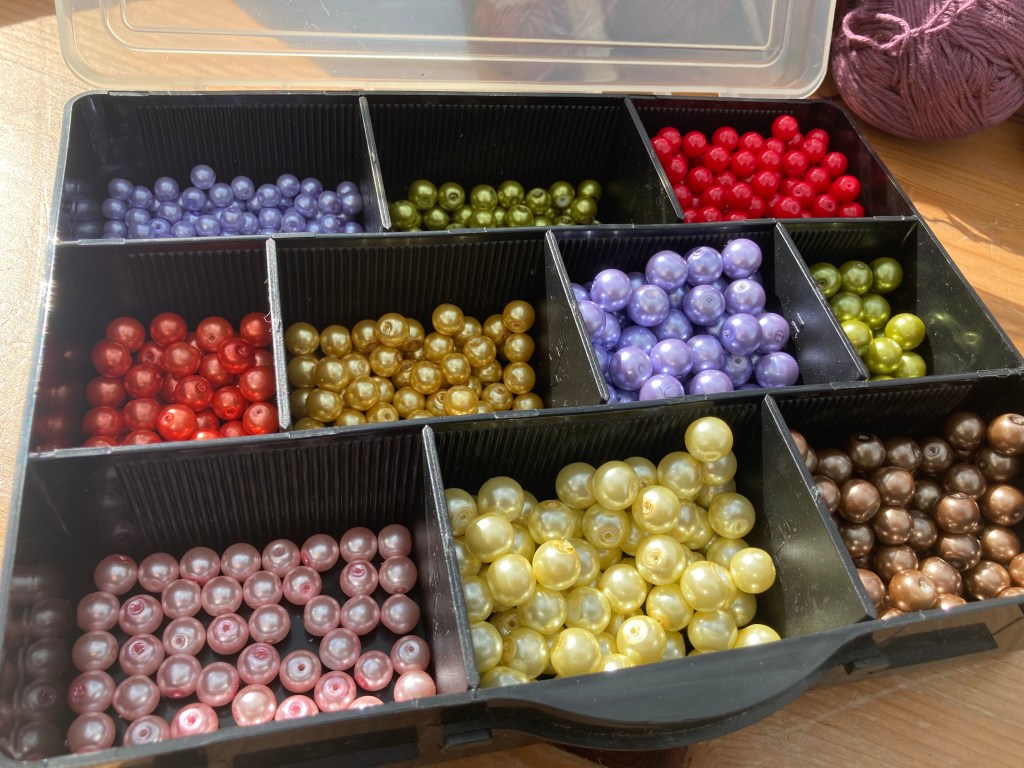
I also bought this box of pearly glass beads, also £5, which is perfect for a forthcoming project I’m planning.
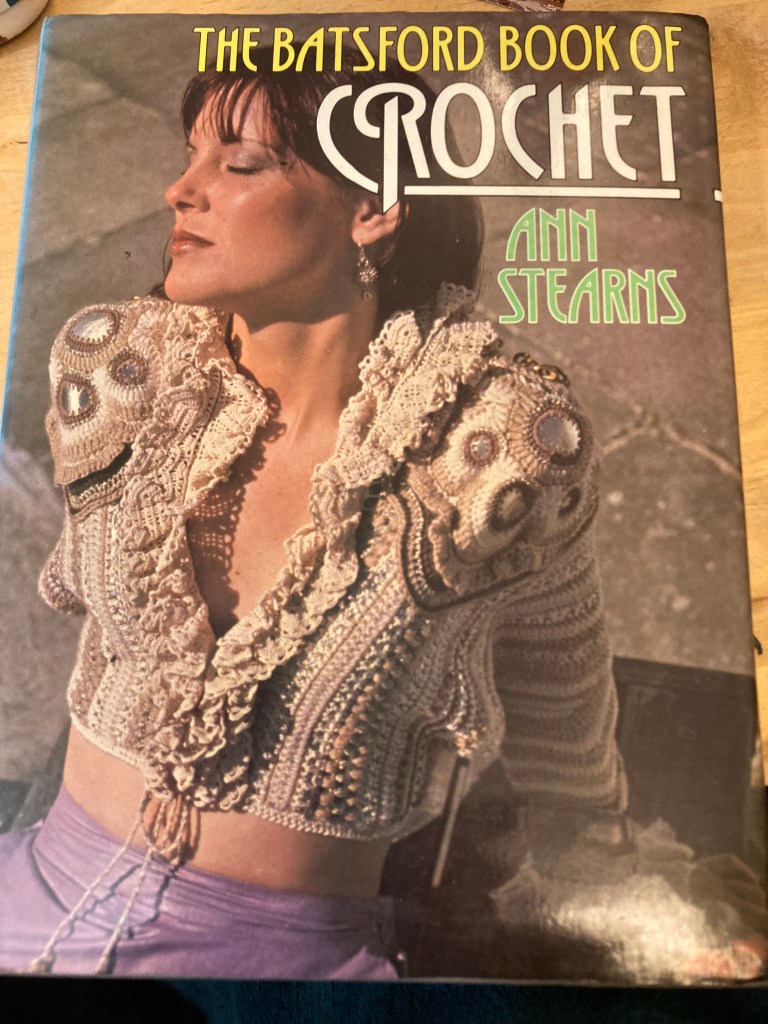
There were books, patterns and magazines for sale on several of the stalls and I bought this crochet book – it includes a pretty comprehensive library of crochet stitch pattern, which will come in useful as I design more things for crochet classes.
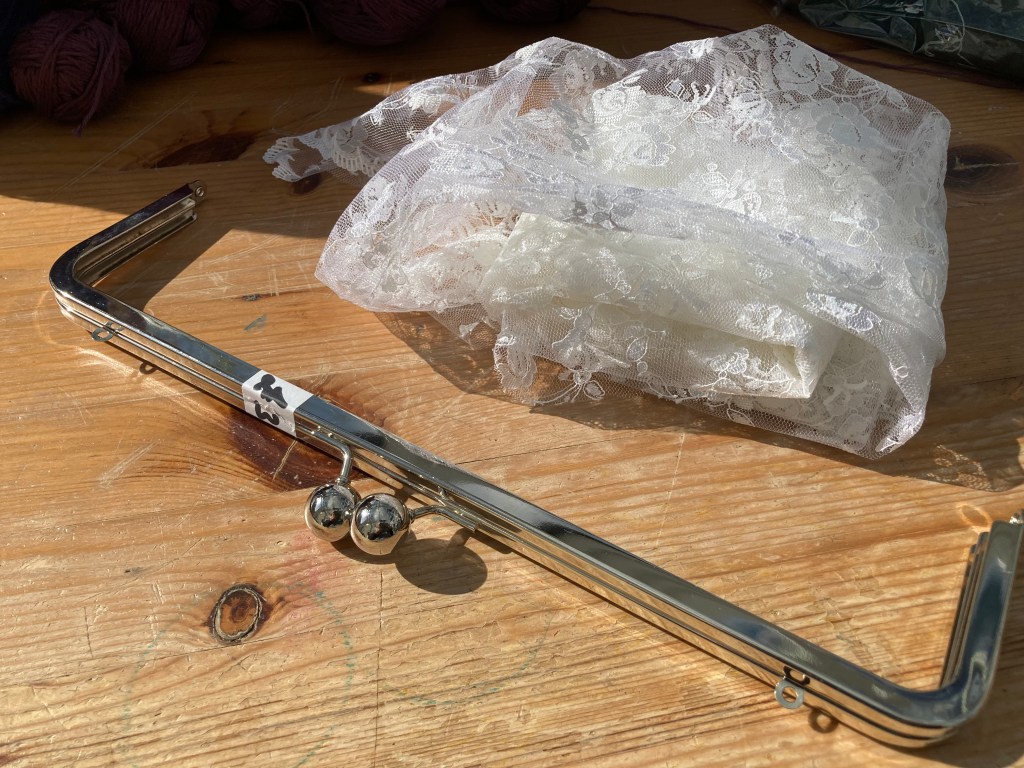
Finally, there was a length of lace fabric (£1) and a handbag frame (£3)
Not a bad haul for £22!
Have you ever been to a stash sale? What was your best ever find?
I was very lucky with my Christmas presents. There was a definite theme running through many of the gifts I received. Father Christmas obviously wishes to encourage me to continue with fibre and yarn-related hobbies!
This year’s new skill was spinning. I have made a point of learning something new every year, especially since I retired and this one has really got me hooked. I was given a load of accessories for preparing and spinning yarn. I’d asked for this Ikea Variera pot lid rack to use as a Lazy Kate to ply yarn spun on my Electric Eel Wheel Nano e-spinner – the bobbins fit the pins perfectly. For carding and blending I got a pair of Ashford hand cards. Then there is a cute sheep design niddynoddy and some lingerie bags for washing raw fleece.
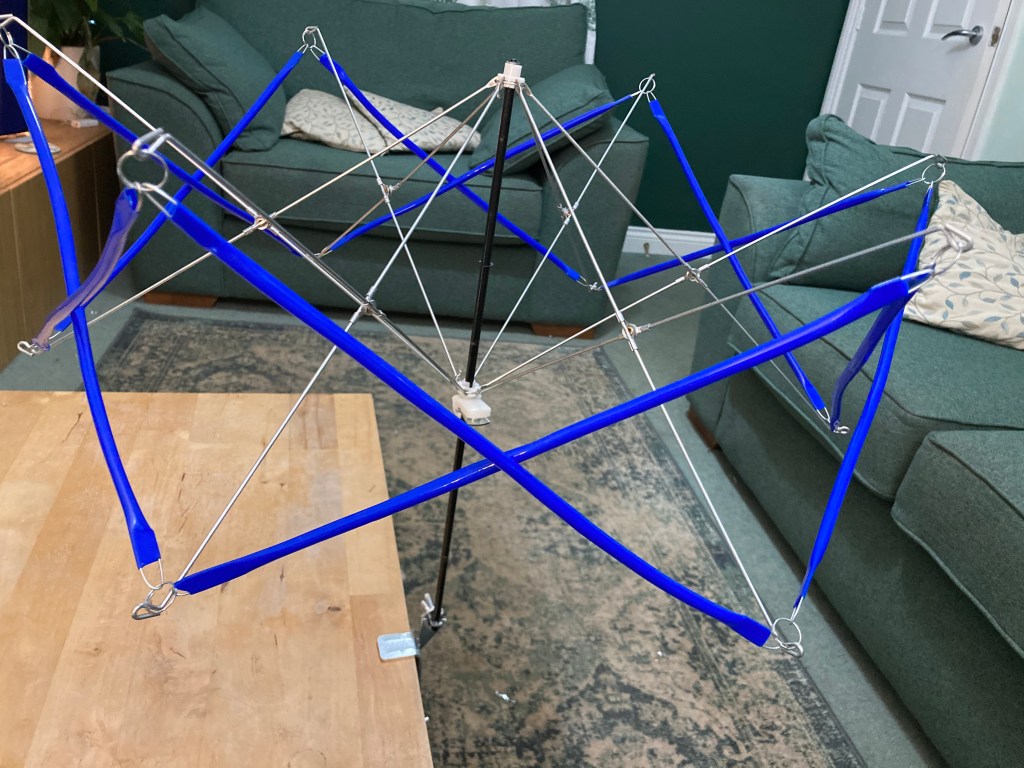
I also got a yarn swift…
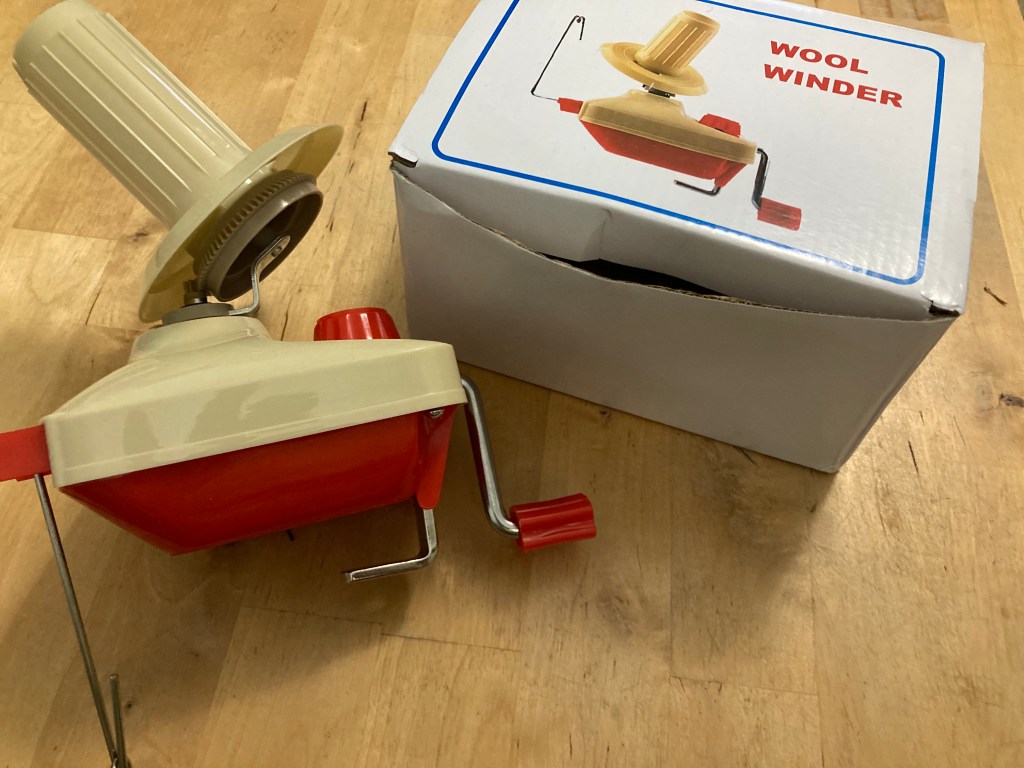
…and a ball winder.
In 2021 I plan to start dyeing fibre. This acid dye starter kit from DT Craft and design includes 12 different colours of dye, along with citric acid to fix the dye, protective gloves and a measuring spoon. There is also a very detailed instruction booklet.
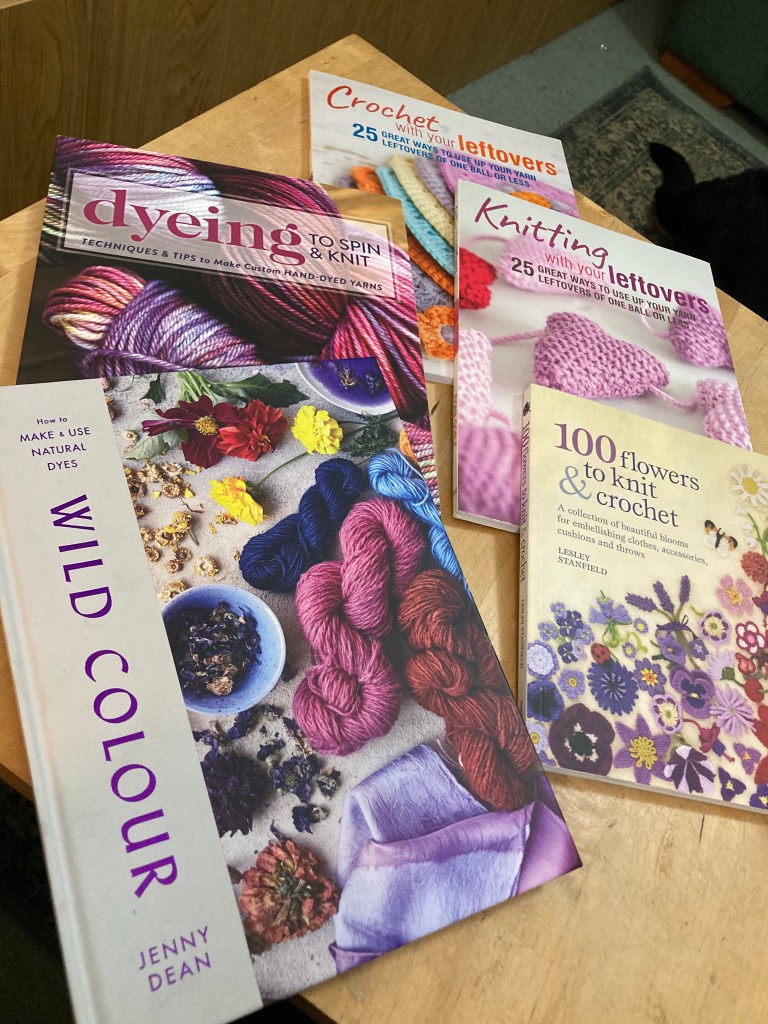
I also got some books. I’m still trying to use up all my oddment of yarn and I got three books for exactly that, including one full of designs for knitted and crocheted flowers. The others are for the dyeing adventure to come: “Dyeing to Knit and Spin” by Felicia Lo and “Wild Colour” by Jenny Dean which is all about natural dyes.
I’m very lucky indeed and can’t wait to start using all this new kit.
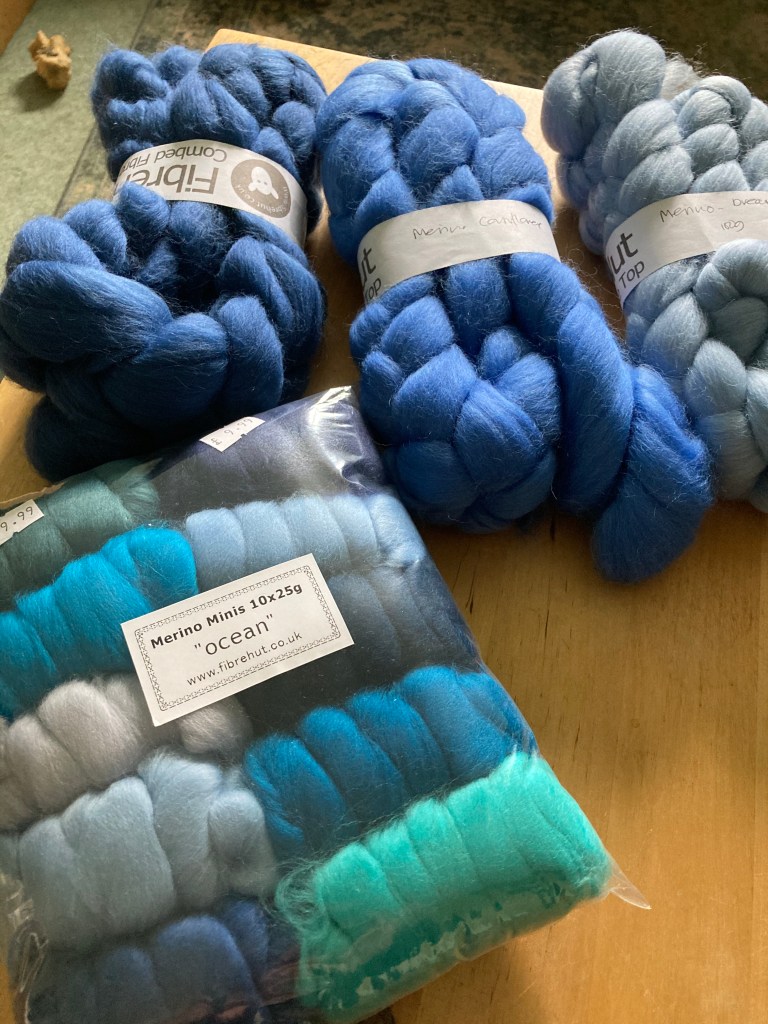
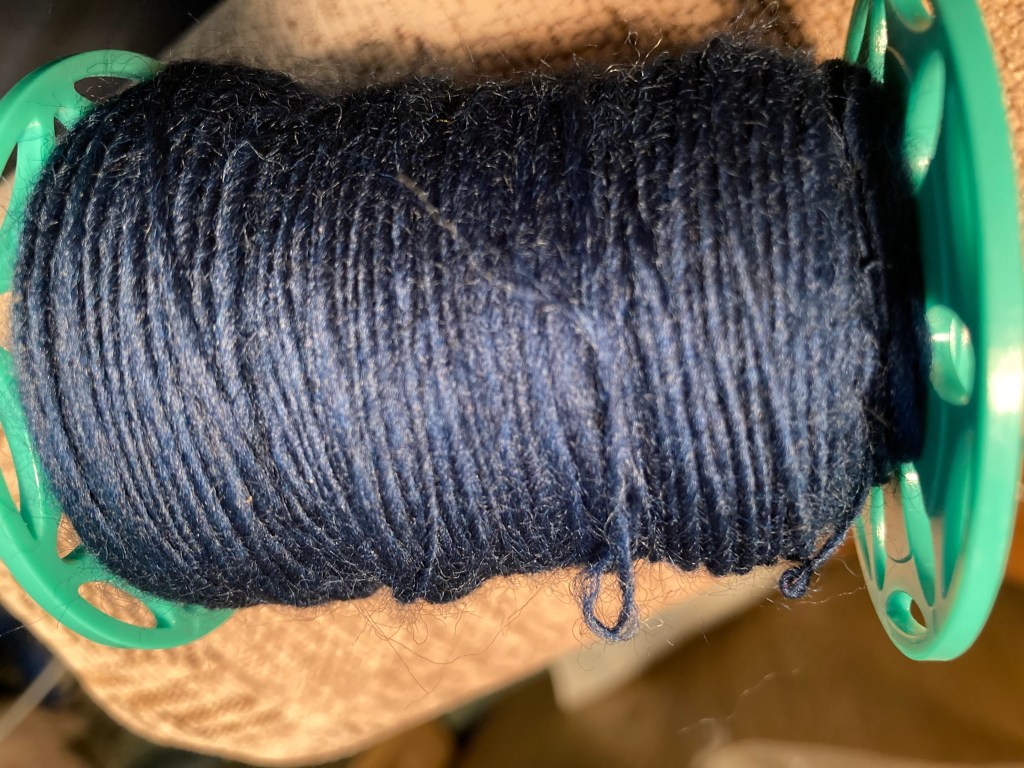
Yesterday I said I was excited about getting some fibre to spin and my online order from Fibre Hut arrived today: all these gorgeous blue shades of combed merino: 100g each of Denim, Cornflower and Dreamy (a light baby blue) and a collection called Ocean – 25g in each of ten blue and aqua shades.
I chose one of the minis in navy and spun this bobbin. I think it’s much more consistent than yesterday’s attempt.
I got really into spinning this – the minutes just melted away. Spinning is just so relaxing!
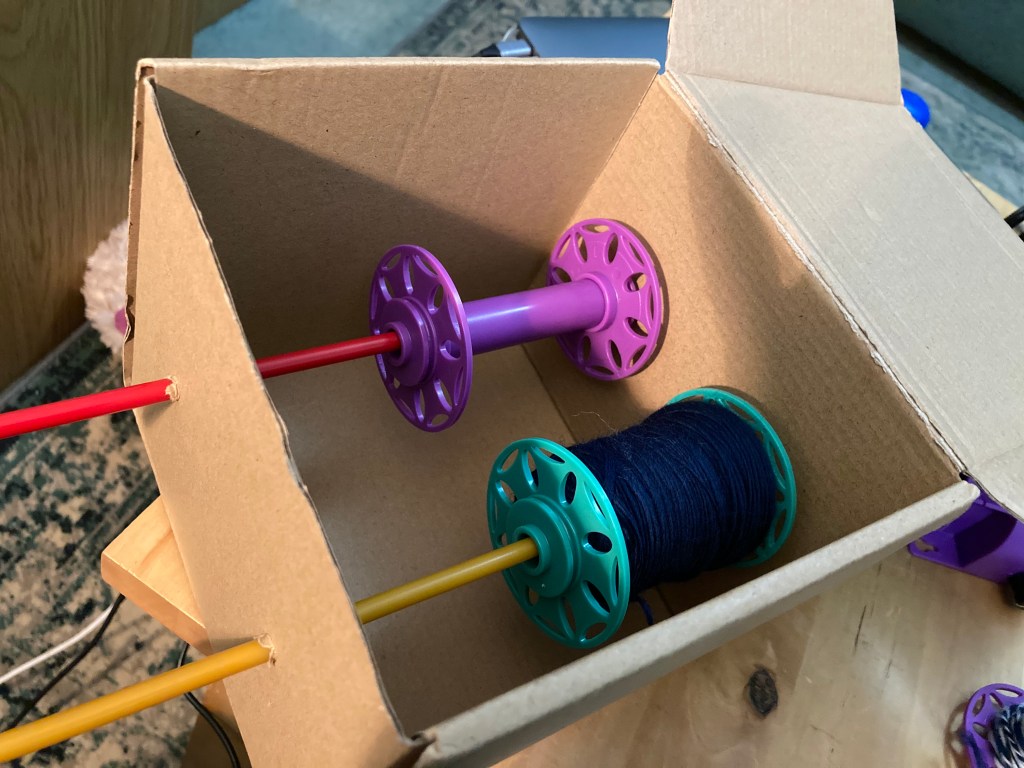
When I’d finished spinning this fibre I decided to try plying it with the white I spun yesterday. For this I needed to improvise a Lazy Kate (something to hold the bobbins) – I used a couple of old knitting needles pushed through the box the Electric Eel Wheel Nano came in.
Plying the two yarns together involves the wheel turning in the opposite direction from spinning – you just flick the switch on the the machine.
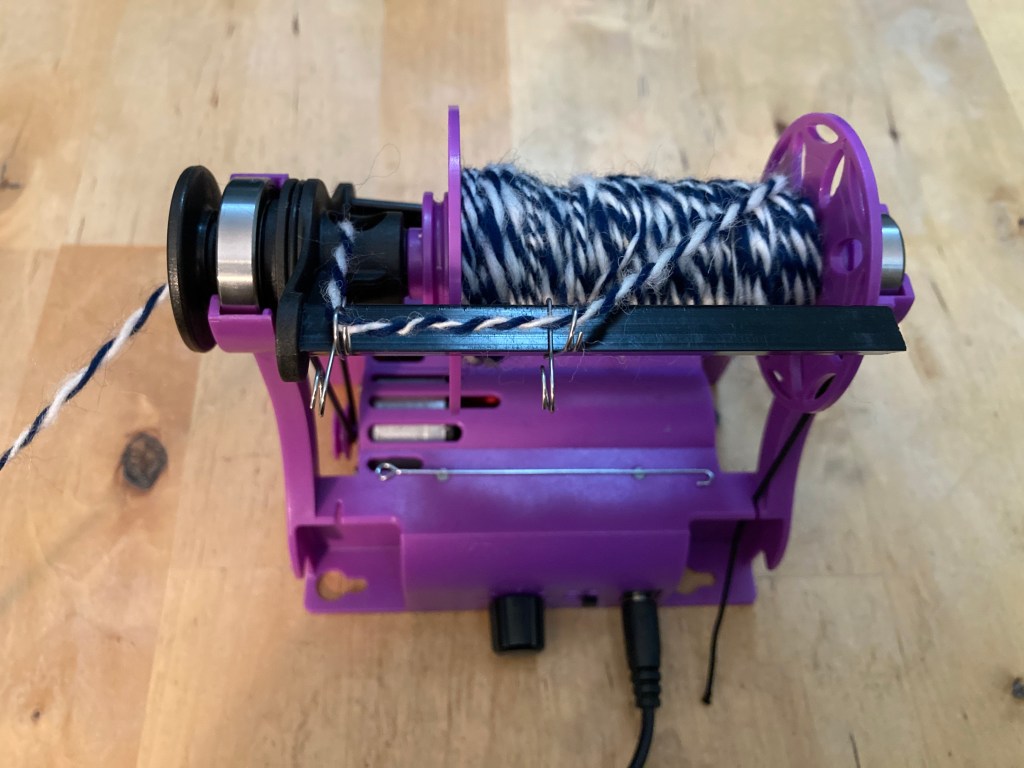
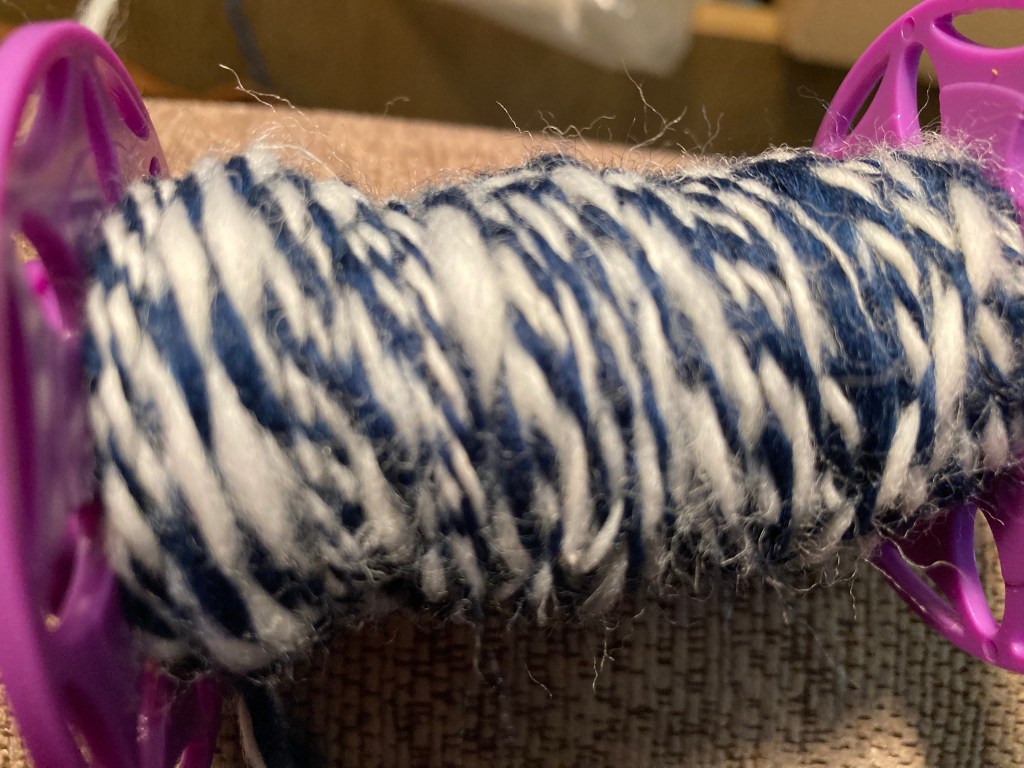
This is the result. Stripy yarn!
My first mini skein of hand spun yarn……and a great sense of achievement!
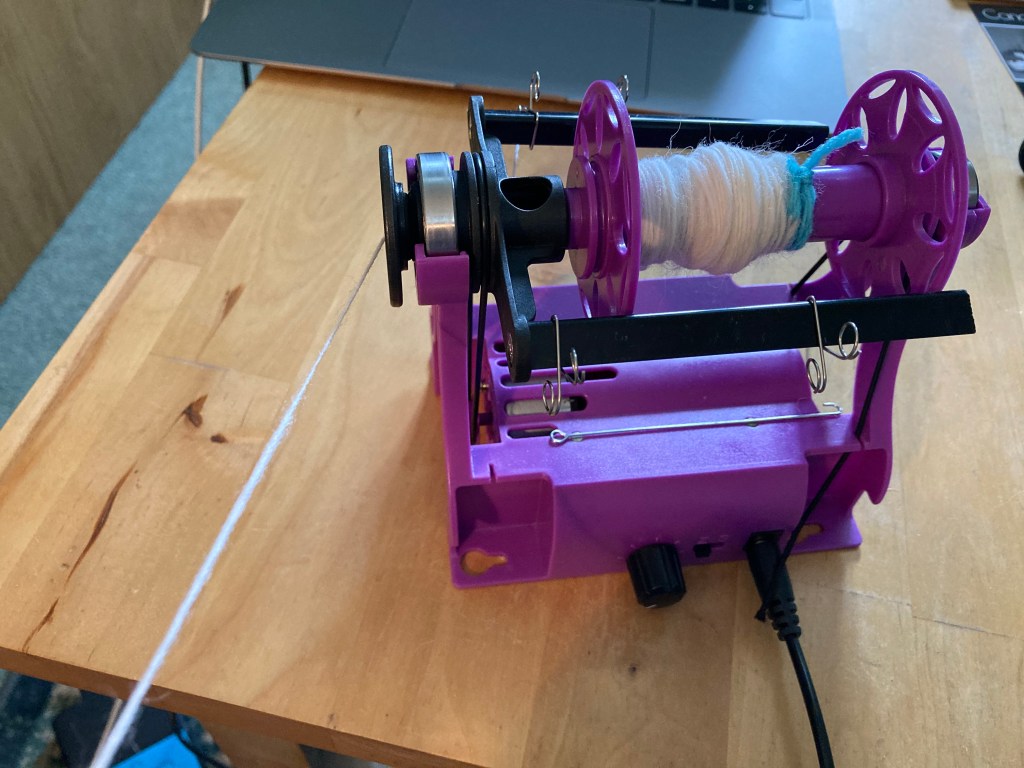
I’ve been playing with one of my birthday presents. Having expressed an interest in learning to spin yarn a while ago, I was given this for my birthday. It’s an Electric Eel Nano: a portable spinning wheel. Less expensive than the traditional type and tiny: only about 14cm long.
It comes with a 2 power cables (UK and US plugs), a USB power cable and spare bobbins. There is no instruction manual, but a card with a link to online video tutorials and a yarn guide.
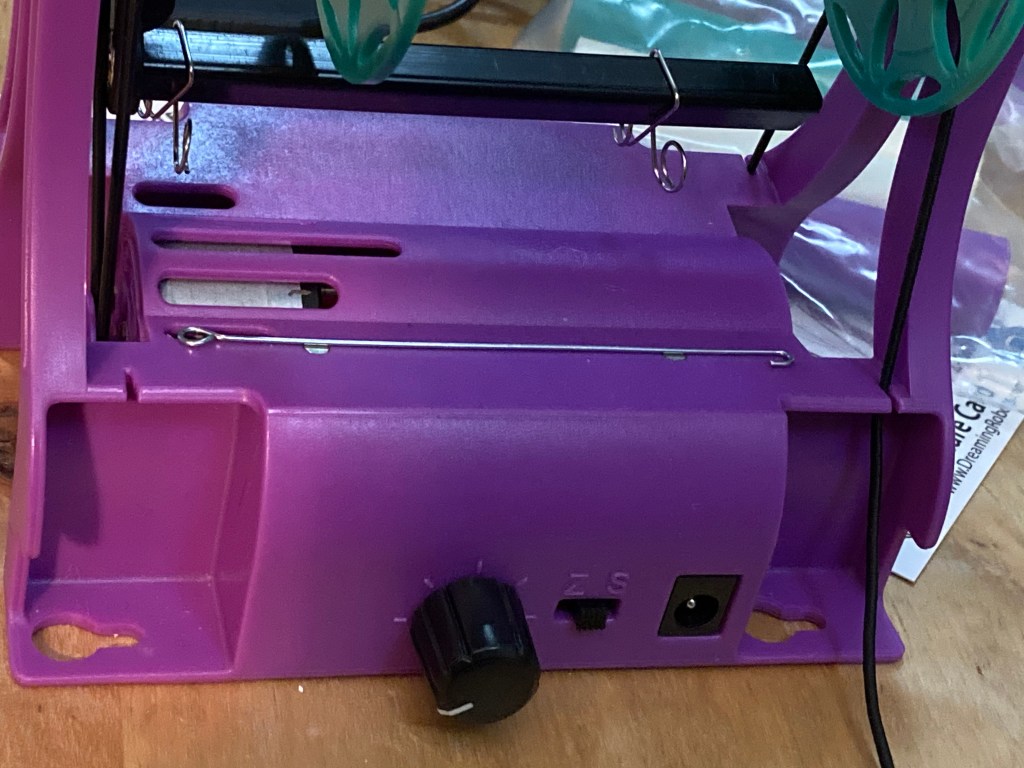
There’s an orifice hook that I have no excuse to lose, as it stays attached to the machine with a couple of tiny magnets. There is a speed control and a switch for on/off, clockwise/anticlockwise rotation.
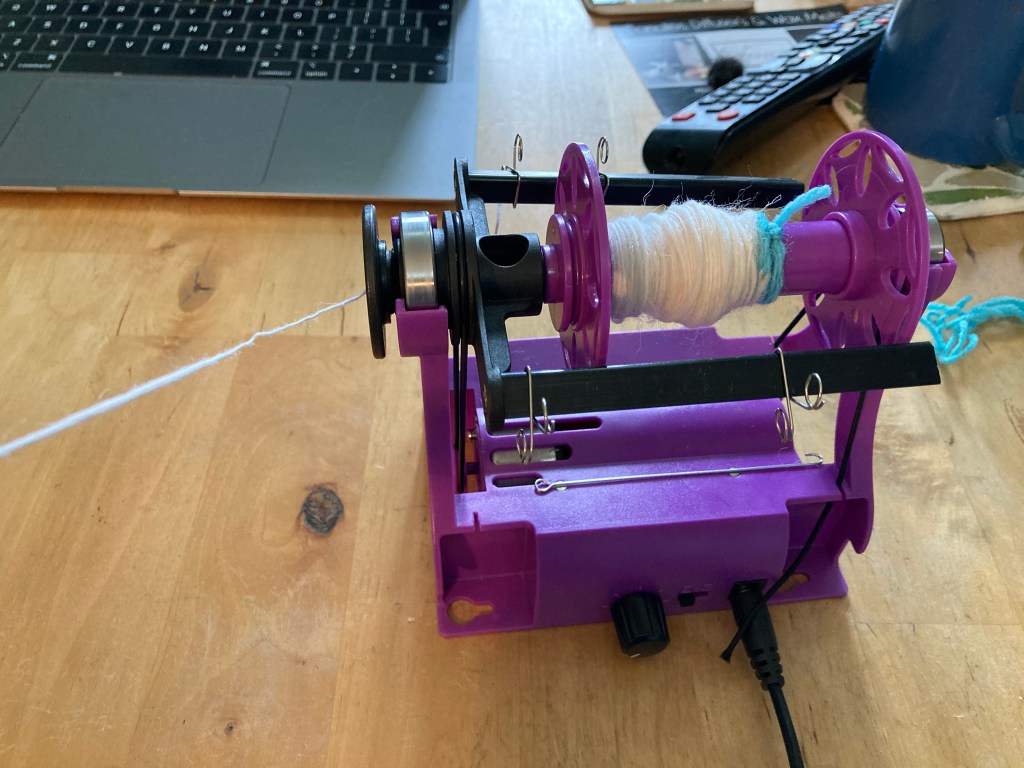
I’ve ordered some fleece online, but I did have some roving that I use for needle felting, so I couldn’t resist having a go. I followed the instruction videos which were very clear and found the Nano quite easy to use.
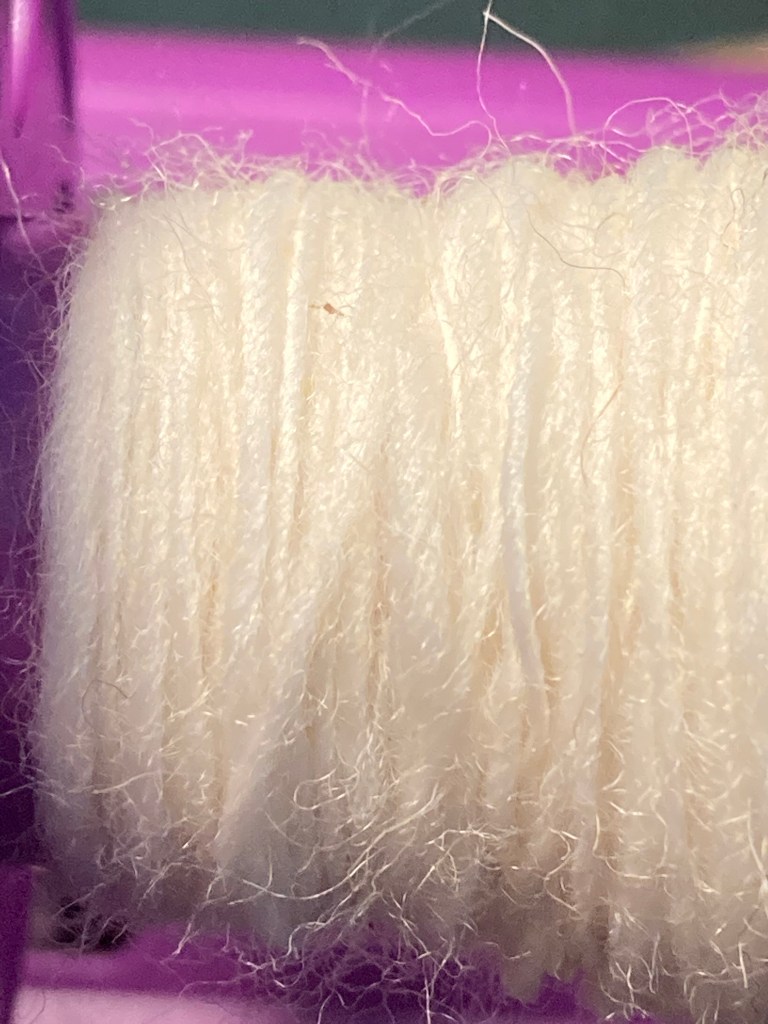
This is the result. – not the most even of yarns but I’m quite pleased with my first attempt at spinning.
The next thing I need to do is try plying it.
Hopefully my online order will arrive this week and I can do some more. I can see myself getting quite addicted!