Posted in Uncategorized

Crochet Credibility

I’ve taught a fair few people to crochet over the years, friends and members of the various craft groups I attend. I was recently asked if I would run something at The Amble Pincushion as their usual crochet tutor has retired. I’ve agreed to teach a 2-hour session on making classic granny squares, something suitable for beginners. If it works out I may do more.

Granny squares seemed a good choice. The catwalks and clothing shops have featured loads of garments that include crochet squares this year. I’ve even just seen a picture of a jumper made of crochet-printed fleece on the Nicola Knits Blog– simulated granny squares!

To get ready, I’ve been preparing yarn packs and handouts. I’ve even made a promotional video.

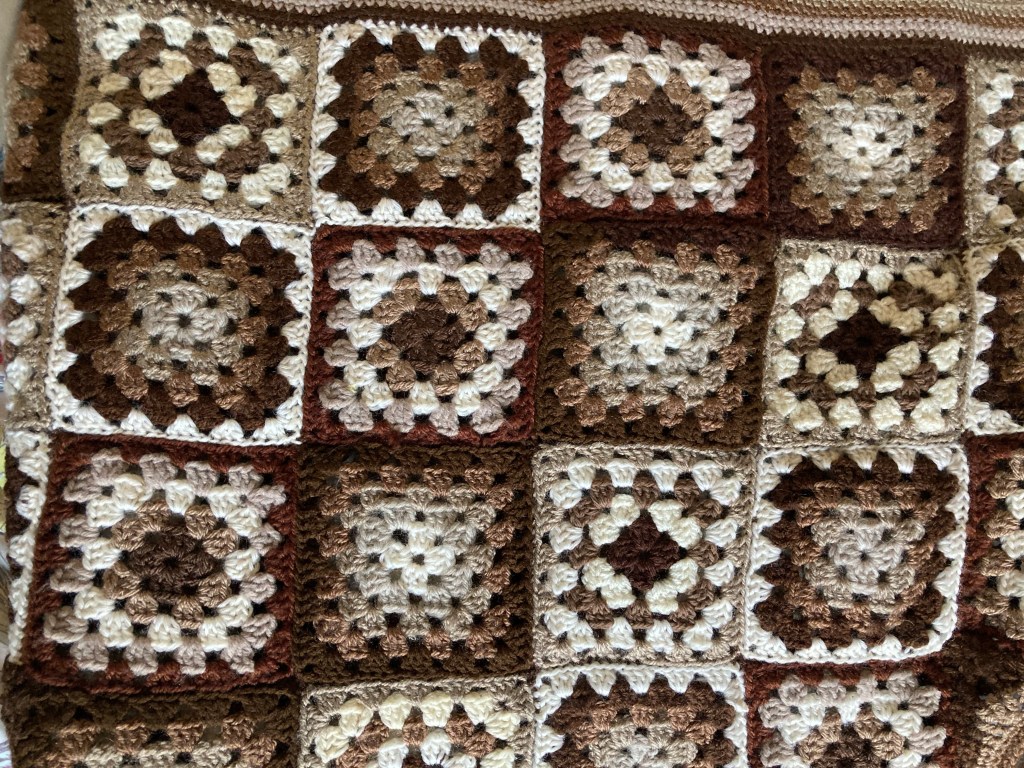
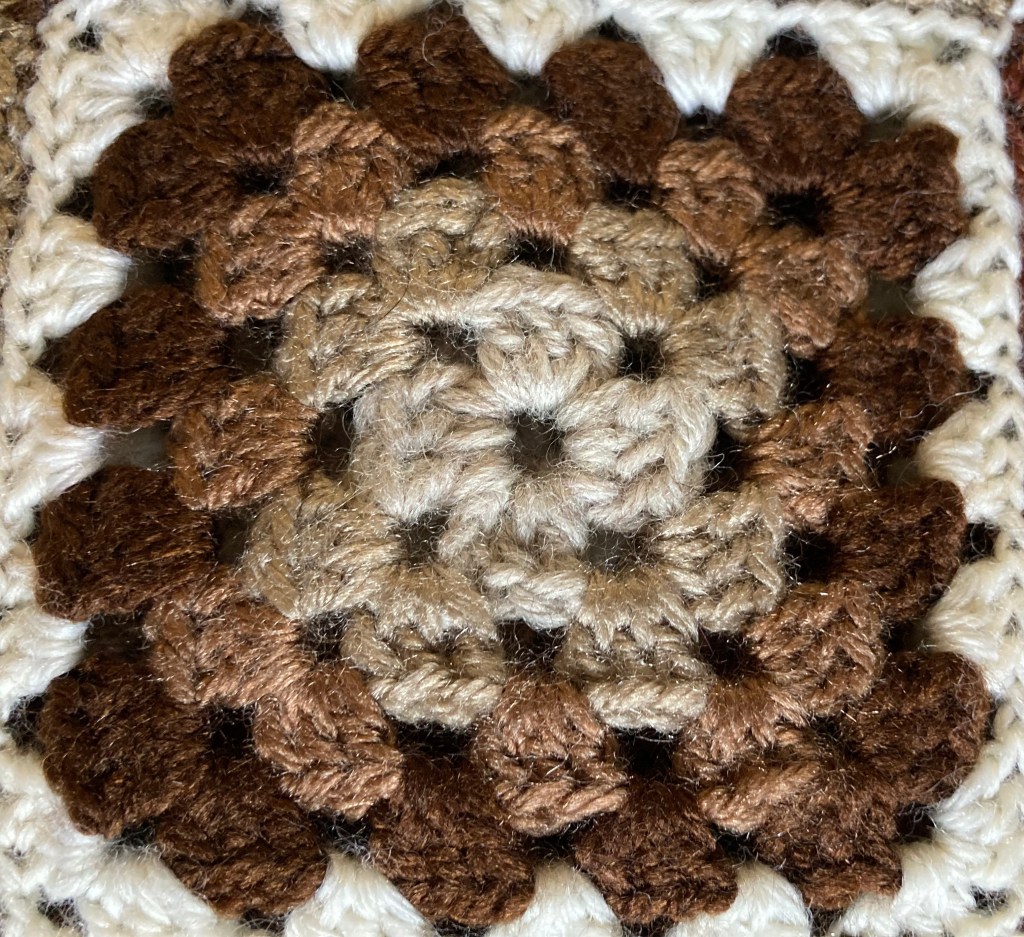
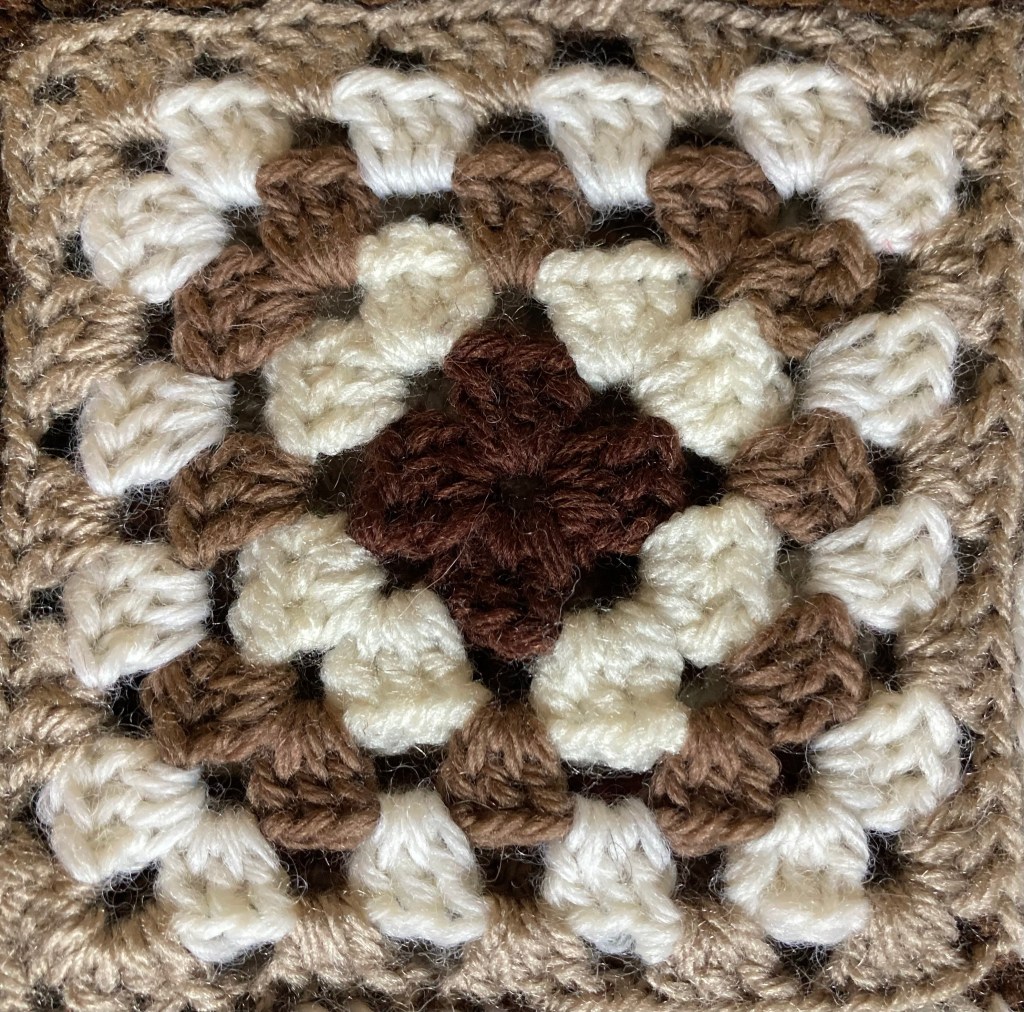
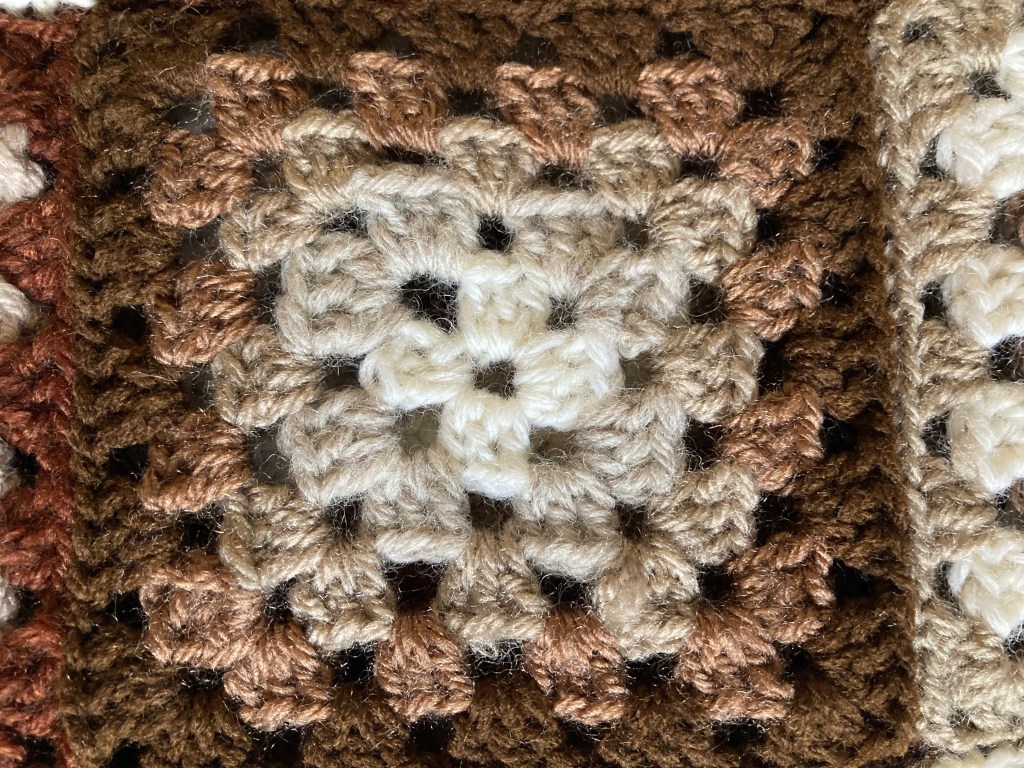
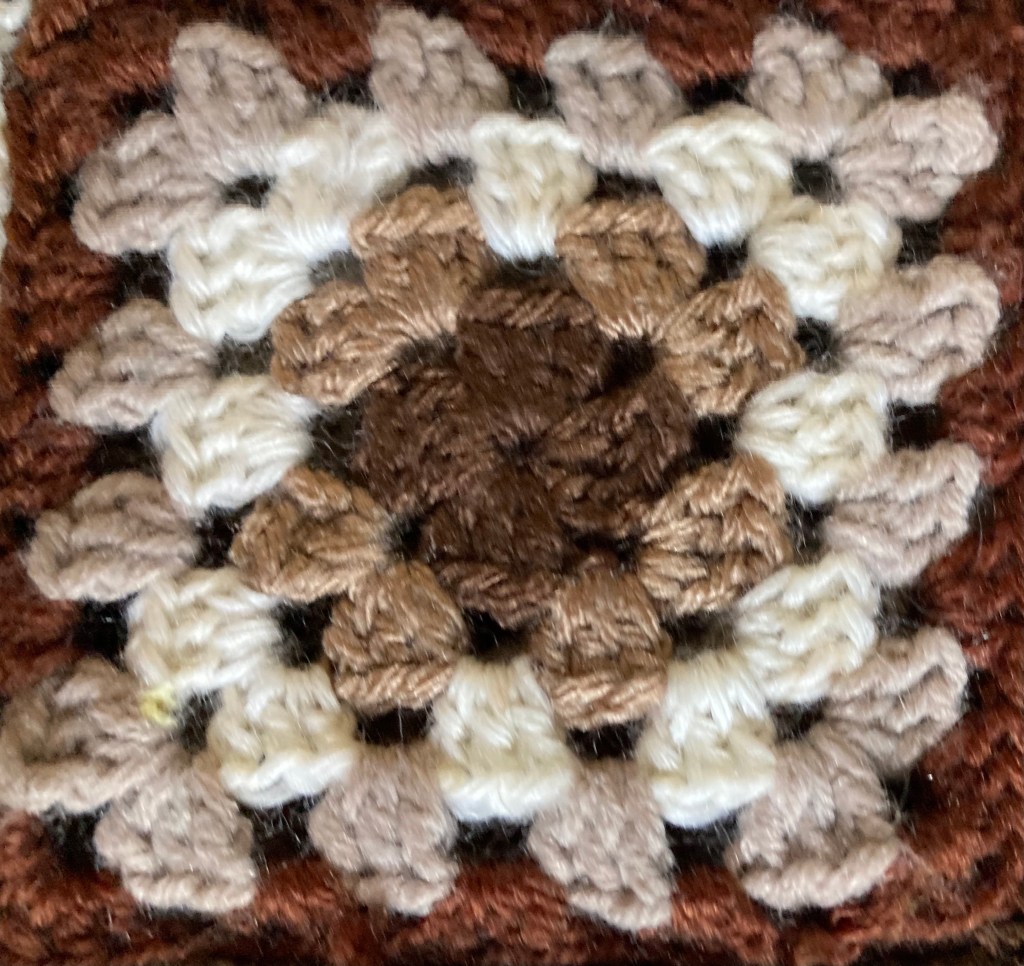
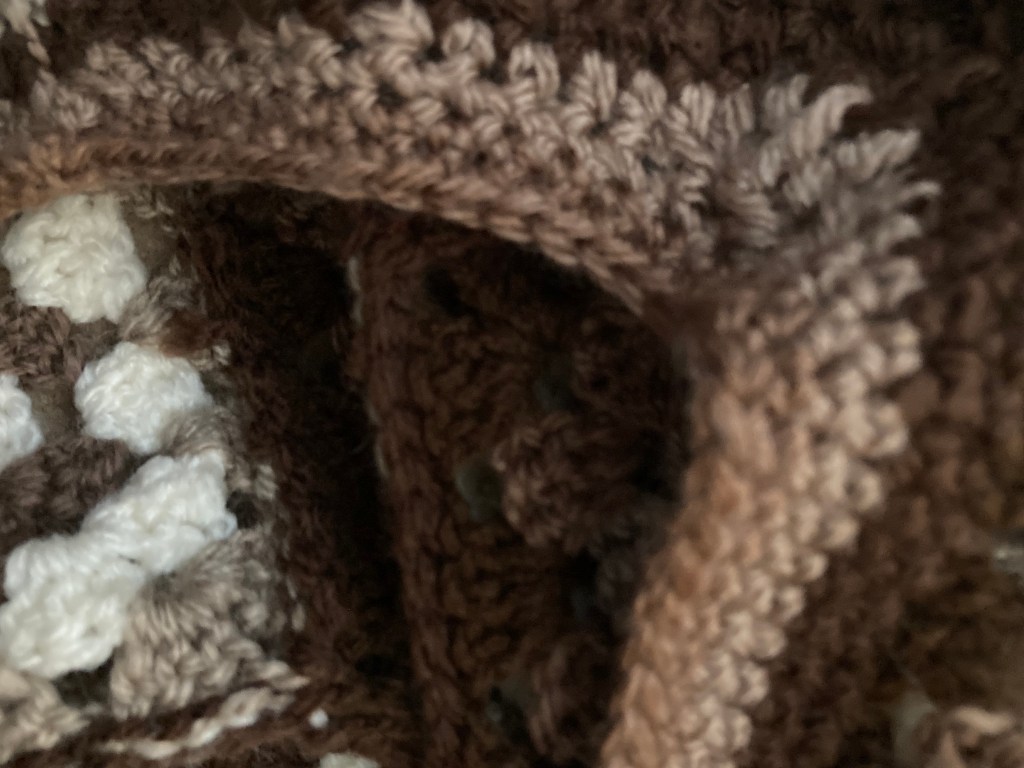
I’ve also been making lots of granny squares, most of which I made up into a sleeveless pullover. I used shades of brown, beige and white, crocheted them together and added a double crochet edging.

I used four different colour schemes for the squares and joined them sequentially.

The only thing I would have done differently is join the squares together as I went along – it did take ages to join them up. I used the crochet method which gives a really neat join.

I edged the neck, armholes and waist with a band of several rows of double crochet, placing some decreases at the underarm to improve the fit.

If I wear this for my course I’m hoping it gives my students confidence that I know what I’m talking about. Maybe I should call it my credibility top!

I just heard today that the course is fully booked, which is great news!

Have you been on a craft workshop recently? What did you enjoy most about it?

Posted in Uncategorized

A Montage of Mosaics

I had a brilliant day yesterday! I went on a course at the Amble Pin Cushion to learn what is a new skill for me: mosaics.

Our trainer, Hazel, is a self-confessed mosaic addict. “if it stays still long enough, I’ll mosaic it” she says. Hazel was first inspired by the ancient mosaics she saw while on holiday in Cyprus. She found the souvenir copies on sale to tourists less inspiring and decided to have a go herself. She began by making door plaques and house numbers for family and friends and now makes all sorts of pieces and kits for sale, as well as teaching, giving talks and demonstrations.

The morning session involved making coasters using pre-cut mosaic tile squares in two sizes. We had a huge colour selection to choose from, including glittery and iridescent tiles so deciding which ones to use was probably the hardest task of the day!. We drew round plain coasters and arranged the tiles on the paper outline until we were happy with our design, making sure to incorporate gaps to allow for the grouting. We then transferred the tiles to the coaster base, glueing them in position. We used a PVA glue, not too fast drying, to allow any adjustments to tile position. We left the grouting until the end of the day to allow the glue to dry.

I managed two coasters before we broke for lunch (which was included in the price of the full day course – some participants attended for half a day only).

My coasters before grouting.

After lunch we worked on “intermediate” projects, involving more complex shapes and cutting the tiles. It took a little while to get the cutting technique right but before long I was getting the shapes I wanted. We used safety glasses for this stage – the tile fragments can fly in all directions if you don’t hold them securely- they can be quite sharp too so care is needed. I worked on a photo frame in shades of blue and white

We finished the day by mixing up some grout and using it to fill in the spaces and create a neat edge. Hazel describes the perfect grout consistency as being like butter icing. We used our fingers to apply the grout, pushing it into all the spaces and running a finger along the edges of each piece of work to get a neat edge. The grouting dries quite quickly so the next stage was to use a piece of wet sponge to wipe away the excess grout, wetting it frequently and dabbing it away to reveal the mosaic, not forgetting to clean the cork backing of the coasters.

Completed Coasters

Grouting really makes the colours pop. We used plain white, but you can use acrylic paint to tint the mix. I’m really pleased with the result. As time was running out I brought some grout powder home and completed my photo frame today, removing the glass from the frame first and ensuring that there was no grout left in the corners to stop the glass going back in later. There was enough mixture left to fill in a couple of tiny gaps I noticed in one of the coasters too.

I’m really happy with what I’ve made and have lots of ideas other projects that I can’t wait to try.

Have you learnt any new crafts or other skills recently?