Posted in Uncategorized

Sea Glass Mosaics

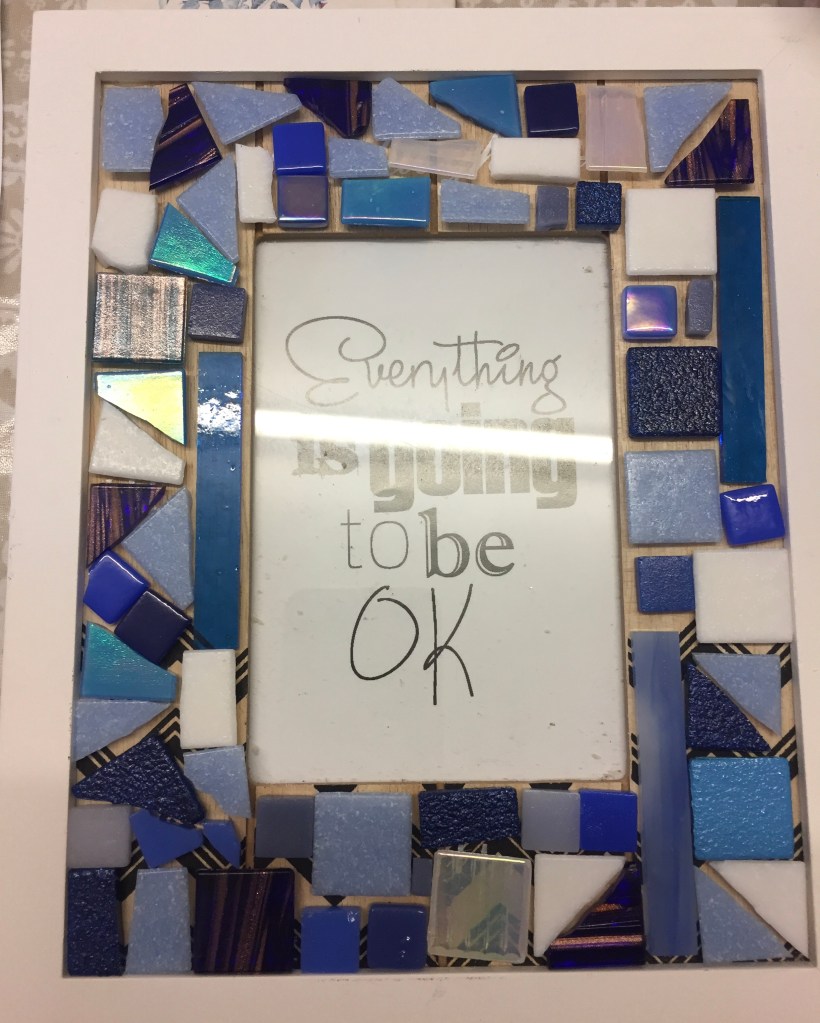
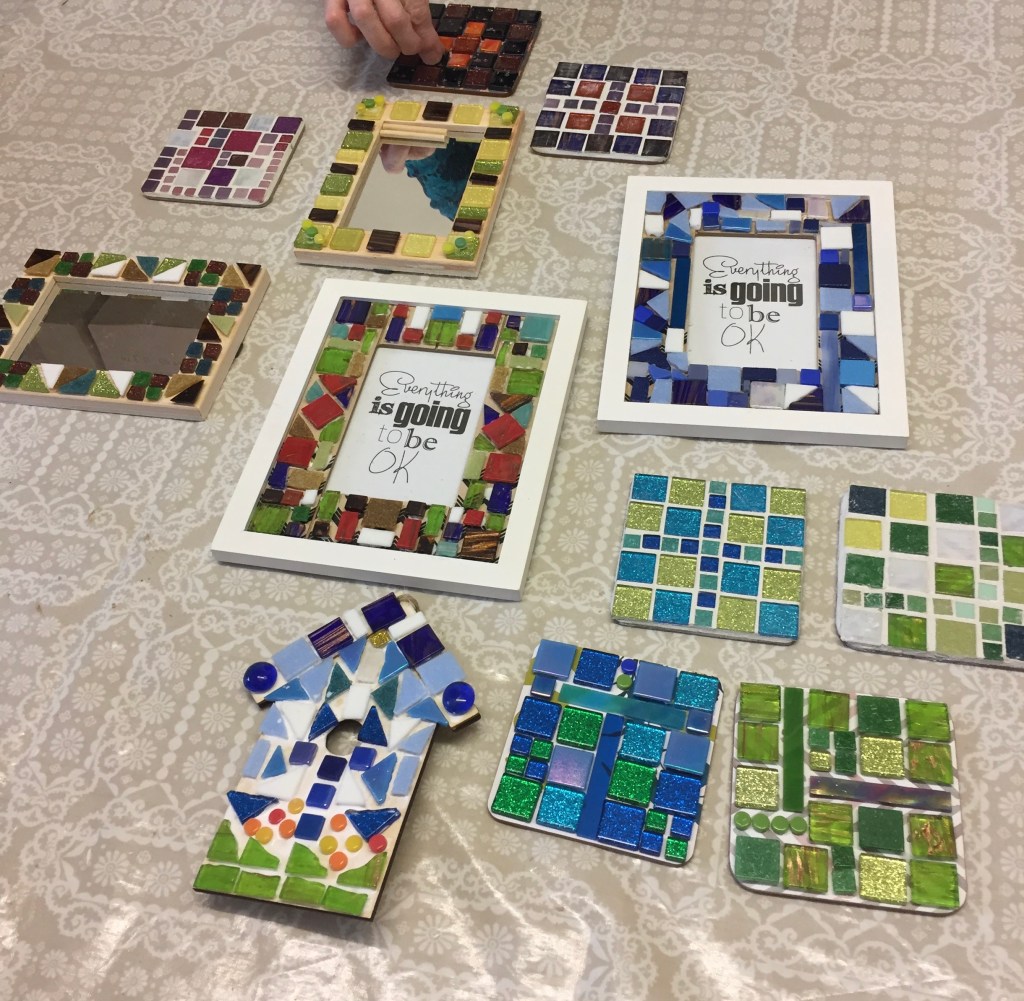
A few weeks ago I went on a mosaic course at The Amble Pin Cushion (you can read all about it here).

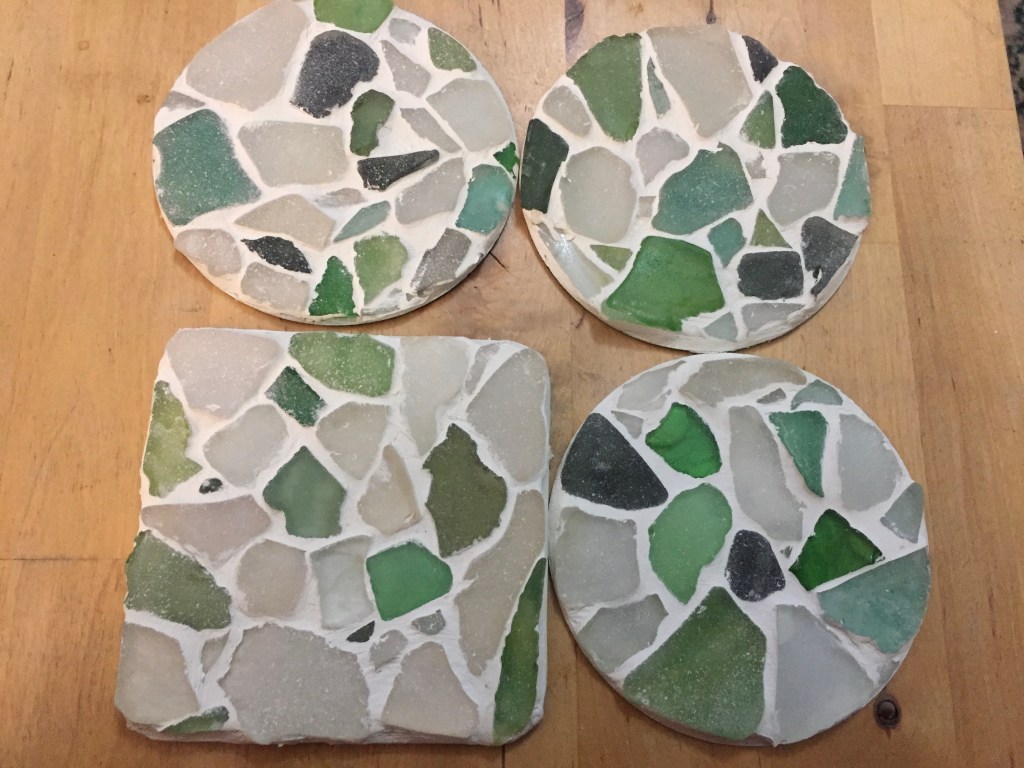
I realised I had a load of material that I could use for mosaic work. K, who takes the dog for long beach walks (he’s a big dog and needs a lot of exercise) is constantly beach combing and comes home with loads of sea glass, worn fragments of china, shells and pebbles. The best pieces of sea glass are those beautifully rounded translucent pebbles, but it takes years of abrasion from sand and shingle for them to get like that. Most of the pieces are newer and less sea-worn than that, with maybe just the sharp edges worn off and a slight abrasion to the surface.

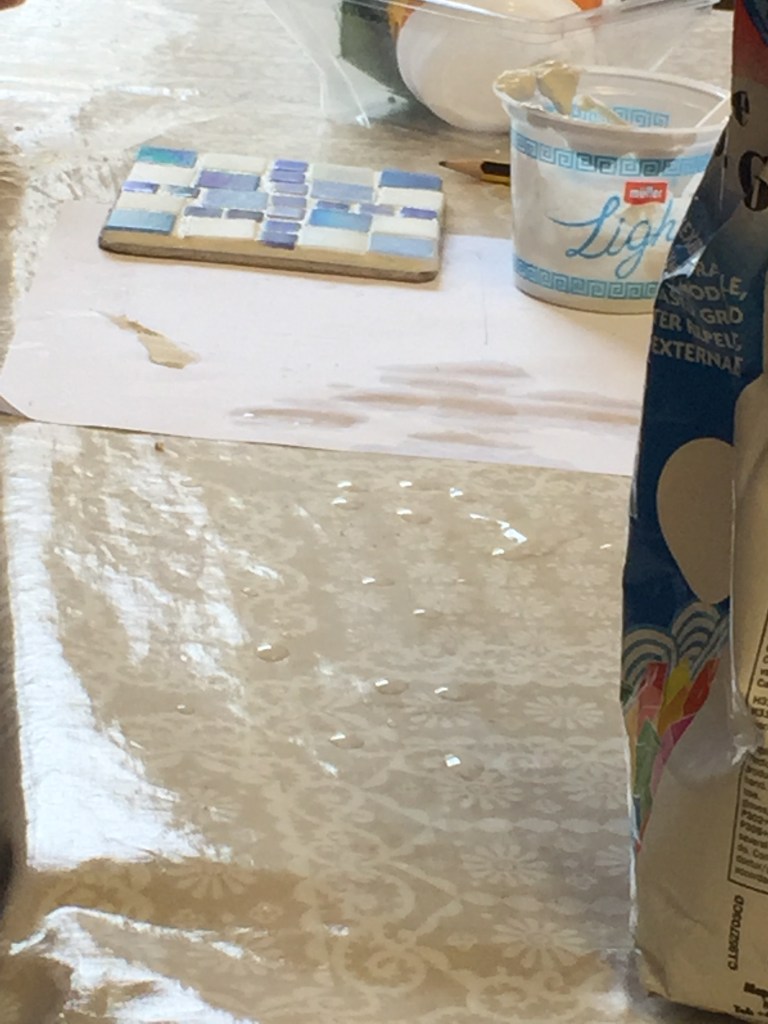
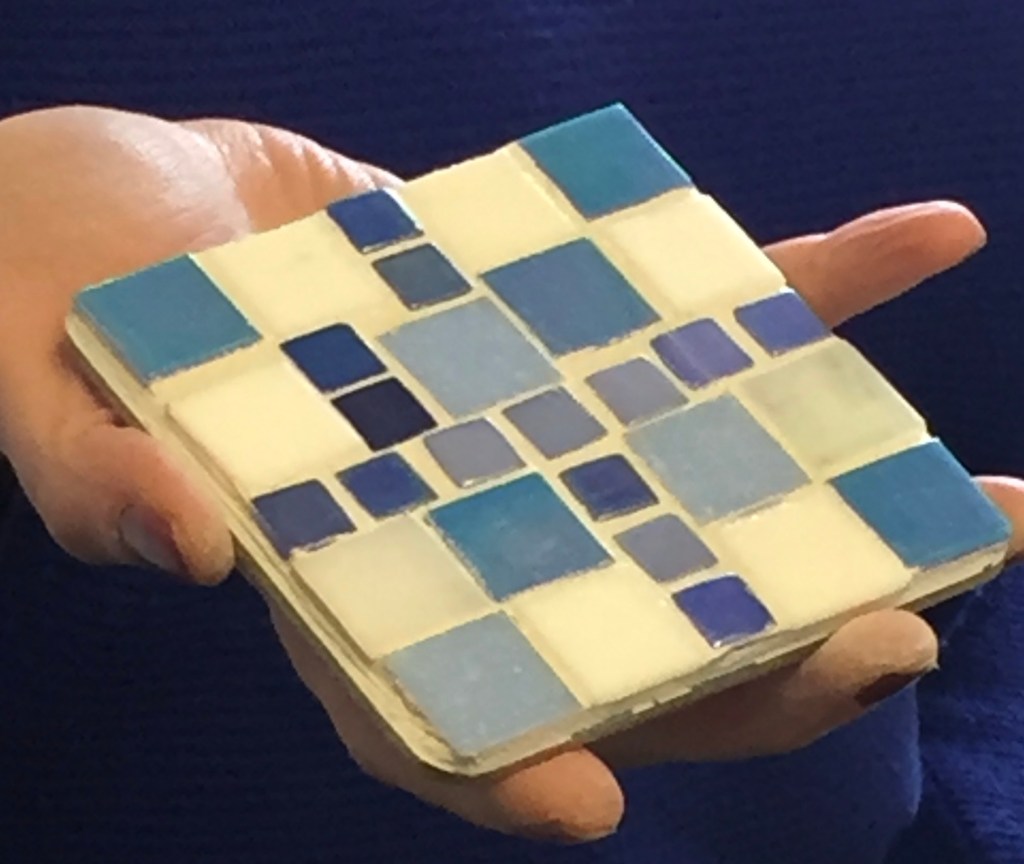
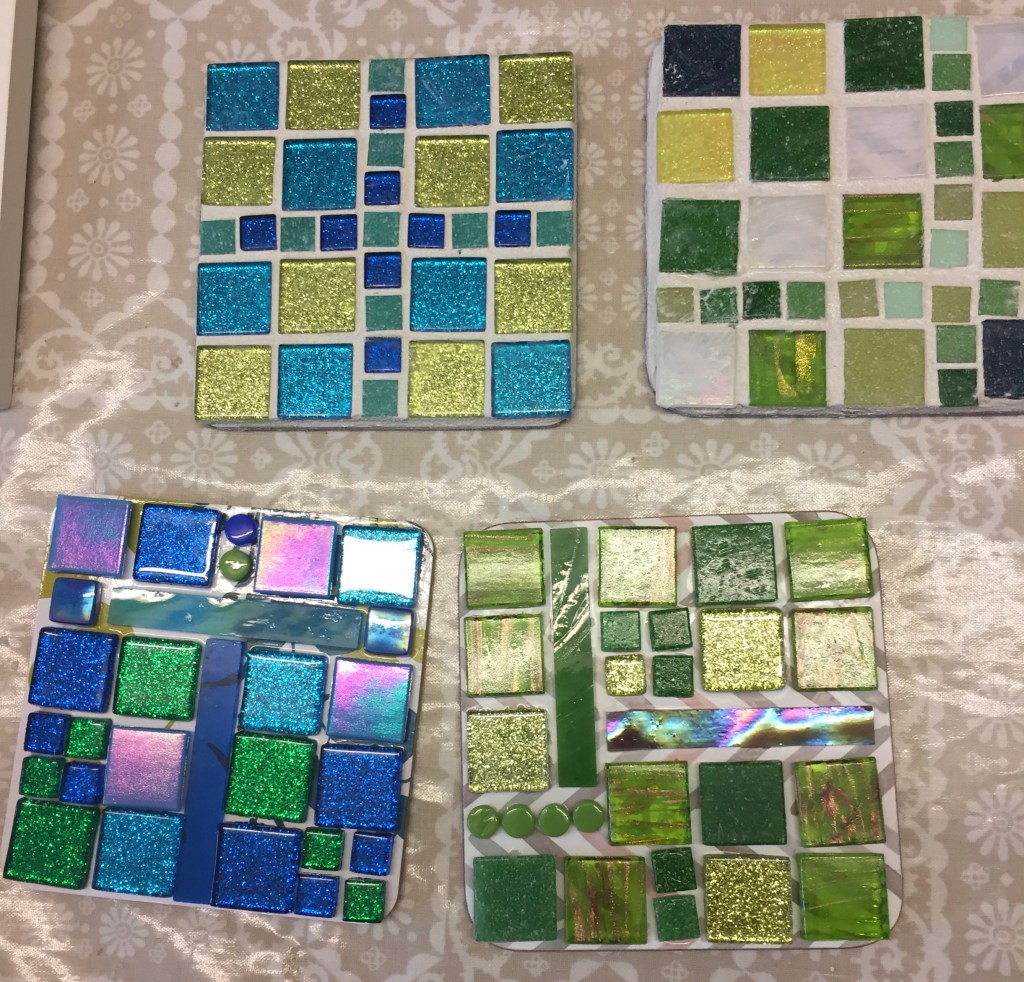
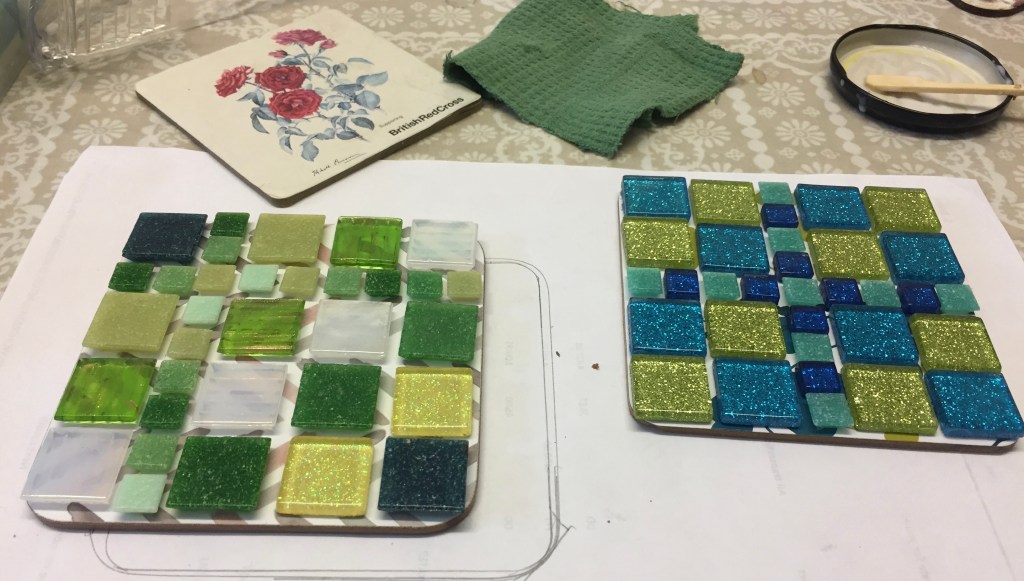
The main issue here was that the glass pieces were all of different thicknesses – I tried to select flat ones of similar thickness. I drew around the old coasters I was covering and arranged the pieces on the template, leaving slight gaps in between. I used my newly purchased glass and tile cutters to make a few of the pieces fit. Most of what I had was colourless, – I wanted a green and white colour palette but had very little green glass. I raided my nail polish collection (I have a ridiculous amount of nail polish and am a bit obsessed with my nails). I painted the back of some of the glass pieces with different shades of green polish. I was really pleased with this – you could not tell the difference between the green glass, which comes in different shades of green, and the painted ones.

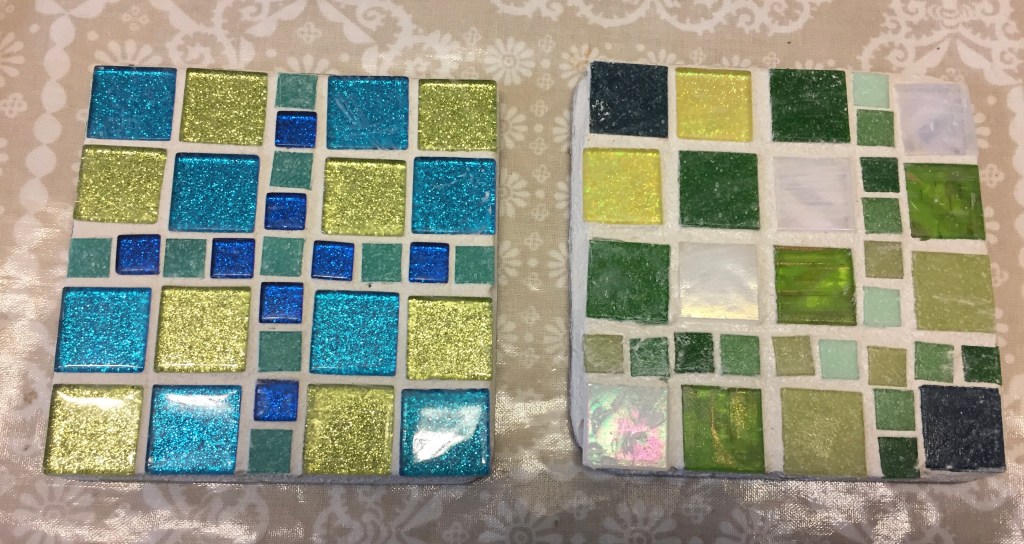
I painted the old coasters with white acrylic paint so the original design didn’t show through. When it was dry, I applied a thick coat of PVA glue, let it go tacky, then added another coat. When this started to dry I transferred the glass pieced and such them on the coaster – the thick glue was to allow for any differences in thickness: Thicker pieces were pressed fully into the glue, thinner ones, presser more lightly to get as uniform surface level as possible.

When the glue dried, I mixed up some grout and filled the gaps and edges with it, running a finger along each edge to neaten it. You really need to use your fingers to make sure all the crevices are filled, which is delightfully messy. Using a damp sponge, I gently removed as much grout as I could grout from the surface of the glass pieces before it dried and repeated to remove any residue after it had fully hardened.

I love my finished coaster! They are not perfectly flat, but are ideal for chunky coffee mugs (maybe less so for delicate champagne flutes!)

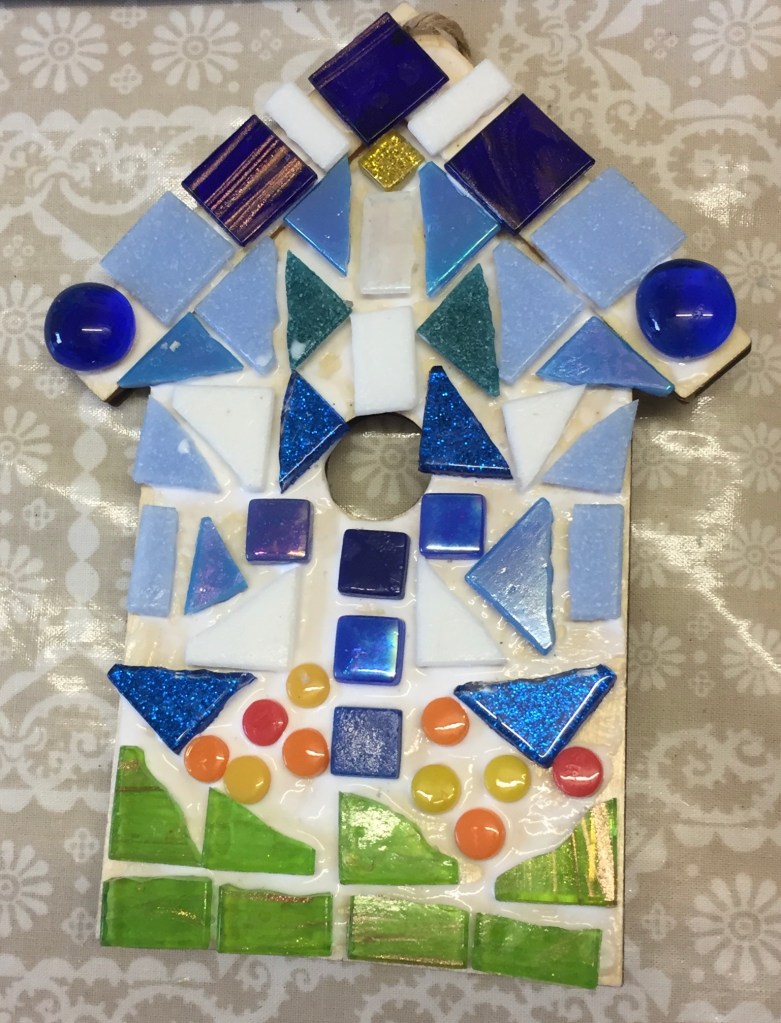
I’m going to try a few more and use some of the china fragments.

It’s been great to find something absorbing to do to take my mind off these troubled times. Have you been trying any new crafts and hobbies while we have to stay at home?

Posted in Uncategorized

A Montage of Mosaics

I had a brilliant day yesterday! I went on a course at the Amble Pin Cushion to learn what is a new skill for me: mosaics.

Our trainer, Hazel, is a self-confessed mosaic addict. “if it stays still long enough, I’ll mosaic it” she says. Hazel was first inspired by the ancient mosaics she saw while on holiday in Cyprus. She found the souvenir copies on sale to tourists less inspiring and decided to have a go herself. She began by making door plaques and house numbers for family and friends and now makes all sorts of pieces and kits for sale, as well as teaching, giving talks and demonstrations.

The morning session involved making coasters using pre-cut mosaic tile squares in two sizes. We had a huge colour selection to choose from, including glittery and iridescent tiles so deciding which ones to use was probably the hardest task of the day!. We drew round plain coasters and arranged the tiles on the paper outline until we were happy with our design, making sure to incorporate gaps to allow for the grouting. We then transferred the tiles to the coaster base, glueing them in position. We used a PVA glue, not too fast drying, to allow any adjustments to tile position. We left the grouting until the end of the day to allow the glue to dry.

I managed two coasters before we broke for lunch (which was included in the price of the full day course – some participants attended for half a day only).

My coasters before grouting.

After lunch we worked on “intermediate” projects, involving more complex shapes and cutting the tiles. It took a little while to get the cutting technique right but before long I was getting the shapes I wanted. We used safety glasses for this stage – the tile fragments can fly in all directions if you don’t hold them securely- they can be quite sharp too so care is needed. I worked on a photo frame in shades of blue and white

We finished the day by mixing up some grout and using it to fill in the spaces and create a neat edge. Hazel describes the perfect grout consistency as being like butter icing. We used our fingers to apply the grout, pushing it into all the spaces and running a finger along the edges of each piece of work to get a neat edge. The grouting dries quite quickly so the next stage was to use a piece of wet sponge to wipe away the excess grout, wetting it frequently and dabbing it away to reveal the mosaic, not forgetting to clean the cork backing of the coasters.

Completed Coasters

Grouting really makes the colours pop. We used plain white, but you can use acrylic paint to tint the mix. I’m really pleased with the result. As time was running out I brought some grout powder home and completed my photo frame today, removing the glass from the frame first and ensuring that there was no grout left in the corners to stop the glass going back in later. There was enough mixture left to fill in a couple of tiny gaps I noticed in one of the coasters too.

I’m really happy with what I’ve made and have lots of ideas other projects that I can’t wait to try.

Have you learnt any new crafts or other skills recently?