Posted in knitting

Knit-A-Long Baby Blanket: Week 3

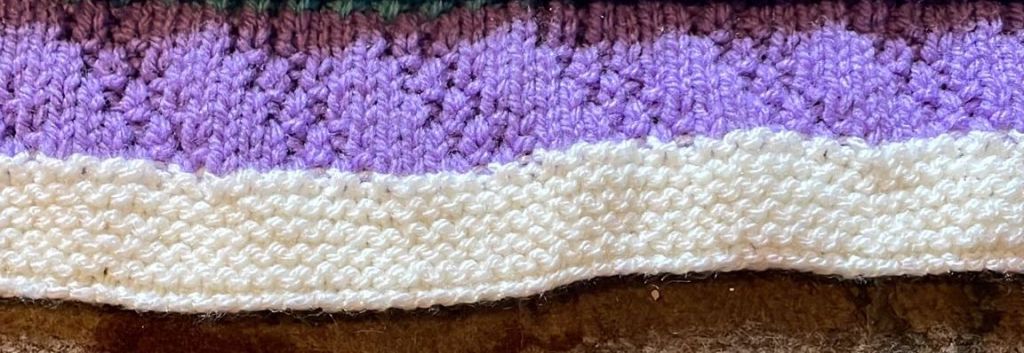
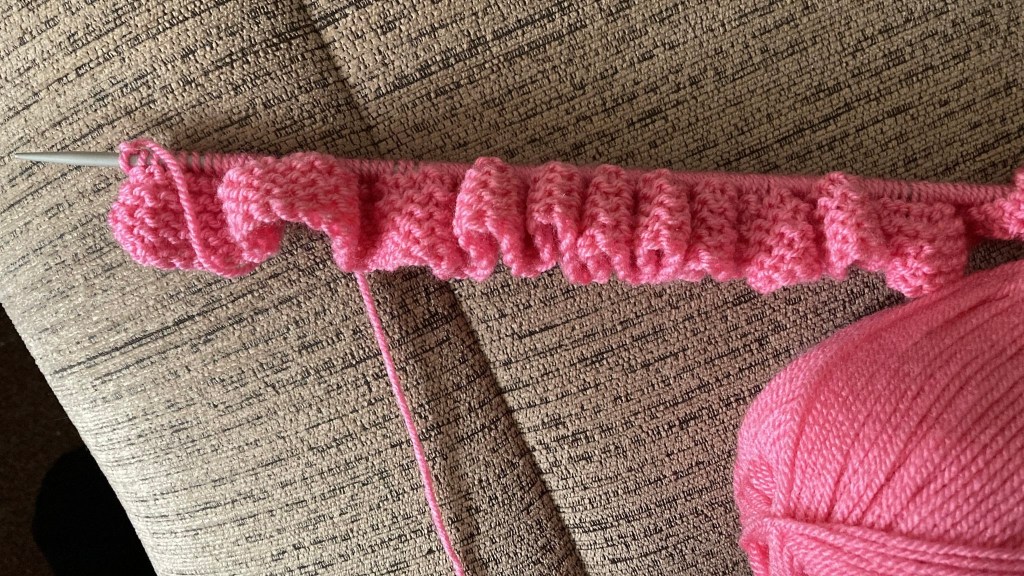
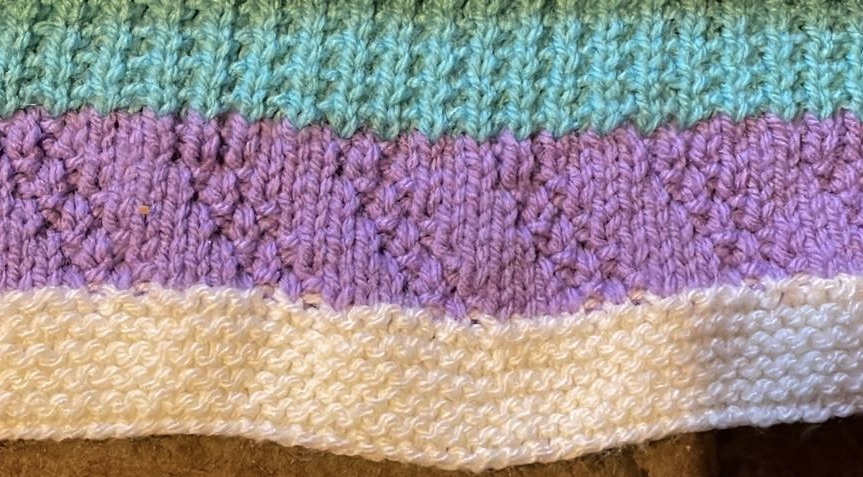
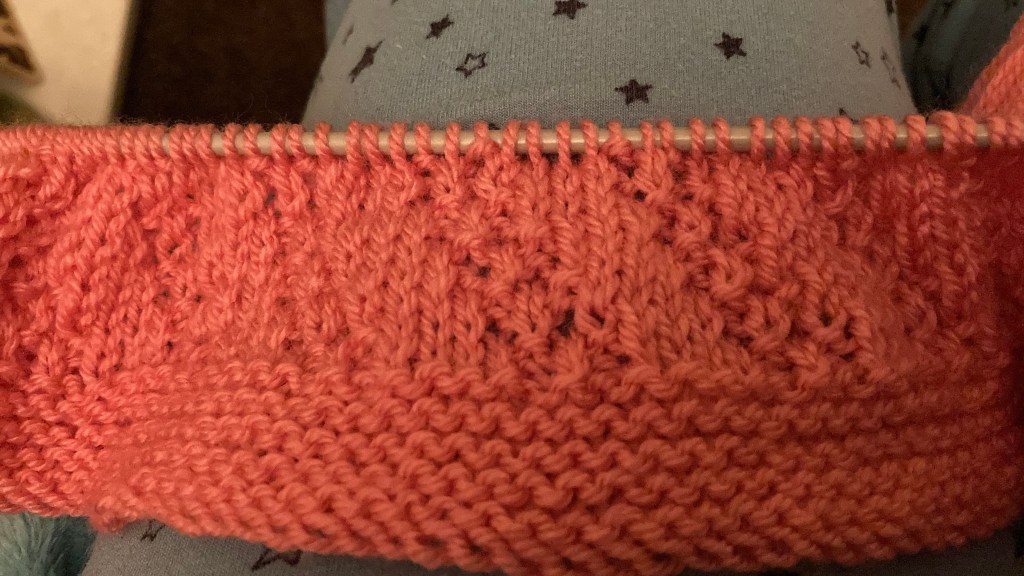
It’s KAL time! As you’ll have realised if you are taking part, this is a MYSTERY KAL. This means that Yvonne, who designed our baby blanket is not showing us what the finished item will look like, only revealing it gradually, week-by-week as each section of the pattern is released. Before I post her next set of instructions, here’s where we are up to before Week 3’s knitting starts. This is L’s pink blanket so far……

…and R’s which combines a pink border with a pink and white yarn for the Week 2 pattern. The colours go beautifully.

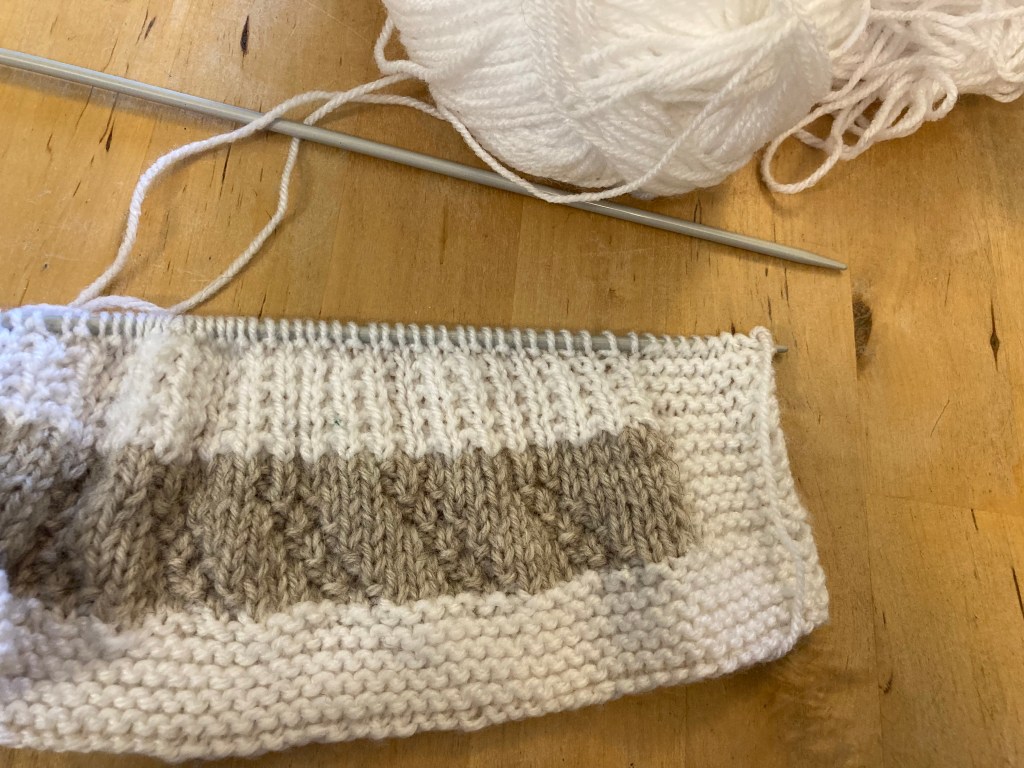
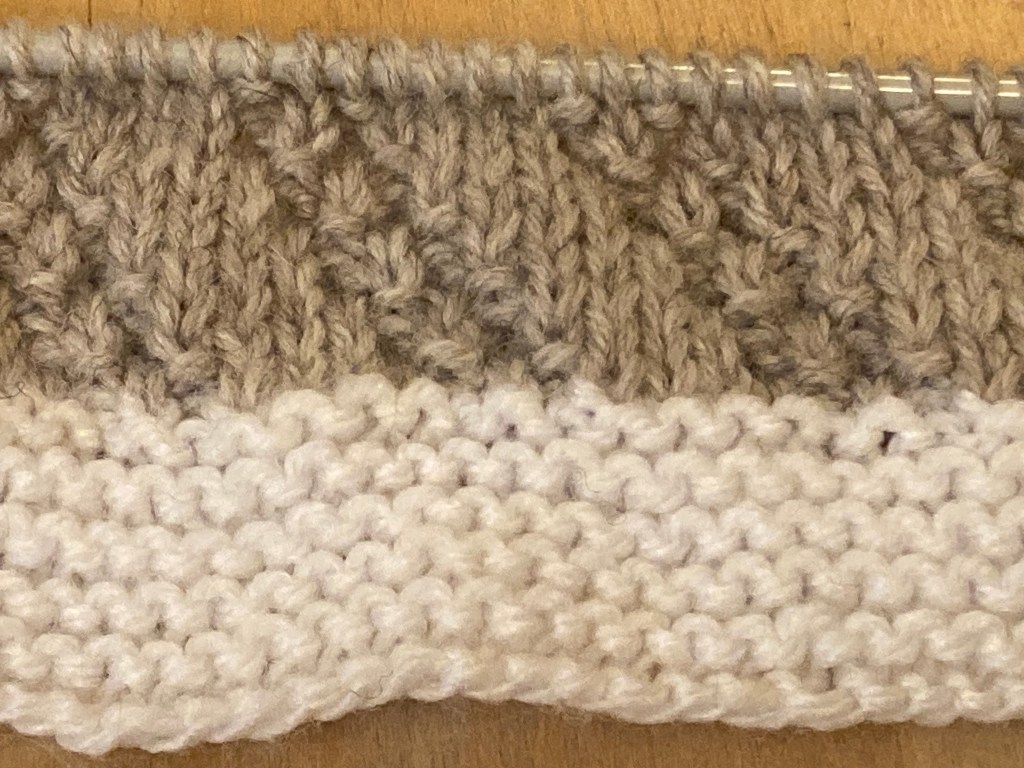
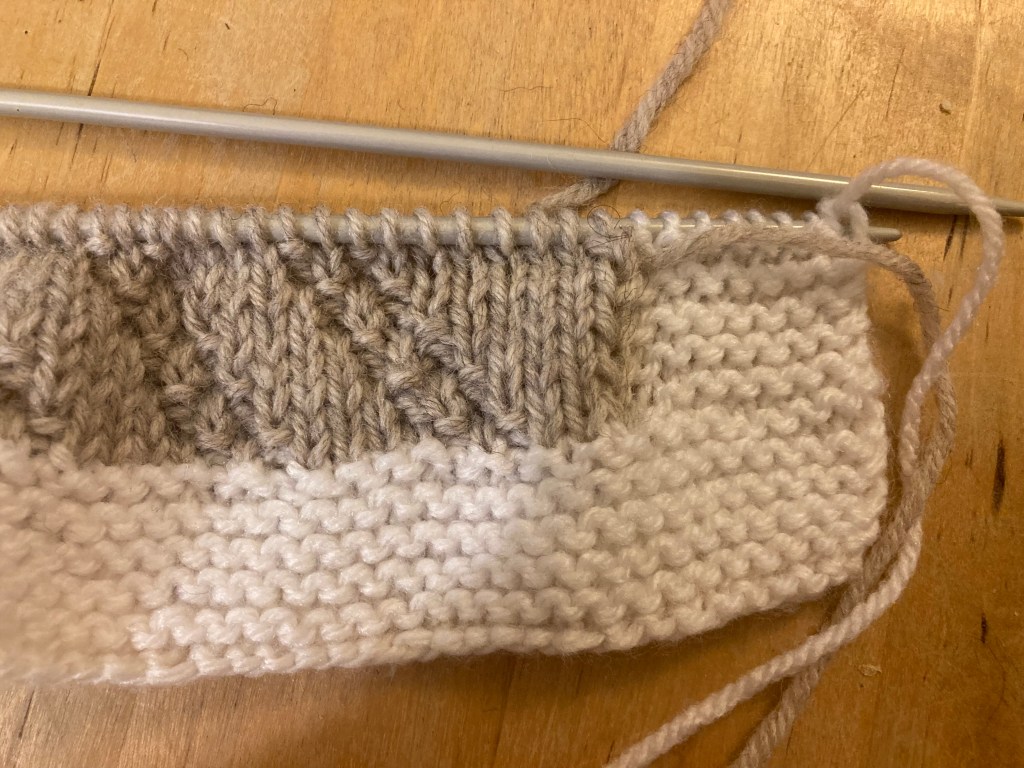
Here is mine, which has a white border.

The Week 2 pattern was not without its challenges. One wrong stitch threw the rest of the row out and I had to start this bit again. Yvonne has been a little more lenient with us this week!

Week 3 Instructions

Yvonne writes, “Hi All. Week 3 already. I can’t believe it! Hope everyone managed to sort out the mishaps from last week but we are having an easier one this week.”

So here we go, remembering that the first and last 8 sts are in garter stitch.

Row 1, K to end.
Row 2, P1, K1, repeat to end.

These 2 rows form this week’s pattern so repeat rows 1 and 2 until 10 rows have been done in total.

“Until next week, happy knitting.”

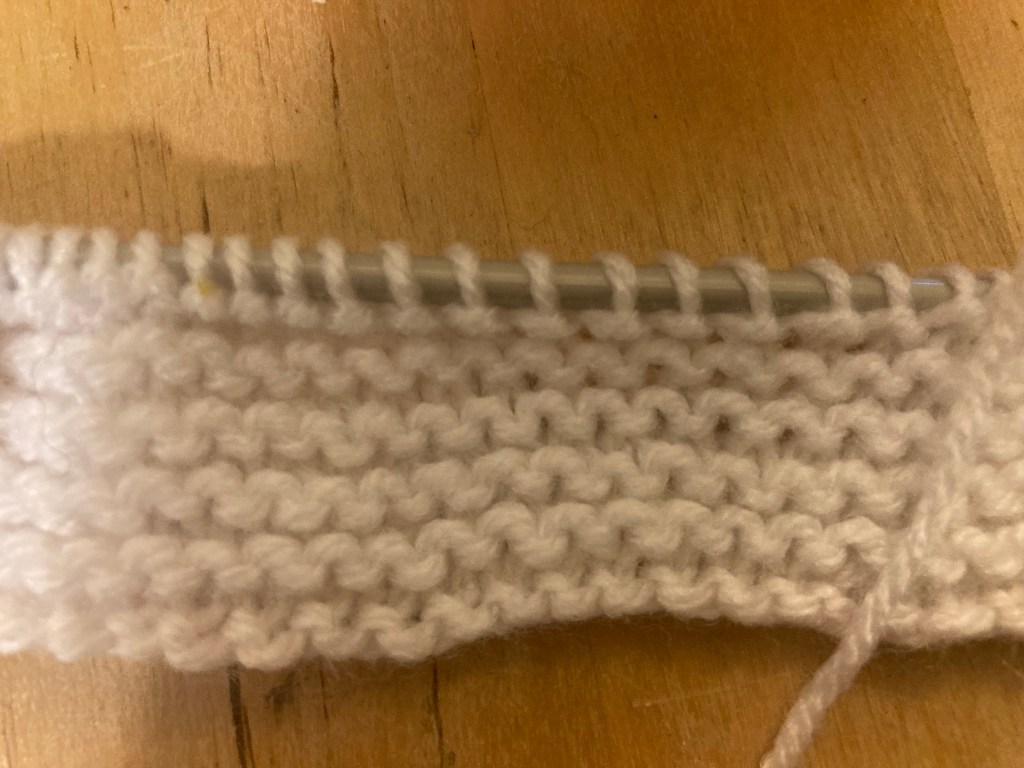
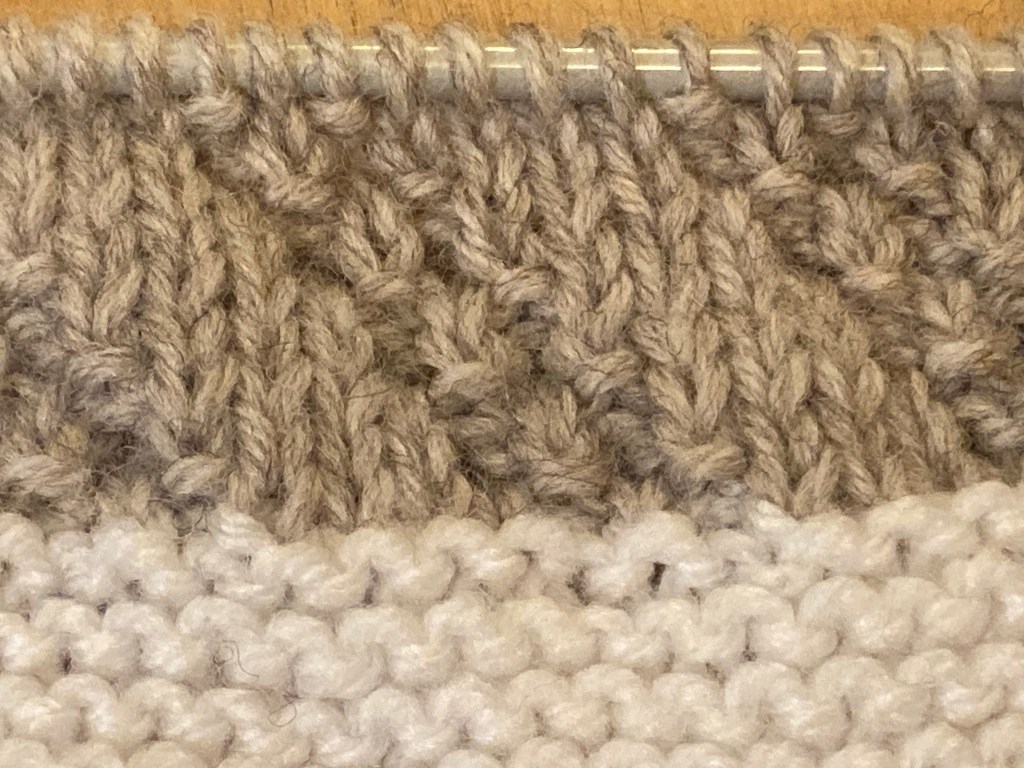
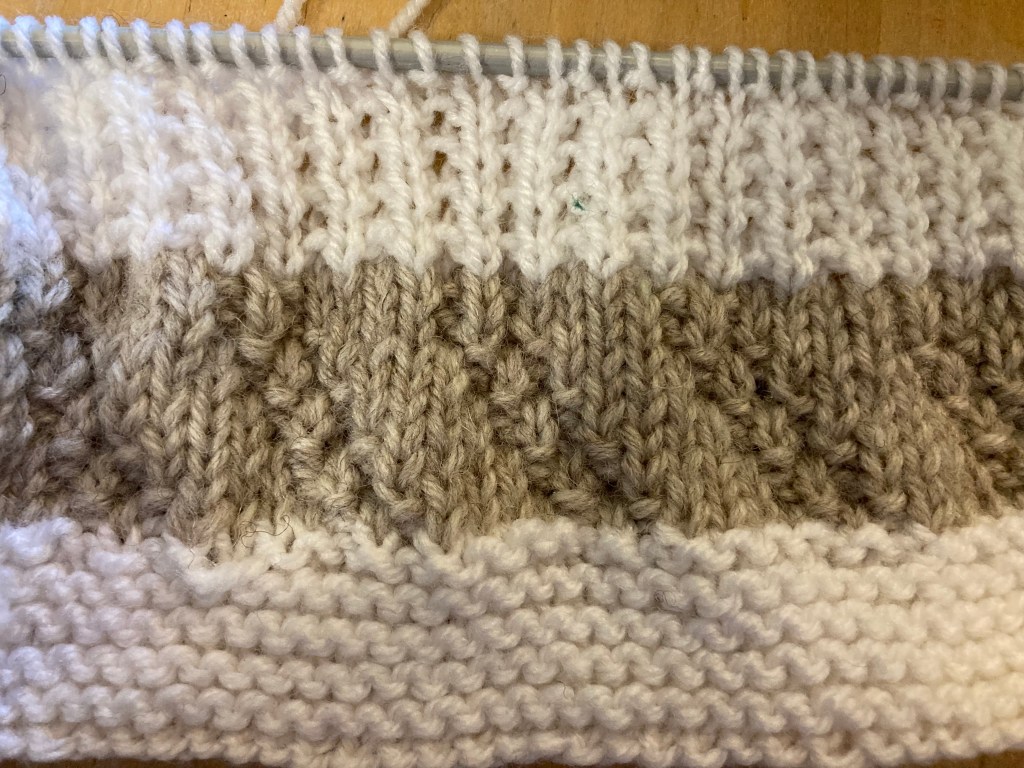
This is mine in close up. I hope it shows clearly enough what Week 3’s design looks like. As I’ve mentioned previously, mine has a white garter stitch border. I’ve decided to alternate white and coloured sections for the body of the blanket. What colour next week I wonder?

I’d love to hear about your progress on the KAL… with photos if possible. Did you run into any problems with Week 2? Are you using a contrasting border? One colour or stripes?

Good luck with Week 3. The next instalment will be posted next week.

Posted in knitting

Knit-A-Long Baby Blanket: Week 2

All of us at our Knit and Natter Group are really enjoying the KAL designed by Yvonne. Part of the fun is the anticipation of waiting for her next set of instructions. Welcome to blog follower Liz and everyone else who is joining us for the KAL.

We all got off to a great start with Week One – the garter stitch border, which should look like this.

I’ve chosen white yarn for the border, as did Yvonne for her prototype blanket pictured at the top of the post. It looks great in a colour too – L chose this lovely pink.

As Yvonne explained last week, the blanket should look good whether it is knitted in one colour or you change colour for each instalment of 10 rows. She broke us in gently with Week One, but the next instalment requires a little more concentration.You will end up with diagonal stripes of double moss stitch.

Week 2 Instructions

Yvonne writes, “We have already done our bottom edge and as we go we will do the side edges also.
From now on the first and last 8 stitches will be in garter stitch throughout the rest of the blanket and we will have different patterns in the middle of the blanket.”

So here we go.

The abbreviations for this are: K=knit, P=purl, sts= stitches 

Row 1. Knit the first 8 stitches and begin this week’s pattern, K3 *P1, K1, P1, K4 repeat from * to last 3 stitches K to end.
Row 2. After the garter stitch of 8 stitches continue as follows, P3, *P4, K1, P1, K1 repeat from *to last 3 stitches P3 and garter stitch last 8.
Row 3. K3 *(K1, P1) twice, K3 repeat from * to last 3 sts K3
Row 4. P3 *P3, (K1, P1) twice rep from * to last 3 sts P3
Row 5. K5, P1, K1, P1, *K4, P1, K1, P1 rep from * to last 5 sts K to end
Row 6. P5, K1, P1, K1, *P4, K1, P1, K1 rep from * to last 5 sts P to end 
Row 7. K6, P1, K1, P1, *K4, P1, K1, P1 rep from * to last 4 sts K to end
Row 8. P3, (P1, K1) twice, *P4, K1, P1, K1 rep from * to last 6 sts P to end
Row 9. K3, *K4, P1, K1, P1 rep from * to last 3 sts K to end
Row 10. P3, *K1, P1, K1, P4 rep from * to last 3 sts P to end

This is a vertical zigzag moss st 
Hope you enjoy this pattern and happy knitting until next week.

Yvonne

The garter stitch border carries on up each side so you could continue the 8 stitch border up the sides in the same colour and you did week one – that’s what I’ve decided to do.

You’ll need a separate ball of wood for each side border plus one for the coloured central pattern if you decide to do that. Remember to twist the strands of yarn together at the colour change before and after the 8 stitches of garter stitch to avoid getting a hole.

Enjoy Week Two. I’d love hear how you are getting on with your blanket..