Posted in Uncategorized

A Sock Knitting Revelation

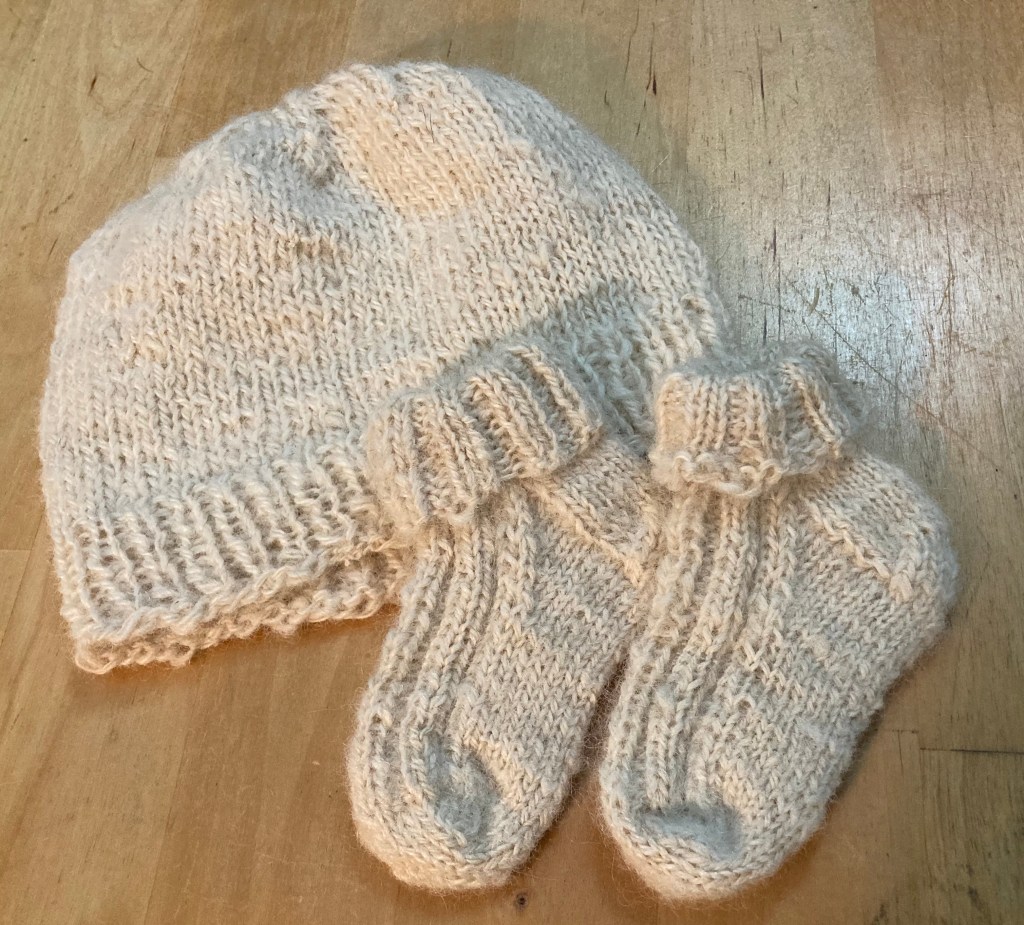
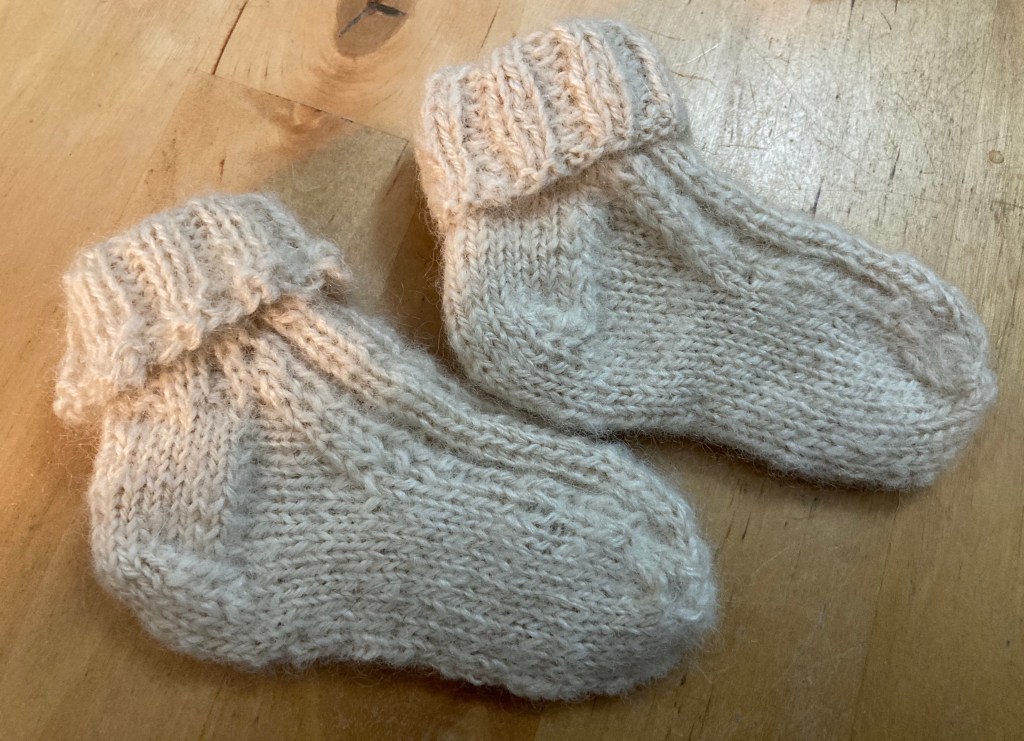
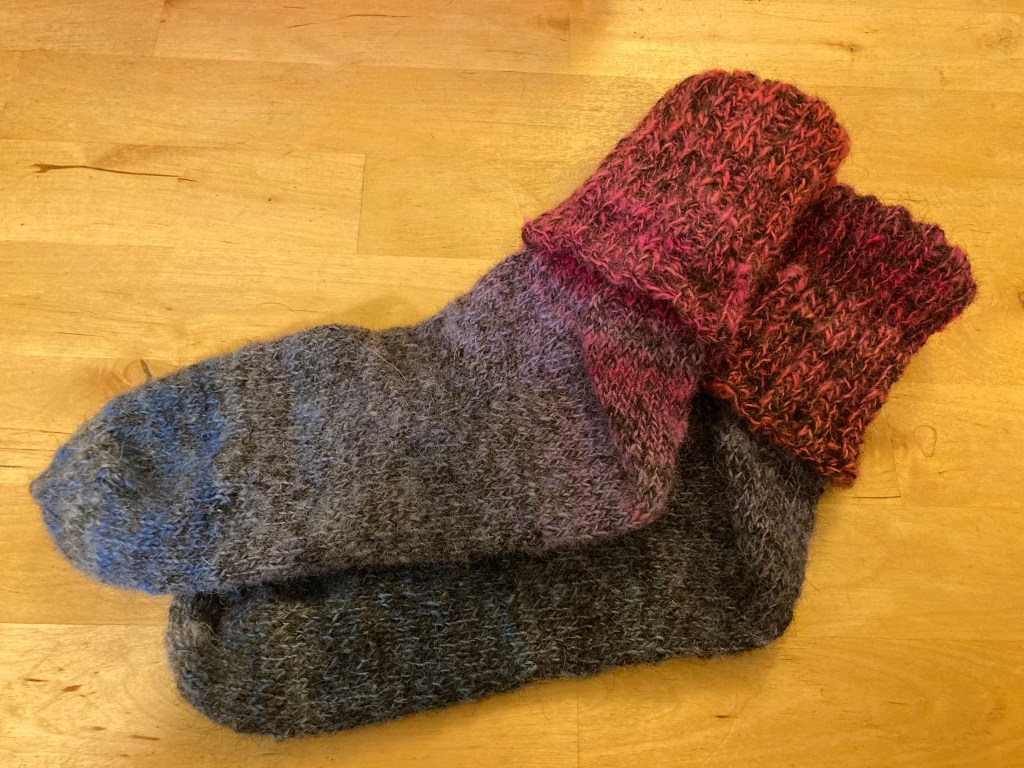
Fresh off the needles today, one pair of socks in handspun alpaca and wool. This is the first pair I’ve made from the toe up.

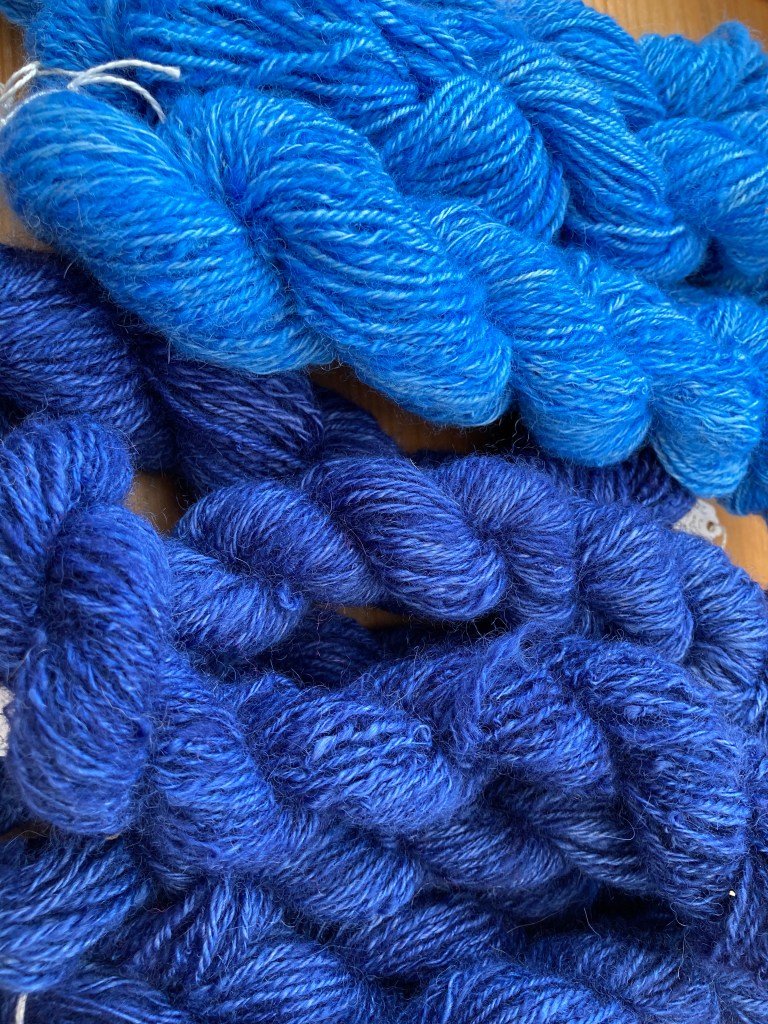
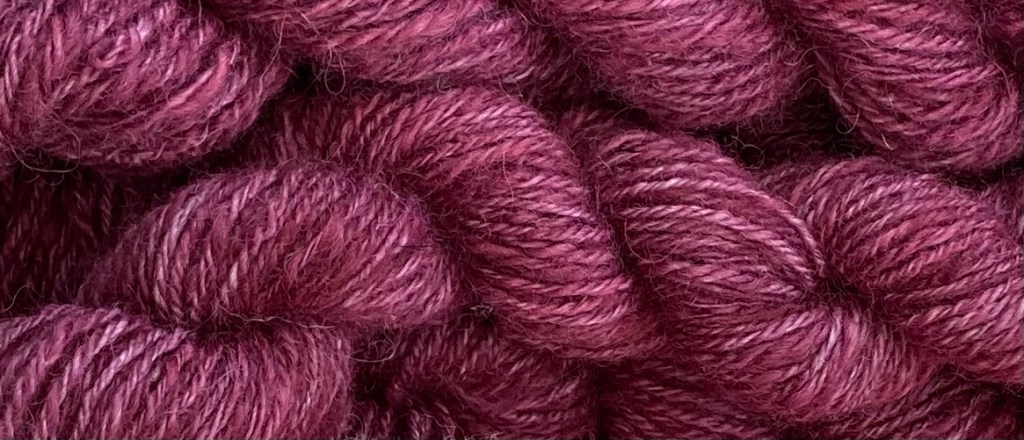
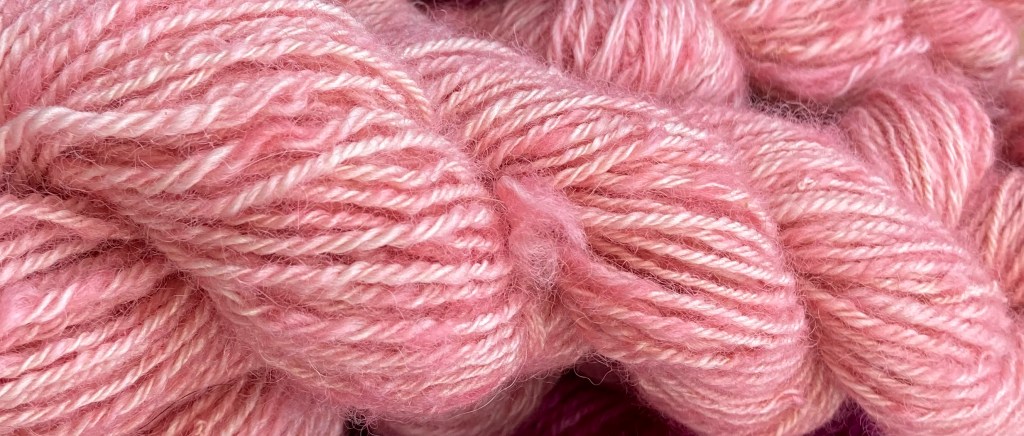
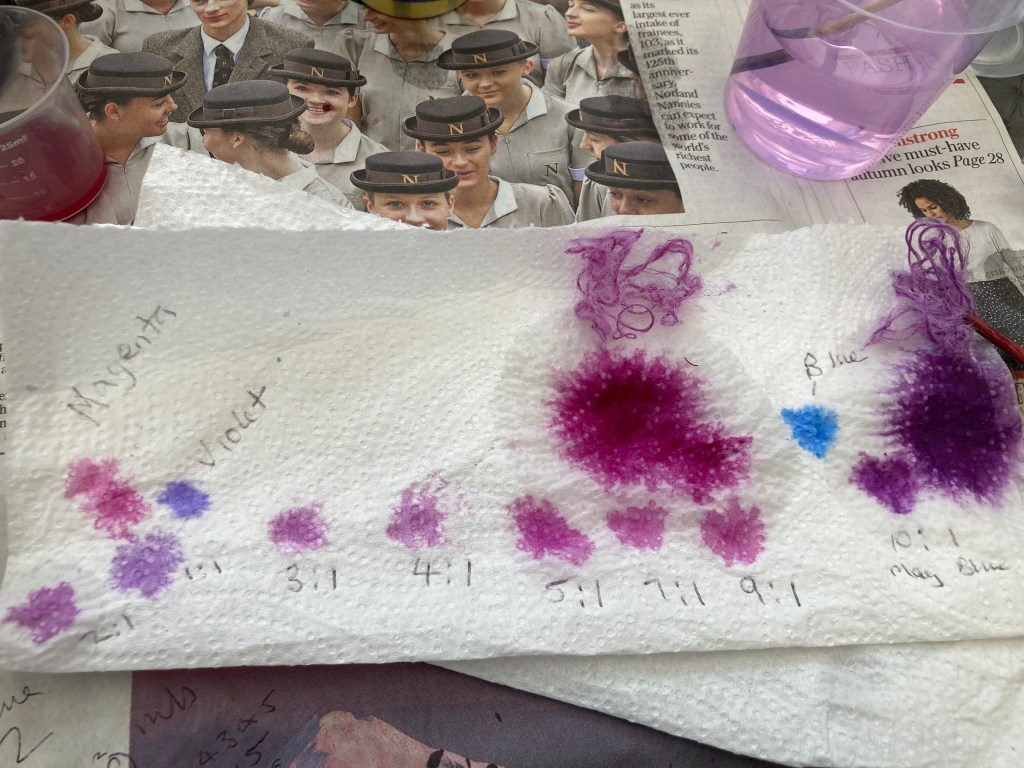
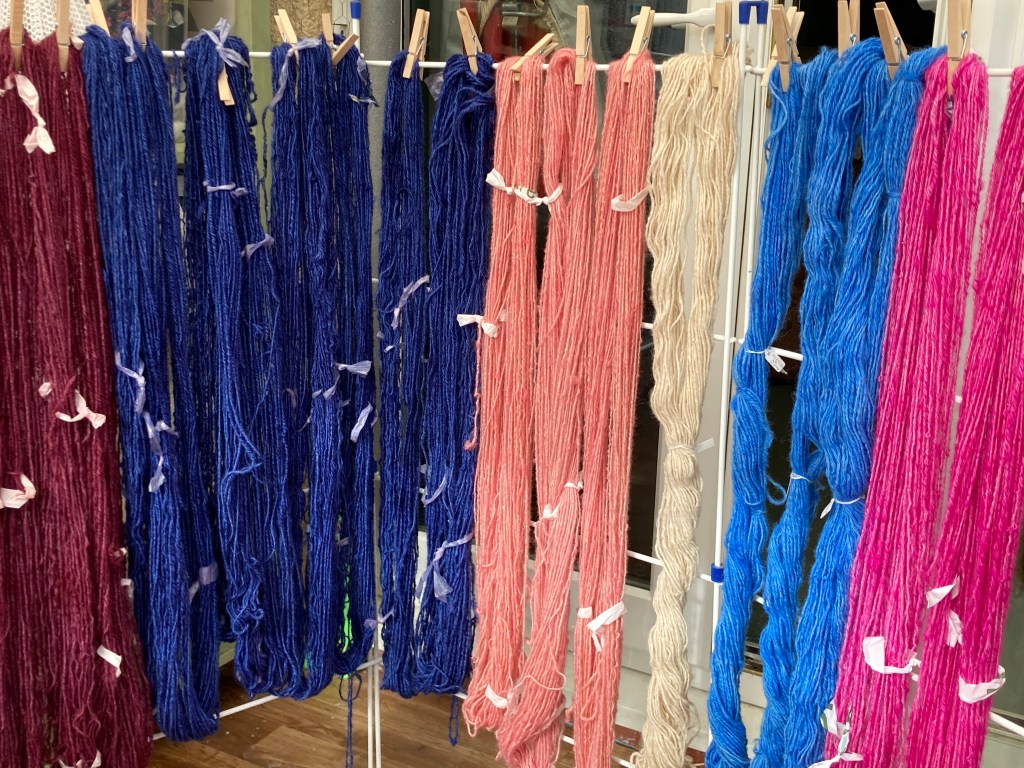
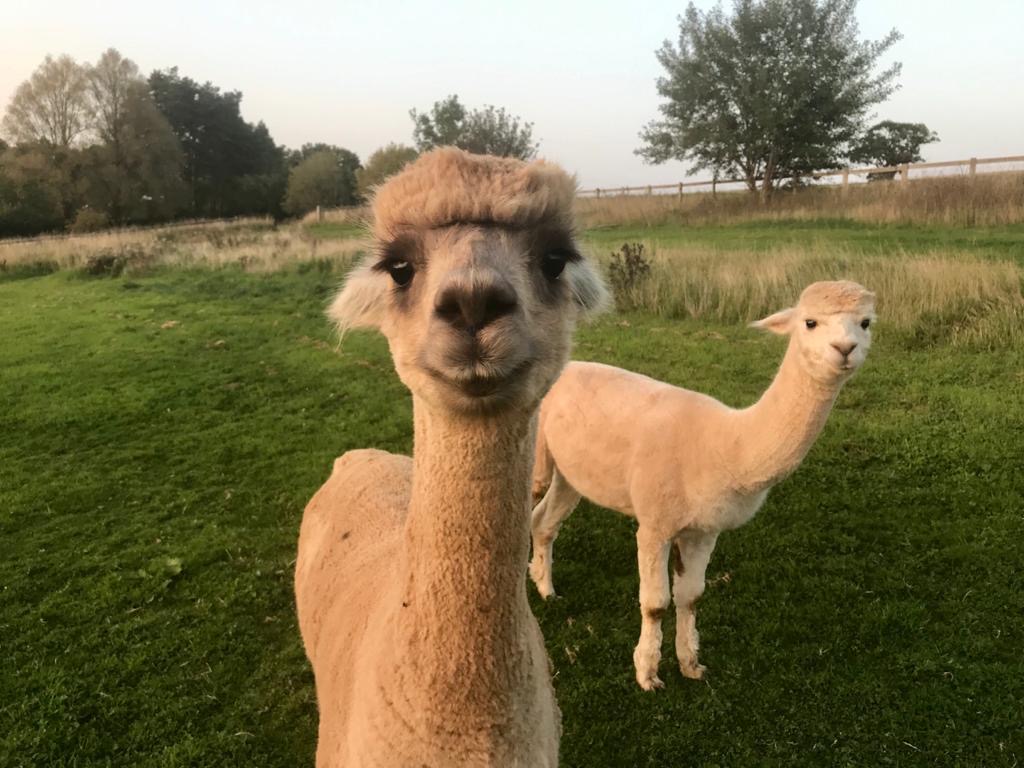
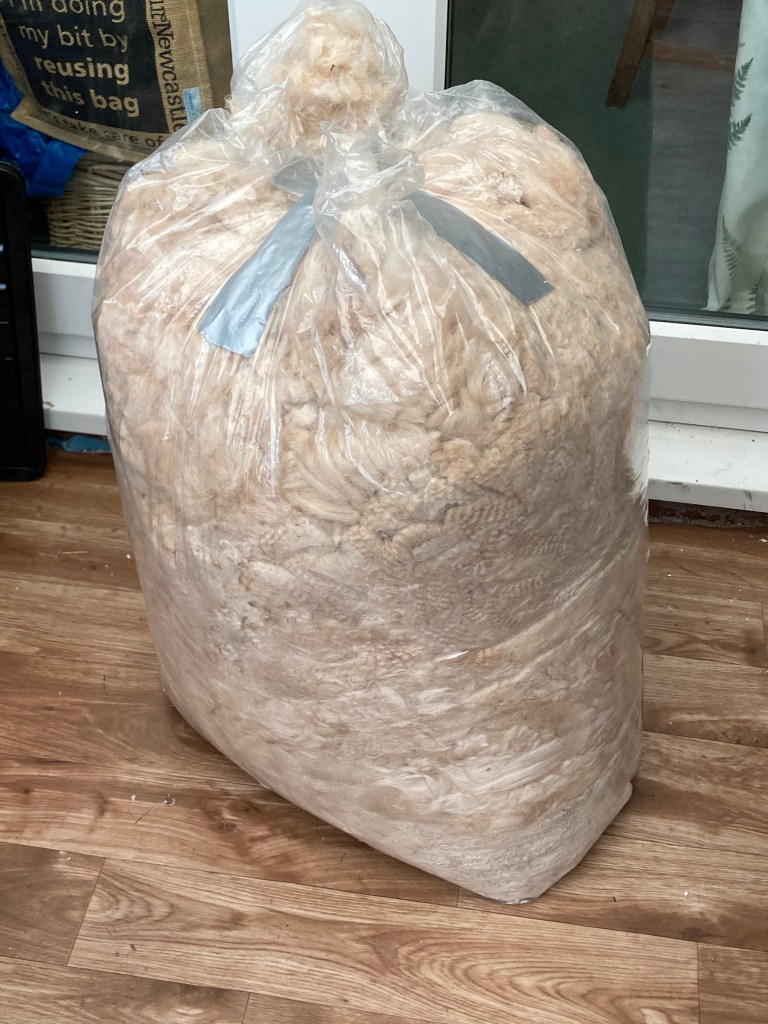
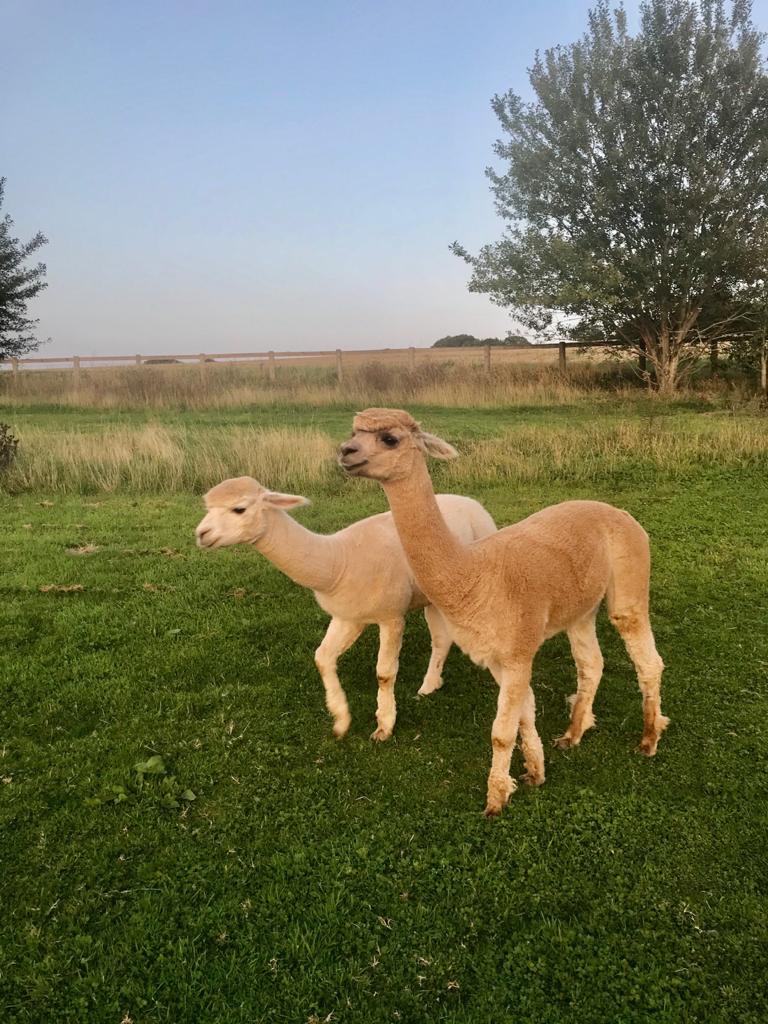
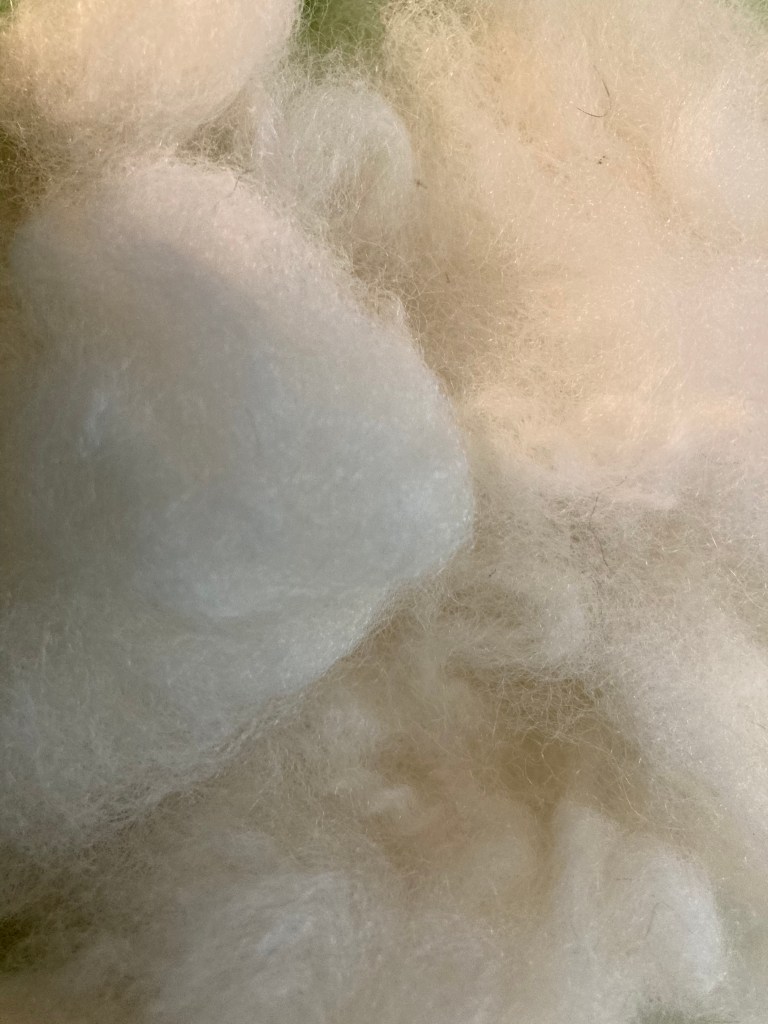
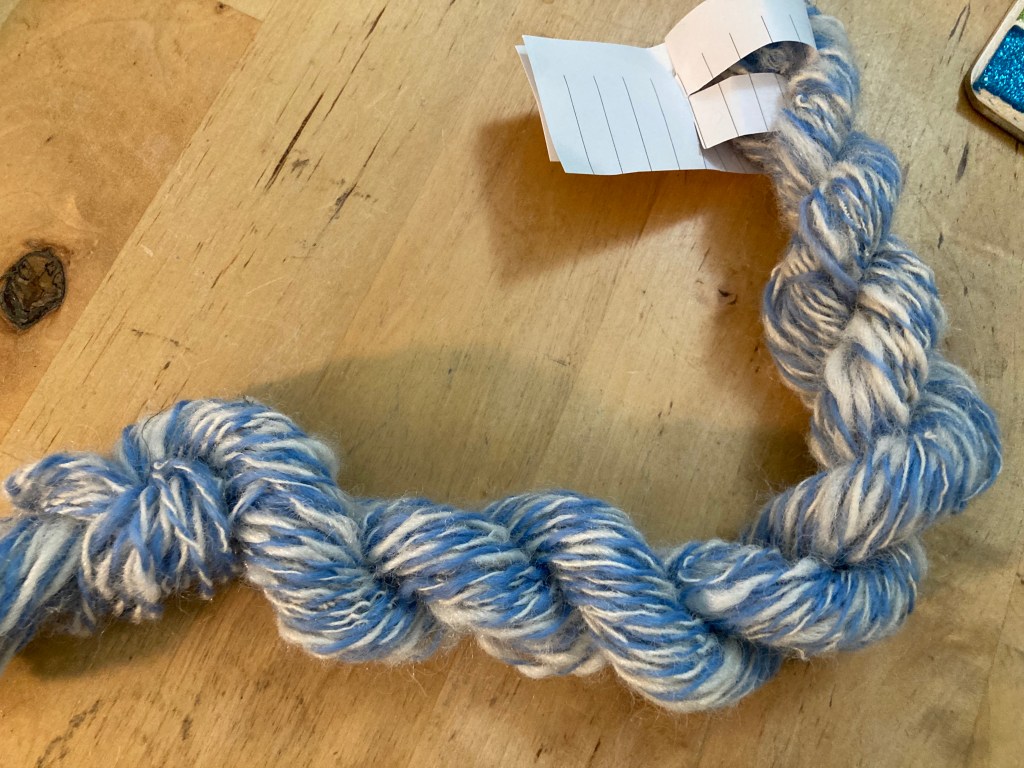
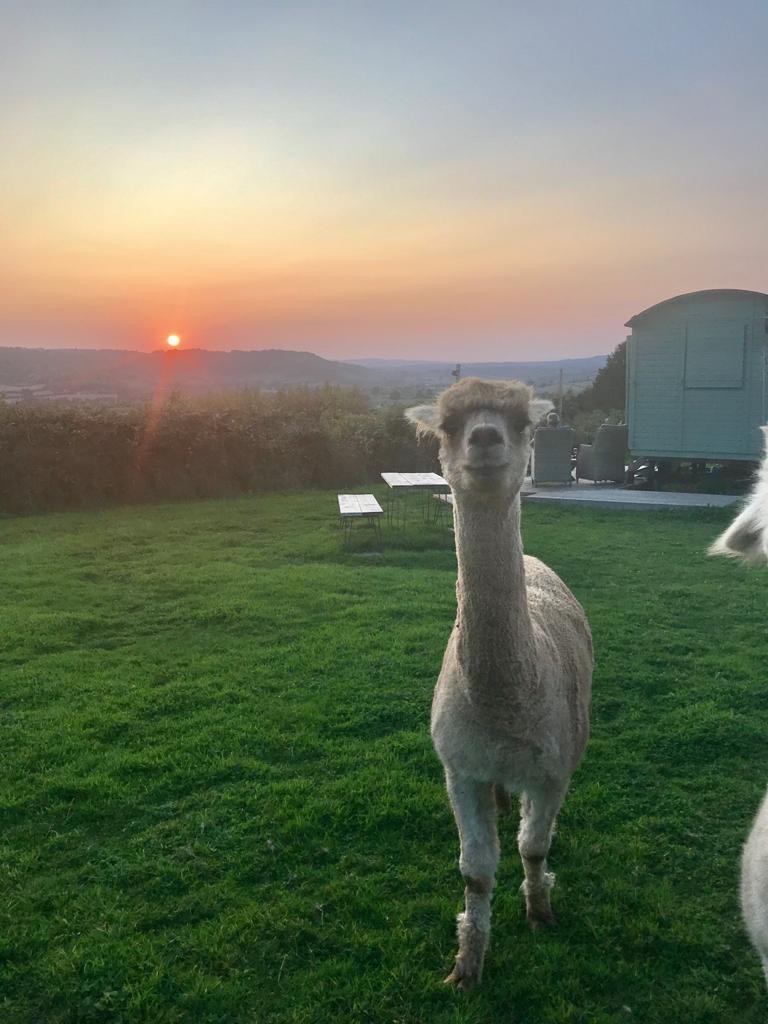
This pair began its journey last summer with one of my first dyeing experiments. I gradient dyed a braid of alpaca in shades of blue, navy, purple, pink and red. You can read about where my alpaca fibre came from here

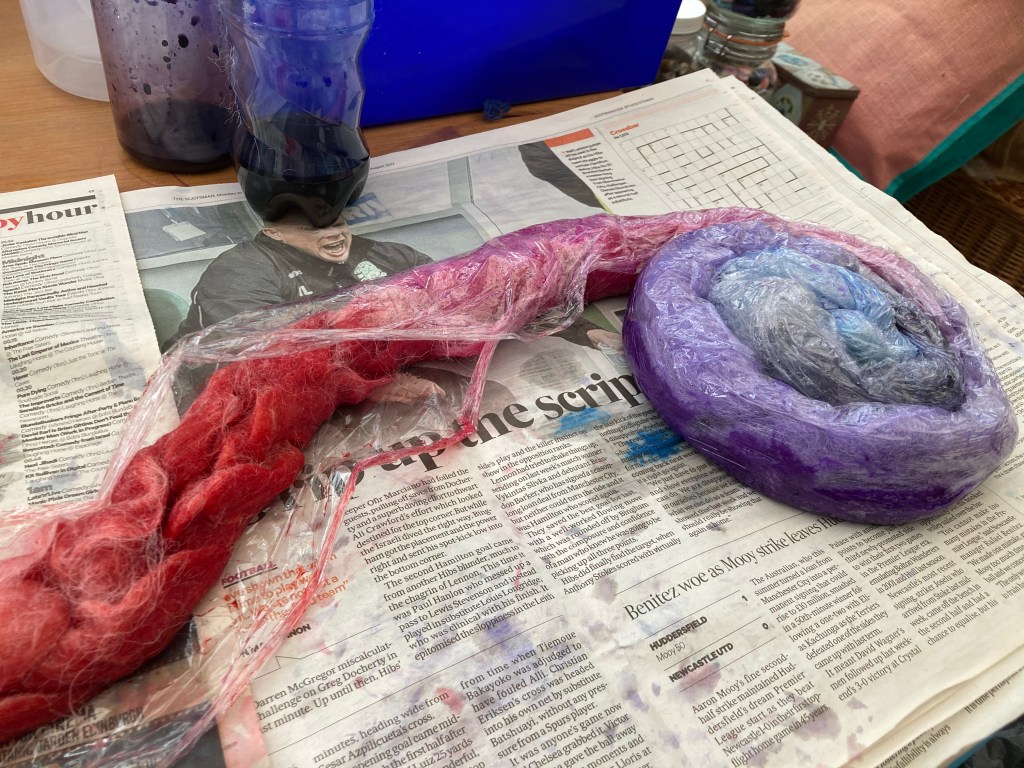
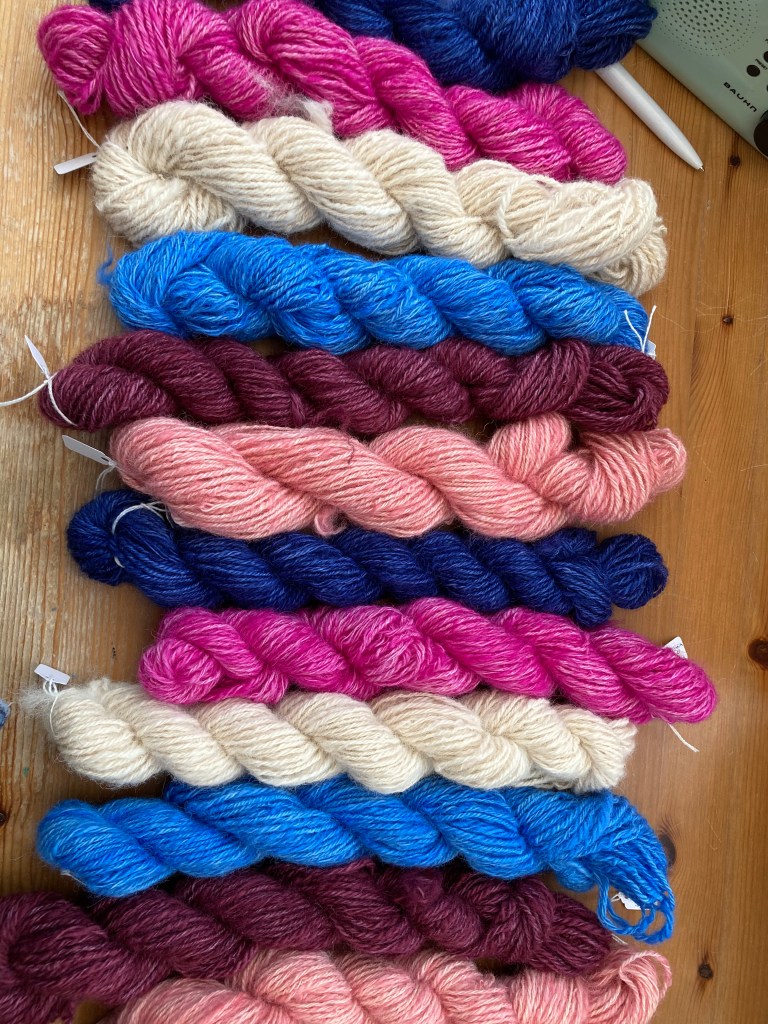
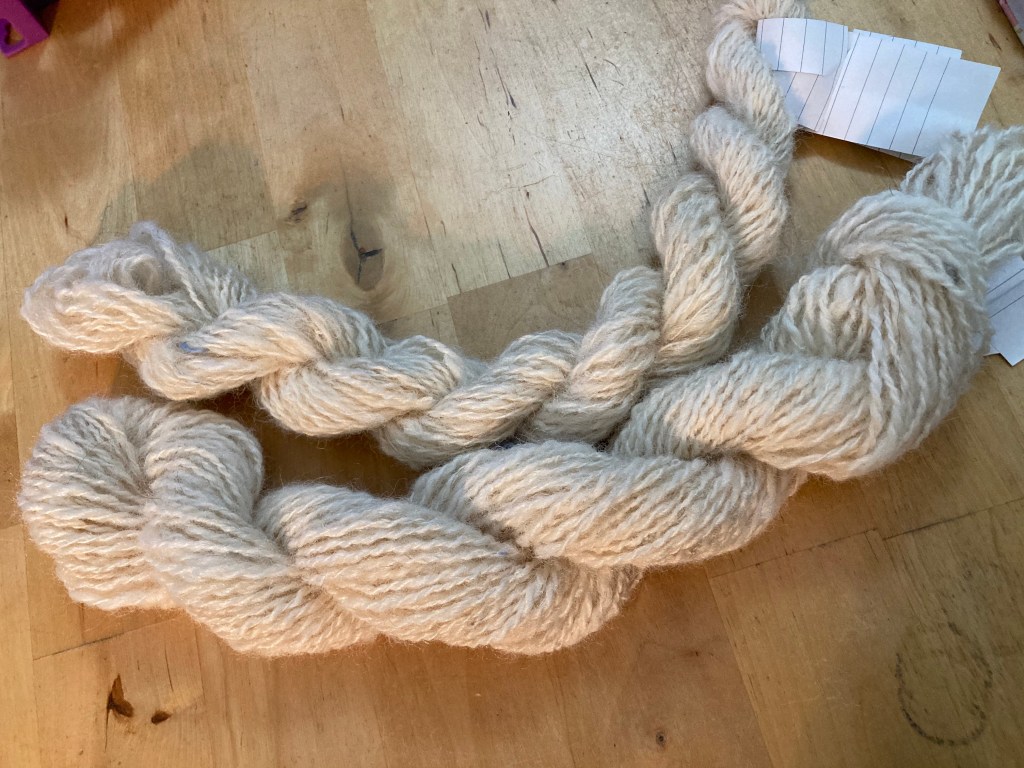
I spun the yarn and plied it with black zwartbles sheeps wool.

As I wasn’t sure about the yardage I’d need I decided on a toe-up pattern. If I’d knitted a top down sock it would have been a catastrophe if I’d run out of yarn before I reached the toe. On the other hand, working from the toe up could end up ankle or knee length without it really mattering! This pattern is Route 45’s Basic toe-up socks. It gives lots of options for needle size, and works whether you prefer DPNs small circular or magic loop. There is also a measuring guide so you can create perfectly fitted sock.

The other resource I used was this book I got for Christmas.

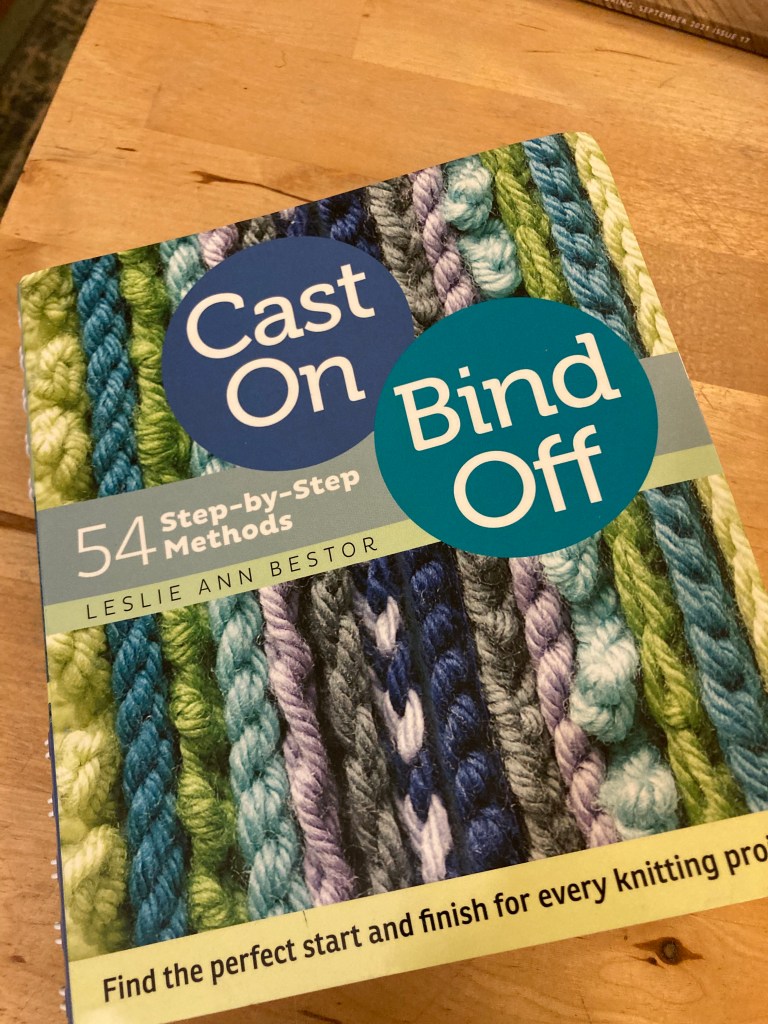
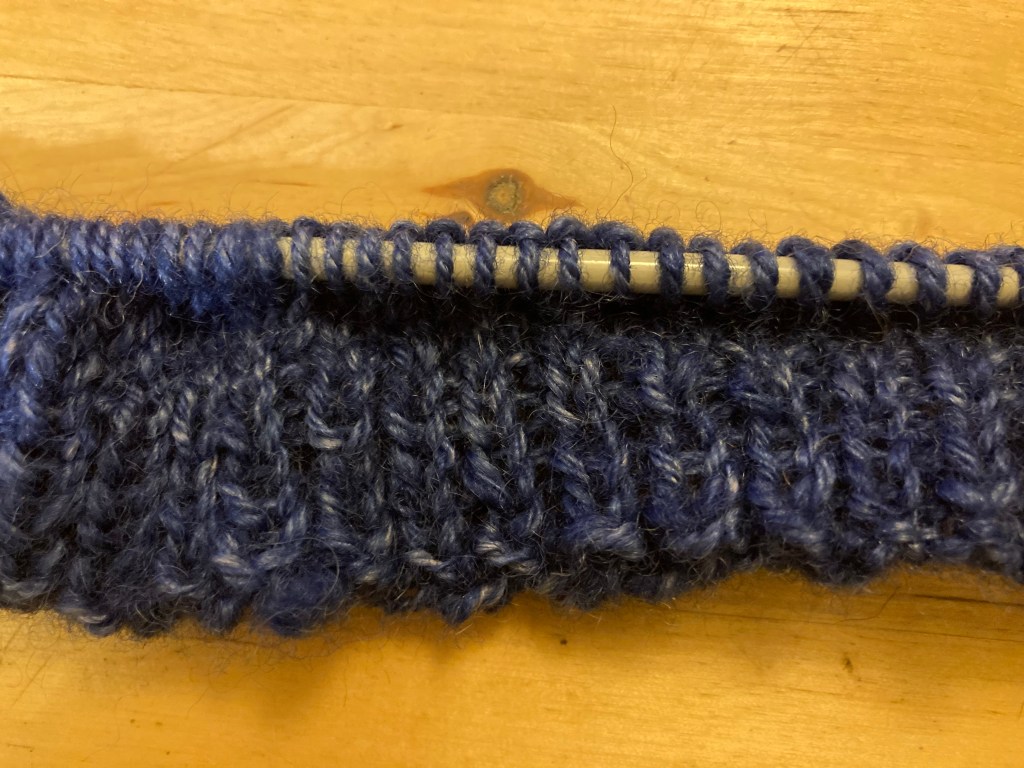
Who knew there were so many cast on/off methods? Several ways of starting off sock toes are included. The pattern uses the Turkish cast on, which was a first for me.

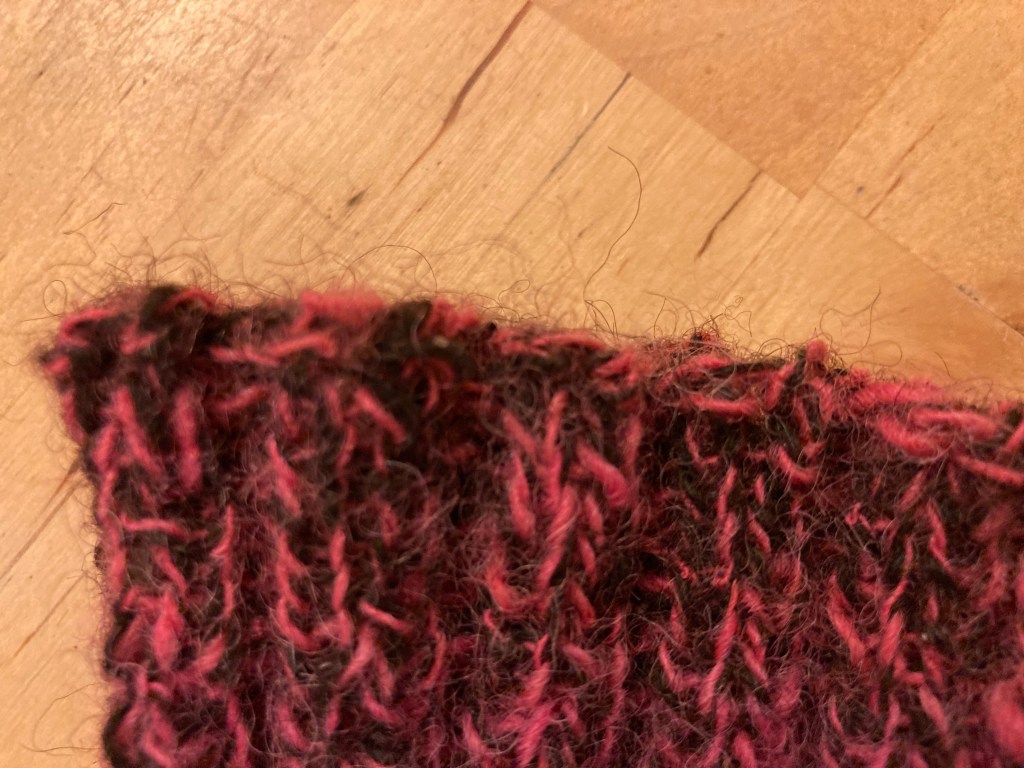
The book came in again for the cast off on the cuff – I used Jeny’s Surprisingly Stretchy Bind off, which is a pretty good description….very stretchy.

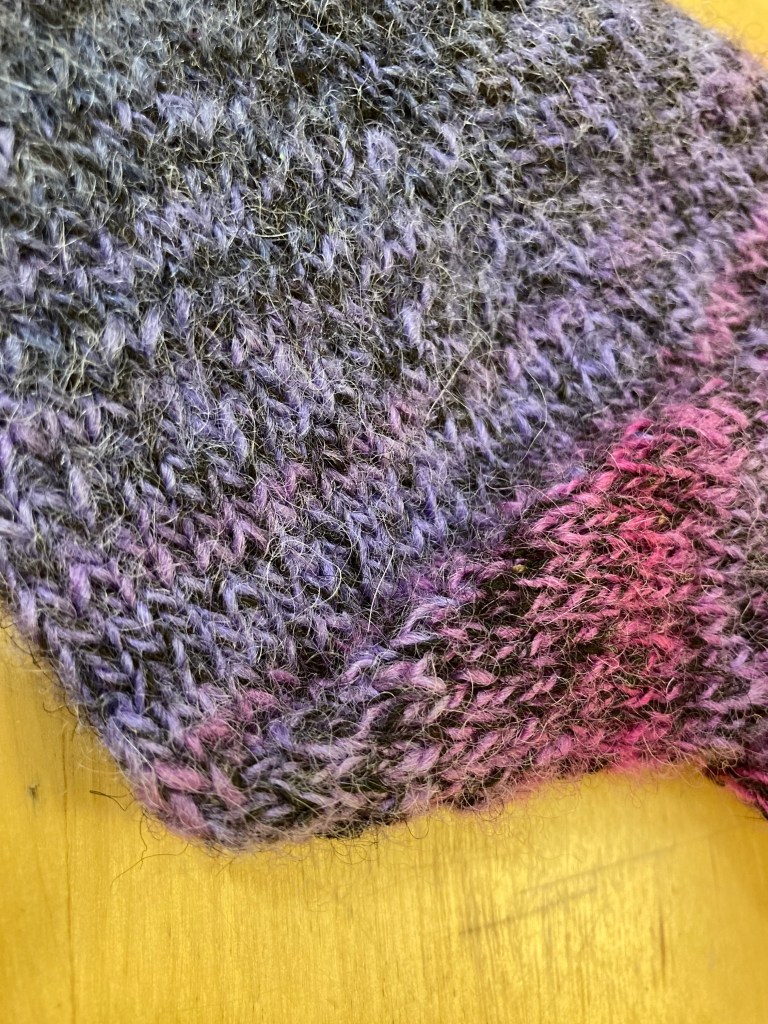
I’ve really enjoyed knitting these. I love the the way the colours work, Both the gradient and the way that plying with black tones down the colour and gives a tweedy effect when knitted up. The gradients don’t match but I can live with that.

Toe up construction has been a bit of a game changer. I always disliked picking up stitches on the gusset with top down socks and there’s none of that here. I don’t think I’ll be going back to top downs after this.

And as for worrying that I might run out of yarn….well there’s just about enough for another pair!

Posted in Uncategorized

Dyeing to Cast On

Since my first attempt with acid dyes the other week I’ve been immersion dyeing some of my handspun alpaca fibre. The plan is to make a striped jumper for myself in pink and blue shades. had one in these colours years ago and although it was acrylic and mass produced I always loved those colours so I tried to copy them. I’m using a Drops pattern for the sweater but changing the stripe pattern – I worked out the total yardage needed for the pattern and divided it by the number of colours (6 including natural/undyed to get the amount for each batch (plus more of the colour I’m using for welt, cuffs and neckband). I hope I’ve been generous enough with my estimates!

Never one to throw anything away and always trying to find a second life for single use plastics I cut up plastic carrier bags to loosely tie the skeins of undid yarn using a figure of eight – this stops the strands bunching together so the dye reaches them.

Each batch was weighed to calculate the amount of dye needed and soaked for an hour in plain water.

Immersion dyeing seems to give the best solid colour. I I followed the instructions in the dye kit I have from DT Crafts to mix 1% dye solutions with citric acid. The dye baths were prepared with about 4l water plus the dye solution measured out for each batch of yarn dry weight and heated in the hob to just under a simmer for 20 minutes or until the dye cleared.

The pan was then left to cool and then the yarn rinsed, gently squeezed in a towel and hung to dry. I hook the skeins over the back of a clothes peg so it dries easier and without kinks.

The first batch used Hue and Dye blue, in a 1% solution 100mls for every 100g dry weigh yarn and it gave a lovely cornflower blue – exactly what I wanted. The navy dye in the kit had a hint of purple and I wanted it bluer so I mixed my navy and blue 1% stock dyes 50:50 – the colour needed to be darker so I used twice as much (200mls per 100g dry weigh yarn)

For the deep burgundy colour I used 5 parts red to 2 parts blue with a tiny drop (less than 1ml) of 1% black, at 200mls per 100g – the double strength gave a good deep colour.

The blush pink needed to be very pale – I mixed 5 parts red to 1 part blue and diluted the mix to 0.1% (a tenth of the original stock solution this came out rather deeper than expected, almost salmon rather than pale blush

The final dye lot was supposed to be a fuchsia pink with a violet hue – I experimented with different proportions adding a drop onto kitchen paper to compare samples. In the end I mixed 9 parts magenta to 1 part violet. – it looked perfect on the paper but came out more of a cerise pink – it seemed that the red pigment took to the yarn more intensely than the blue pigment.

My only worry was the two pink shades (I’m very fussy about colours). I could have spun more yarn and done another batch with a more dilute dye mix to give a paler version. I could have overdyed the cerise pink with a dilute blue/violet to give the desired result. I actually love both the pinks I dyed, so I decided to keep them and just make sure that the knitted stripes of these shades are not adjacent to each other. After trying various combinations I decided on this sequence, starting with the navy for the ribbing.

And now I’m cast on! With sweaters and other large items I tend to knit them on and off over several months so it will be a while but I will post updates, This will be the first Item I’ve made for myself from the raw alpaca I got last year – I have done several small Items as gifts – it’s also my first hand dyed garment – so quite a landmark project.

Have you made something from animal (in my case friends’ alpaca) to finished garment? I’d love to hear about it.

Posted in Uncategorized

Baby Beanie

Some friends of ours have a new baby boy so I knitted this hat from my handspun alpaca. The pattern is the Maine Baby Hat – available free on Ravelry. I’ve made it before, but not this version, which has a central knotted pigtail

After the decreases, when there are just a few stitches left, these are knitted into an i-cord. It’s the first time I’ve used this technique and it’s quite easy to do. The i-cord is cast off when it reaches 4 inches long, then you tie a knot in it.

The alpaca yarn makes it lovely and soft and warm.

Do you have a go to pattern that you knit when there’s a new baby among family or friends?

Posted in Uncategorized

My First Completed Handspun Project: Alpaca Socks and Hat for a New Baby

I’ve been skirting, washing, carding and spinning some of the gorgeous alpaca fibre that was given to me recently. When I took up spinning (I got an Electric Eel Wheel Nano e-spinner for my birthday) I thought it would be wonderful to be able to make something beginning with the raw fleece and taking it right through to the finished garment. With enough yarn spun and a dear friend’s new baby granddaughter to knit for. This was the perfect opportunity.

I started with the socks (Perfect Baby Socks by Hey Sister Yarn Co) The pattern gives a choice of designs, cable or rib: I chose the rib one. Knitted on DPNs I have to say these were fiddly to do and with all the complexities of turned heels and Kitchener stitch toe grafts, they probably took almost as long as adult socks to make, so I probably wouldn’t use this pattern again, but they do look so amazingly cute and feel so soft.

The hat was much simpler to make – the Maine Baby Hat, also from Ravelry. This is such a useful pattern. It gives the cast on stitch numbers for three sizes and several different yarn weights. My handspun alpaca is probably on average somewhere between DK and 4ply so I was able to find the right one. Then it was pretty straightforward to knit up on circular needles with a K1P1 ribbed band and the rest in stocking stitch, only moving on to DPNs for the last of the decreases.

I’ve also learnt a new cast on – the sock pattern recommended the German Twisted cast on to give a nice stretchy edge. I watched a couple of YouTube videos and soon got the hang of it. It really is very stretchy so I’ll be using this on all socks (or anything else that needs a stretchy edge) from now on.

My spinning still lacks consistency in that the thickness of the yarn is rather variable and this certainly shows up in the stocking stitch, Even after a very light press!

The socks and hat feel so soft and warm though – so the baby will be very snug and cosy in them. Daughter was delivering them today. Baby’s mum is a close friend of hers. I hope she likes them!

Posted in Uncategorized

Amazing Alpaca!

We have a saying here in the North East: “Shy bairns get nowt”, which basically means that sometimes you have to be a bit cheeky and ask for something. When I realised that some dear friends of my brother and his wife have alpacas, I asked if they could perhaps bring me some alpaca fleece next time they visited. Since spinning became my new obsession I’ve been itching to get my hands on some alpaca fibre. It’s so gloriously soft and warm and I love knitting with it so really wanted to have a go at spinning some.

I also thought it would be really interesting to get hold of raw fleece from a known source, prepare it, spin it and knit into a garment, embracing the entire process.

When my brother dropped this large plastic sack full last week I was absolutely over the moon. He said he’d bring some, but I hasn’t imagined it would be so much

When I started to tip the contents out the fibres immediately fluffed up – there must be at least 2 complete blankets or fleeces compressed into that bag – over 6kg of fibre!. He also sent me some photos of the animals that provided the fleece: a pair of alpacas called Wispa and Aero. Aren’t they adorable?

I’ve been reading up how to process the fibre and I’ve partially skirted the first fleece. This involves separating out the soiled fibres and the shorter and coarser parts from the edges and removing second cuts (the shorter tufts where the shearer has gone over the animal a second time). Some of this is perfectly usable – but what is left is the best quality long fine fleece from the back of the animal.

The fleece holds a lot of dust, some of which falls out during the skirting process. The next stage is to wash the fibre. To do this I put the fibre into mesh bags (the sort you use for laundering underwear) . I added some wool wash liquid to hand-hot water and gently immersed the bags. The wet fleece must be handled very carefully or it felts together, so I just left it to soak for 20 minutes, then drained the water and lightly pressed on the bags to remove some of the water. I then added clean water of the same temperature (sudden temperature changes damage the fibres) to rinse the soap away. In some respects alpaca fibre is easier to wash than sheep’s wool ,which is rich in lanolin and takes repeated washing to remove). The water was now clear so I drained it, pressing gently on the bags remove water, then placing the bags between towels and pressing gently again. I then allowed the fleece to dry. It has cleaned up to a beautiful pure white, which offers so many possibilities for experimenting with dyes…..that’s a whole new craft in itself.

I’ve been using pet brushes to comb the fibres (have asked for proper carding combs for Christmas) and have gradually picked through it to remove all the fragments of vegetable matter. The prepared alpaca is the softest fluffiest stuff ever. It’s like a cloud!

Next job – to spin it! I spun a couple of singles and plyed them together to make this 2 ply yarn – 99 yards/49g

There was some left which I plyed with some blue merino to make this little skein (41 yards /15g.

It has been lovely to spin with and I’ve only used part of the fibre I processed there’s still a load more to skirt, wash and card). The project possibilities are endless!

I’m so lucky to have such generous people in my life…..and some of them have alpacas!