Posted in Uncategorized

Christmas Greetings (and a Table Centrepiece)

Happy Christmas from Northumberland, where there was dusting of snow and it was a cold but sunny and bright Christmas Day. We had a lovely day that involved opening and delivering presents, a beach dog walk and five of us for a delicious roast goose dinner, expertly prepared by K. Daughter made a decadent dessert. Son, who recently passed his driving test, was his granny’s chauffeur for the day.

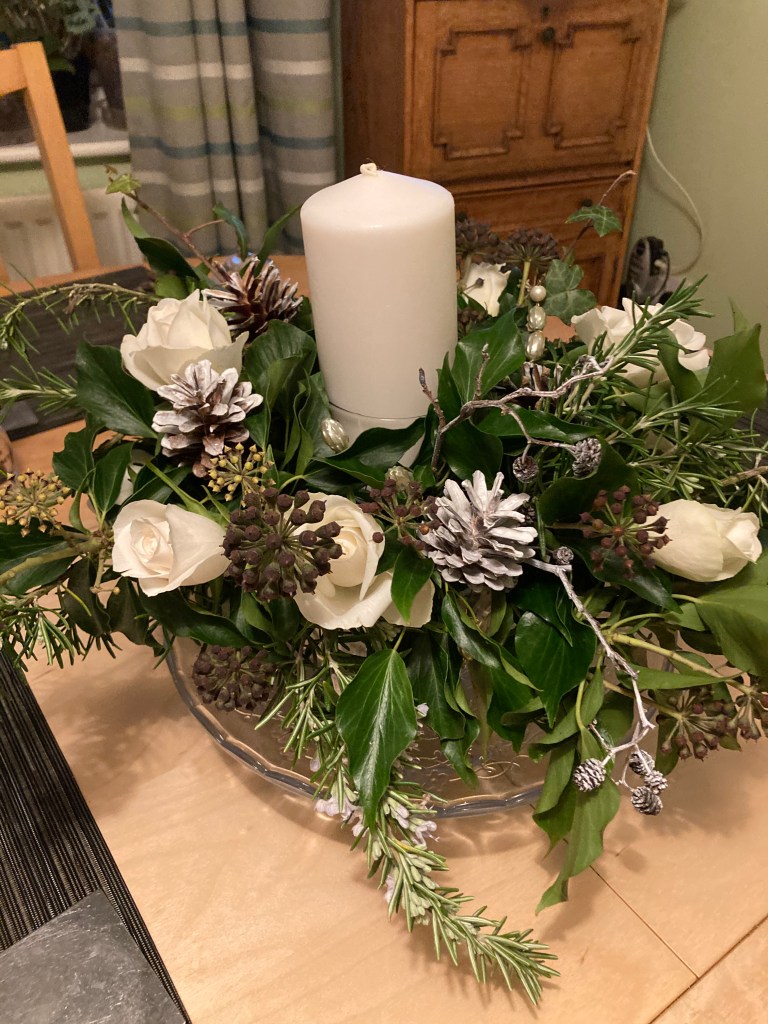
On Christmas Eve I made this flower arrangement for our table. For the base I used a glass cake stand. I cut a block of florist foam to fit a glass bowl, soaked it in water for 10 minutes then sliced it in two, cutting a channel in the centre to fit round the stem of a wine glass. I used blu-tak to secure a white pillar candle in the wineglass.

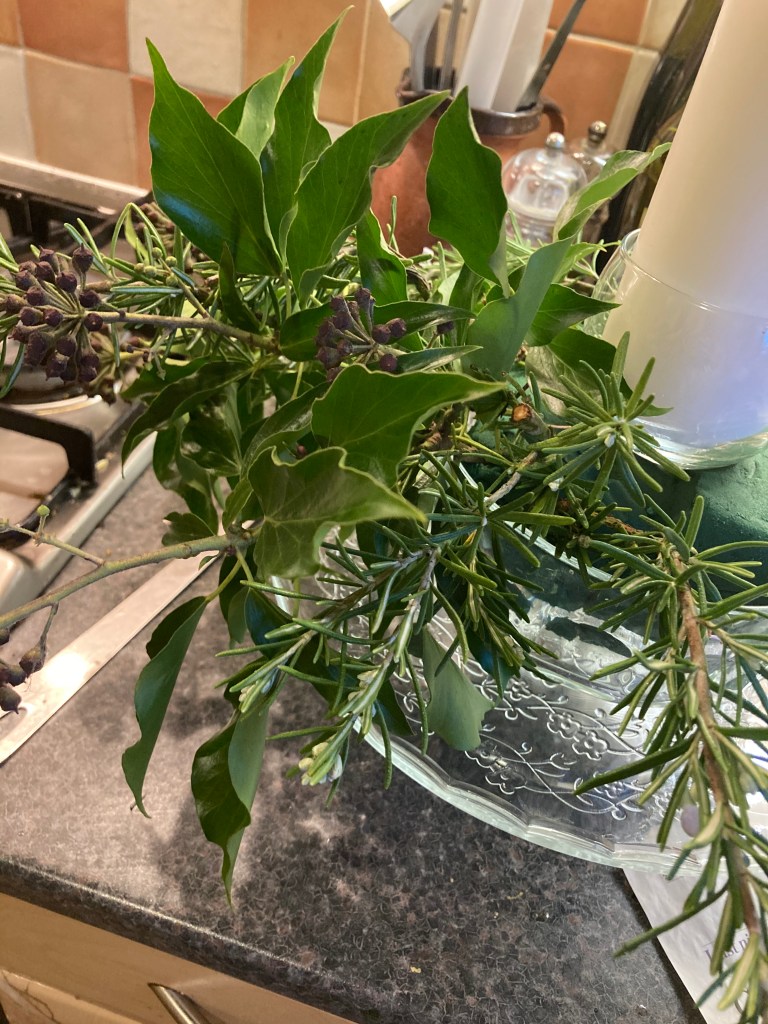
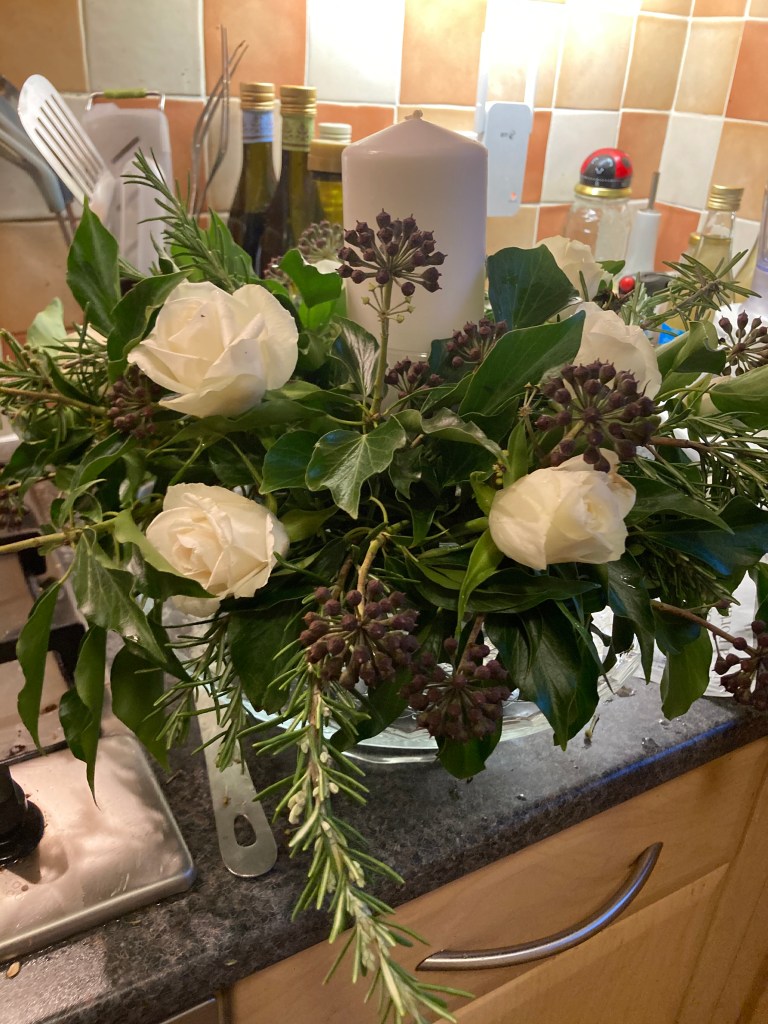
We used a trip out to glean some sprigs of ivy from the hedgerows, both pieces of the mature plant with flower clusters and young shoots with small triangular leaves. I also used rosemary from the large bush in the garden and some white roses from the supermarket.

I added larger pieces of foliage first, overhanging the edge of the bowl. I kept rotating the arrangement and checking what it looked like from a seated position so I could keep the shape and distribution of material even – a table centre has to look fairly consistent from all angles.

I then added the roses, trimming stems to fit and inserting more pieces of foliage to fill in any gaps

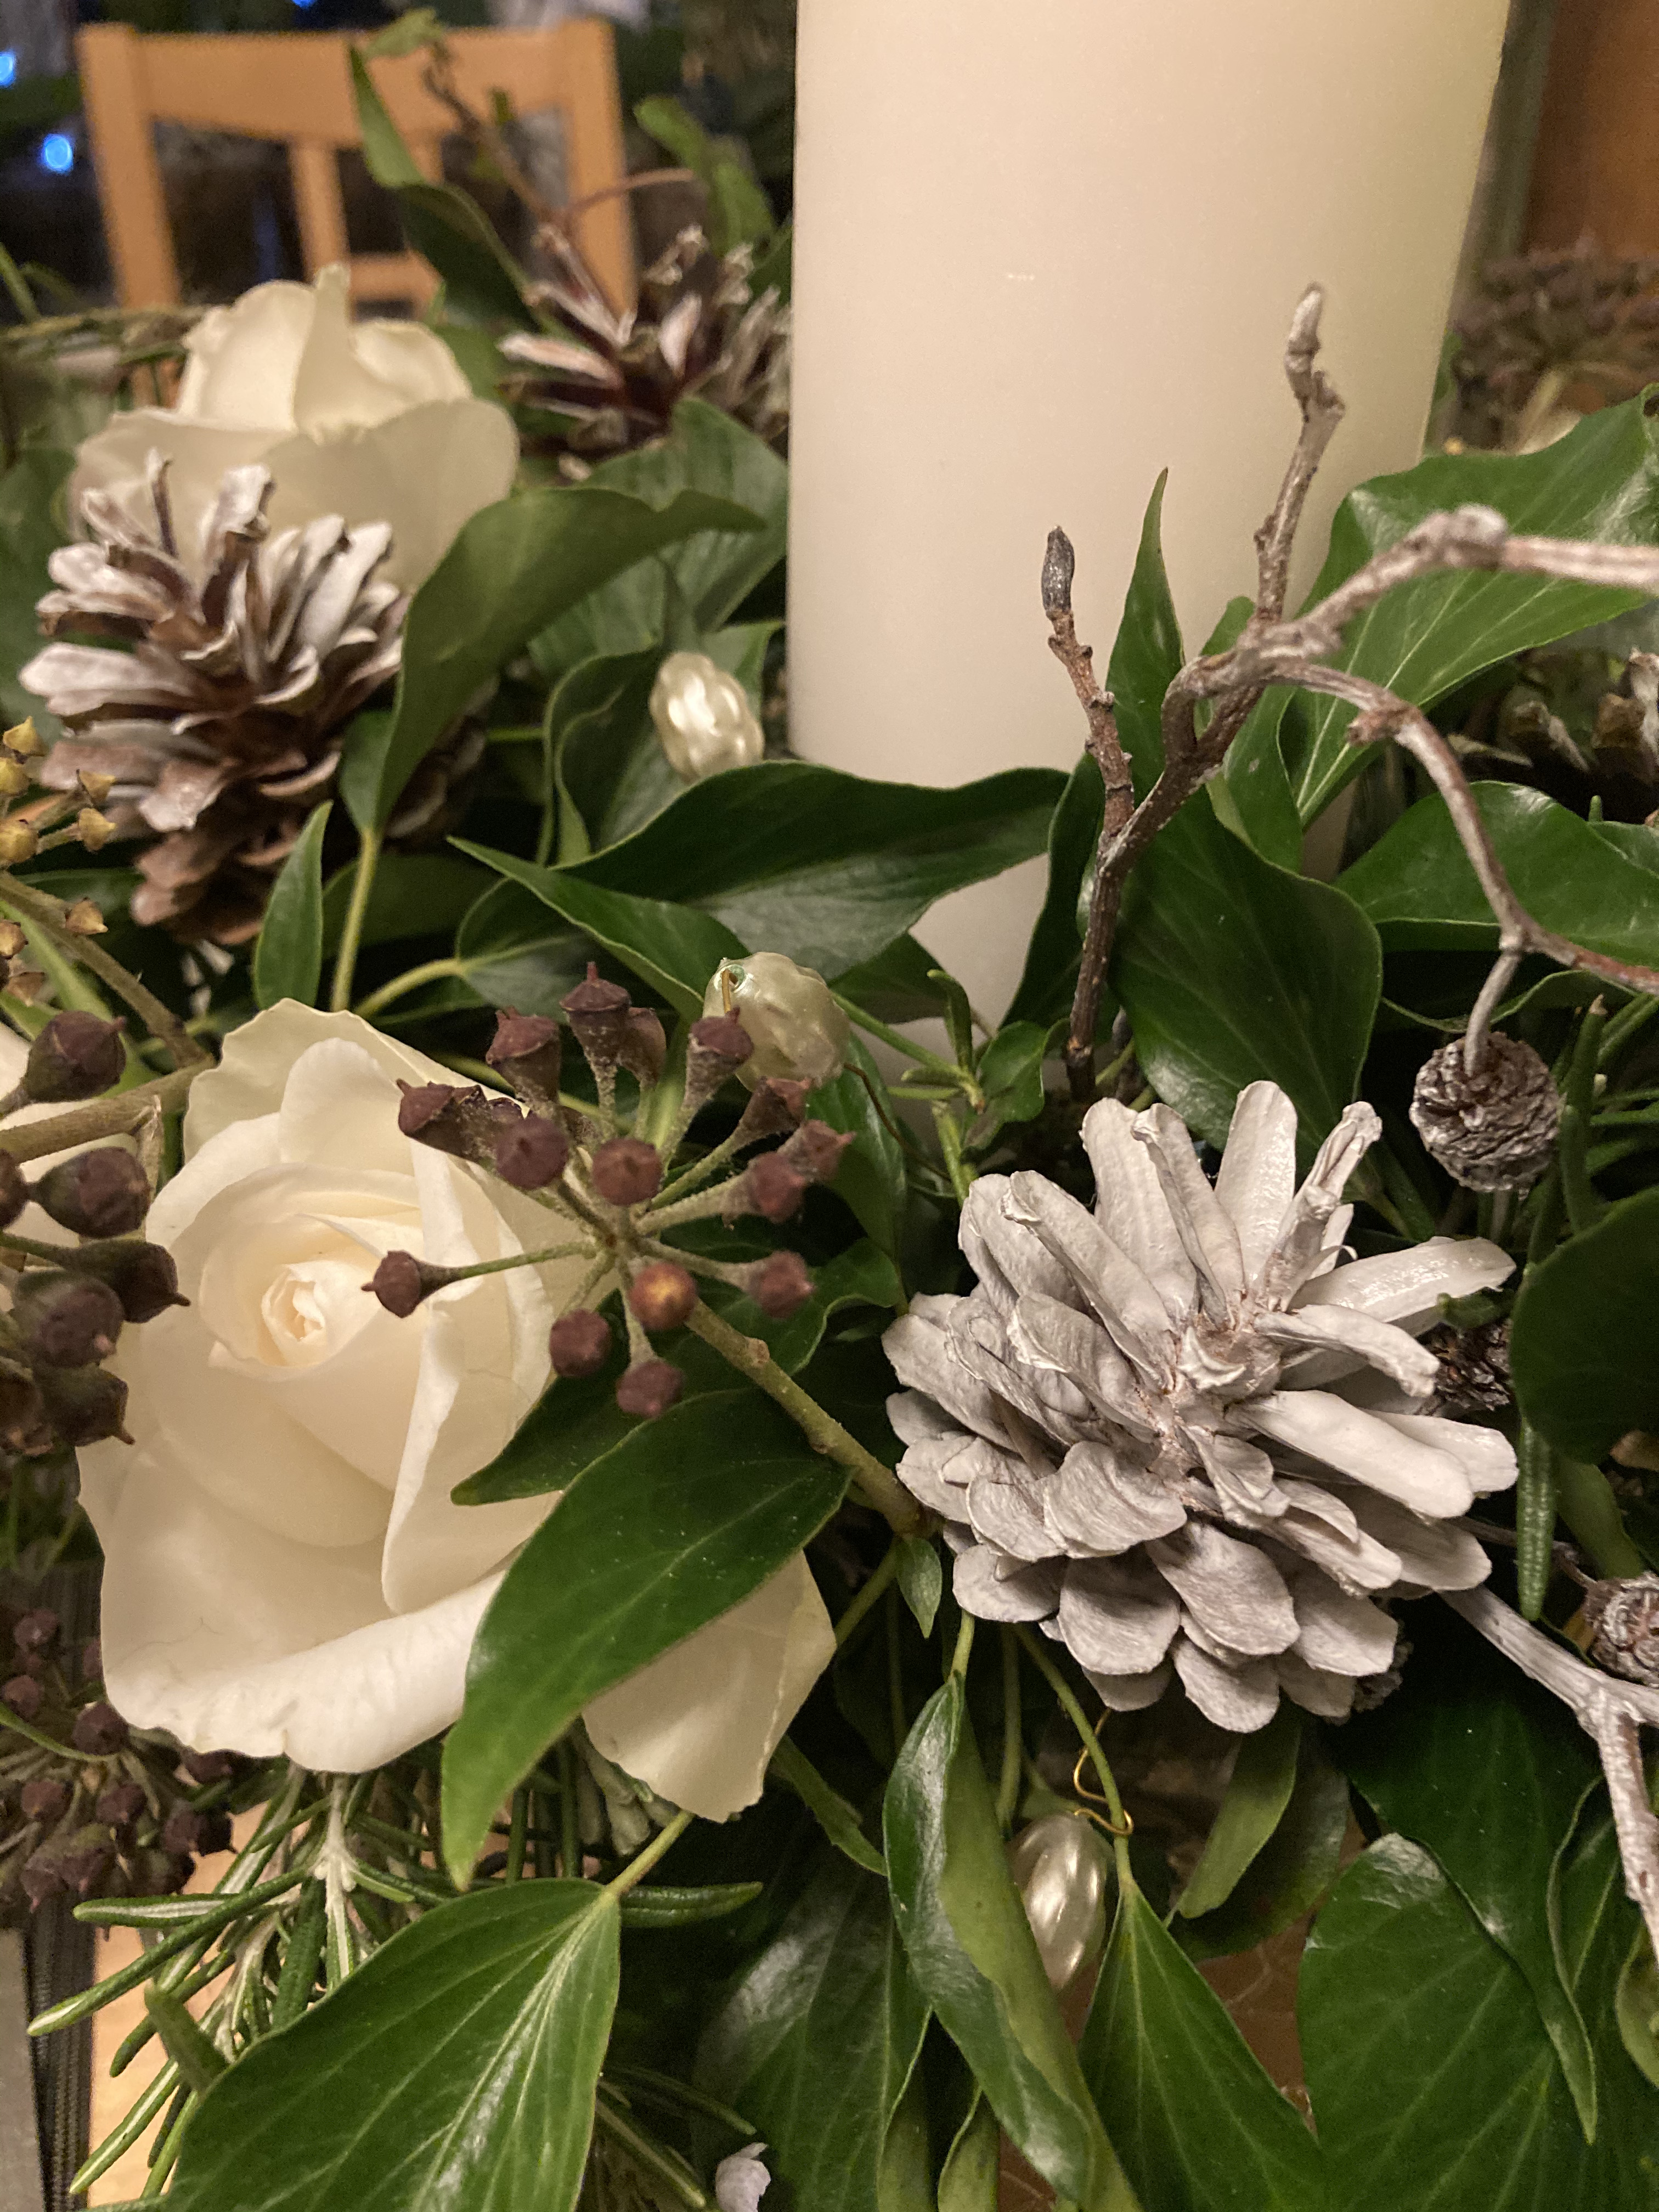
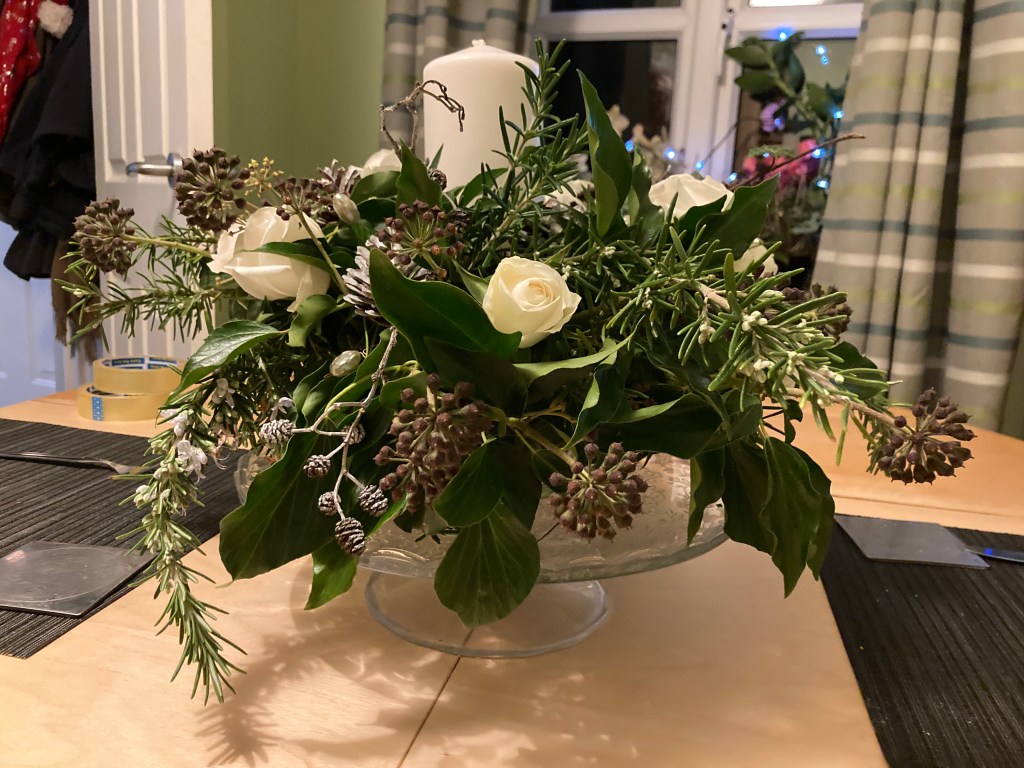
I also used dry sprigs of alder cones and wired pine cones, both sprayed white. I also found some pearlised and crystal beads from an old necklace and wired these to add a little bit of sparkle.

These were also pushed into the foam throughout the arrangement.

The final result!

I hope your Christmas Day was as good as it possibly could have been. This year many people have had to quickly scale down their celebrations and could not spend the holidays with their loved ones as COVID restrictions were tightened at the eleventh hour. I’m thankful that I could spend the day with my family.

Posted in Uncategorized

Christmas Crafts – Crackers from a Kit

I saw this kit online from The Works and as I hadn’t bought crackers at the time I thought I’d get this kit instead. I chose this silver marbled design though they had others available.

The kit includes the pre-cut cards to make the crackers, which have the snaps already glued to the inside. along with ribbons, paper hats, jokes and name tags. All you need to provide are gifts to go inside (if you want to), so you could add something useful or personal (and the name tags make them perfect for that), After all, the world really doesn’t need any more tiny plastic aeroplanes that are left on the table, to be binned along with the rest of the Christmas dinner debris!

There were instructions on the packaging, including a template so you can see on the pack exactly what the final diameter of the cracker will be. That’s important if you are choosing gifts that will fit inside. I’ve added a few of steps of my own here . The cardboard shapes have very lightly scored lines and I found the crackers held their shape better if I creased along these lines to emphasise the fold points.

I then opened the card out flat, printed side down and rolled it up. A cardboard tube from inside a kitchen roll was my secret weapon at this stage, It held the shape of the cracker roll for the next stage, so I didn’t squash the whole thing flat.

There are three tabs along one long edge that slot into the corresponding slits on the opposite edge. I found it easier to do the middle one first. I simply moved the cardboard kitchen roll tube along as I secured each tab, removing it when all three were in place. It is a bit fiddly but the tabs do fit – just be careful not to tear the card – if you do a small piece of sellotape on the inside will repair it.

The next stage was crimping one of the ends and tying the ribbon on. Important! Don’t forget to drop the paper hat, motto and gift inside before repeating this step with the the other end of the cracker! I’m so glad I remembered! – I was glad Daughter was around to help (it was one of our Crafty Monday sessions- it was so much easier with two people. We deployed a length of craft wire here to loop around the crimp point, one of us pulling gently on the ends of the wire to form a narrow “waist” and them the other tied one of the pre-cut ribbons in a double knot. You can then gently pull the wire out

The name tag is self adhesive so can easily be attached after you’ve written it

There were materials to make six crackers and they did not take long to assemble, especially with two of us working on them. As you’d expect, the first one took longer, but once you work out how to do it the others take shape pretty quickly.

I’d definitely use these again. I love that they are plastic free and that you can add your own gift. The name tags means that you could use these instead of place cards. They could even be used as an alternative way of wrapping Christmas gifts, especially small, awkward shapes.

That’s something else crossed off my Christmas “to do” list!