Welcome to my blog. I live, knit, crochet, spin and craft near the Northumbrian Coast (but not too near – the waves won't be splashing my yarn!).There's a story in every stitch, every grain of sand, every blade of grass. I thought I'd blog about it…
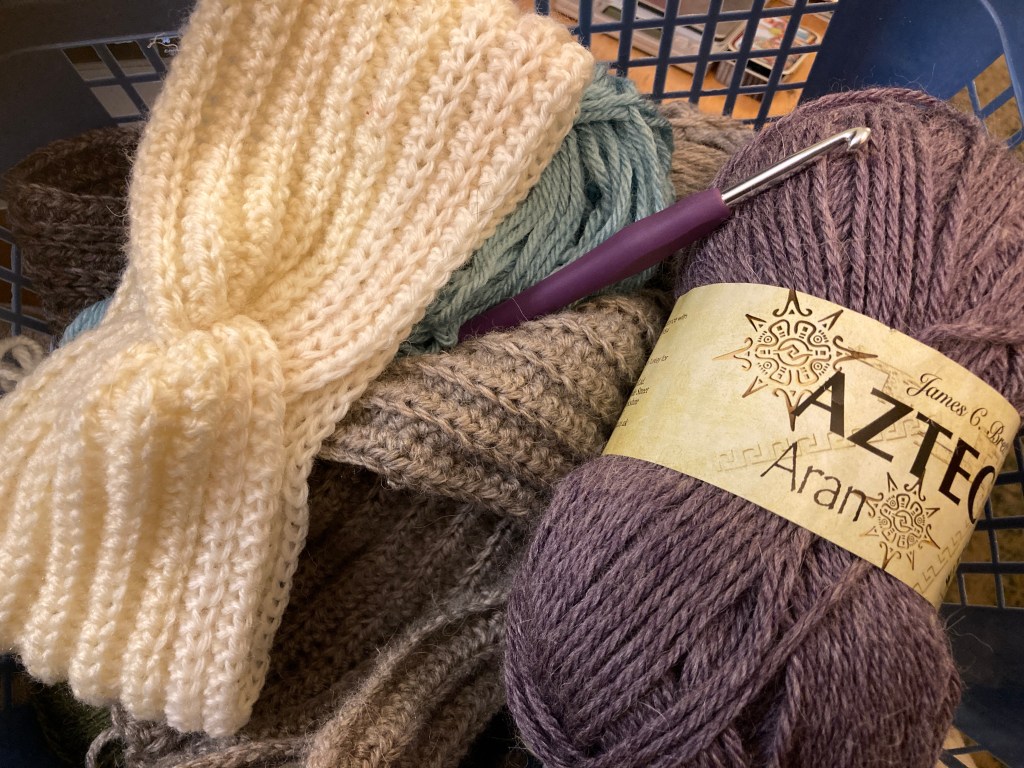
I’m currently making final preparations for my next improvers workshop at Amble Pin Cushion this coming Thursday 30th October This time we are making cosy textured headbands.
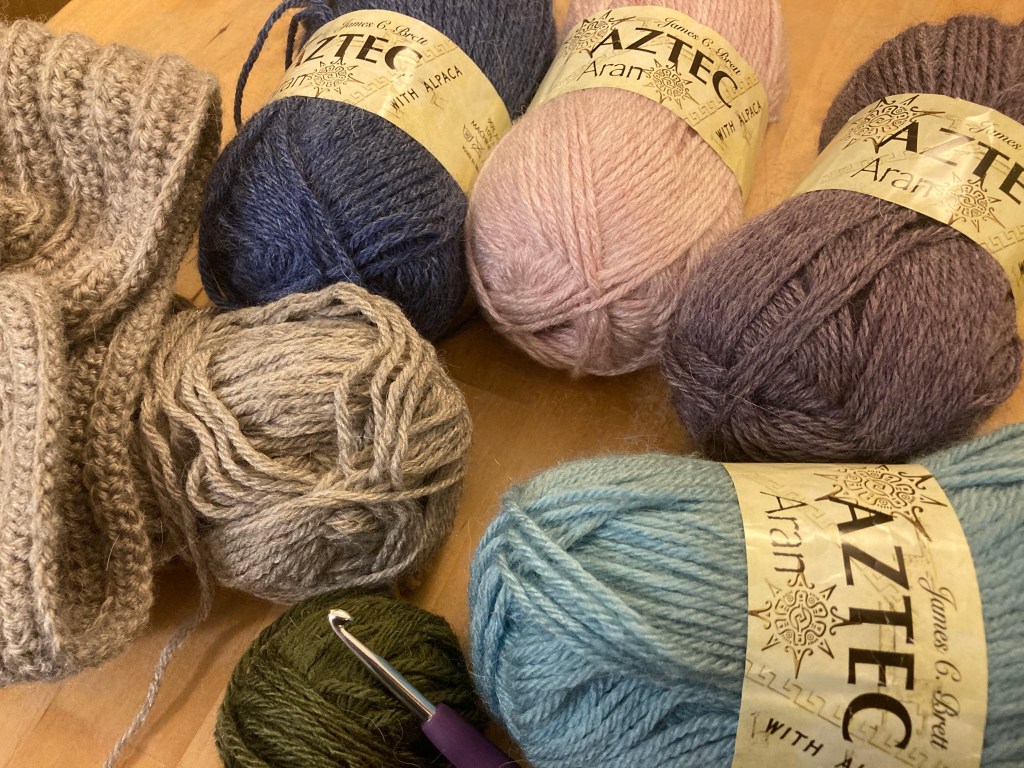
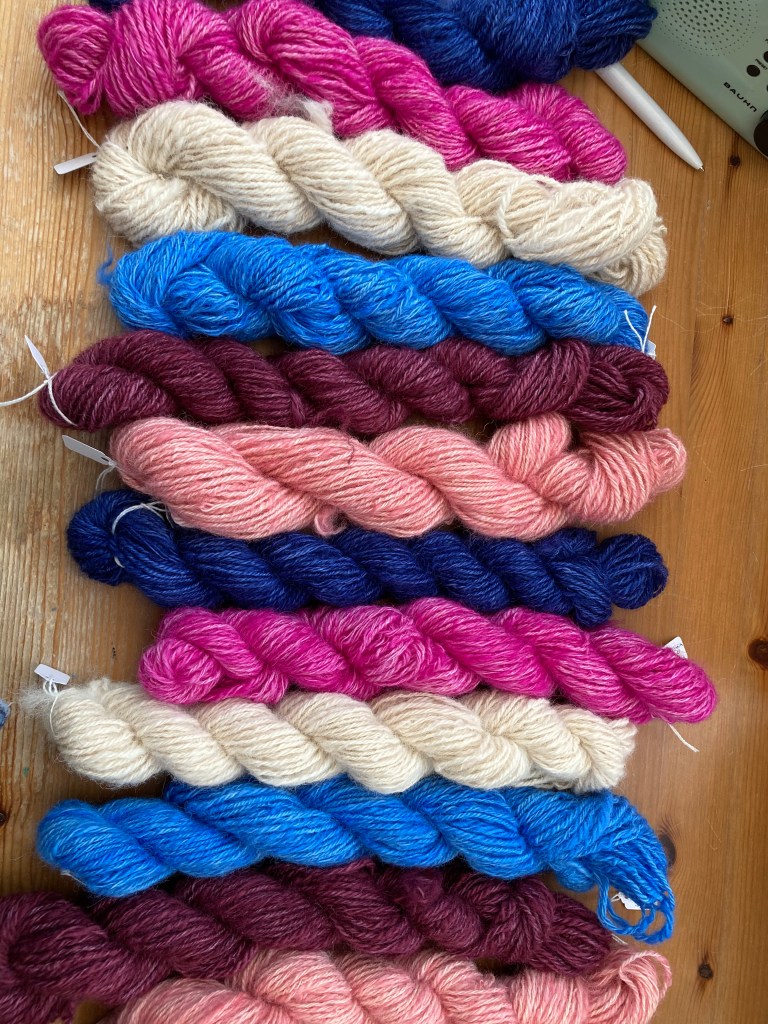
Participants will receive a complimentary 100g ball of James C Brett Aztec yarn in the colour of their choice. This includes some alpaca in the fibre blend that gives it a gorgeous soft feel. This Aran weight yarn is thicker than the double knitting I use in my beginners classes, and requires a bigger hook – 5mm. Here’s a small selection of some of the colours available.
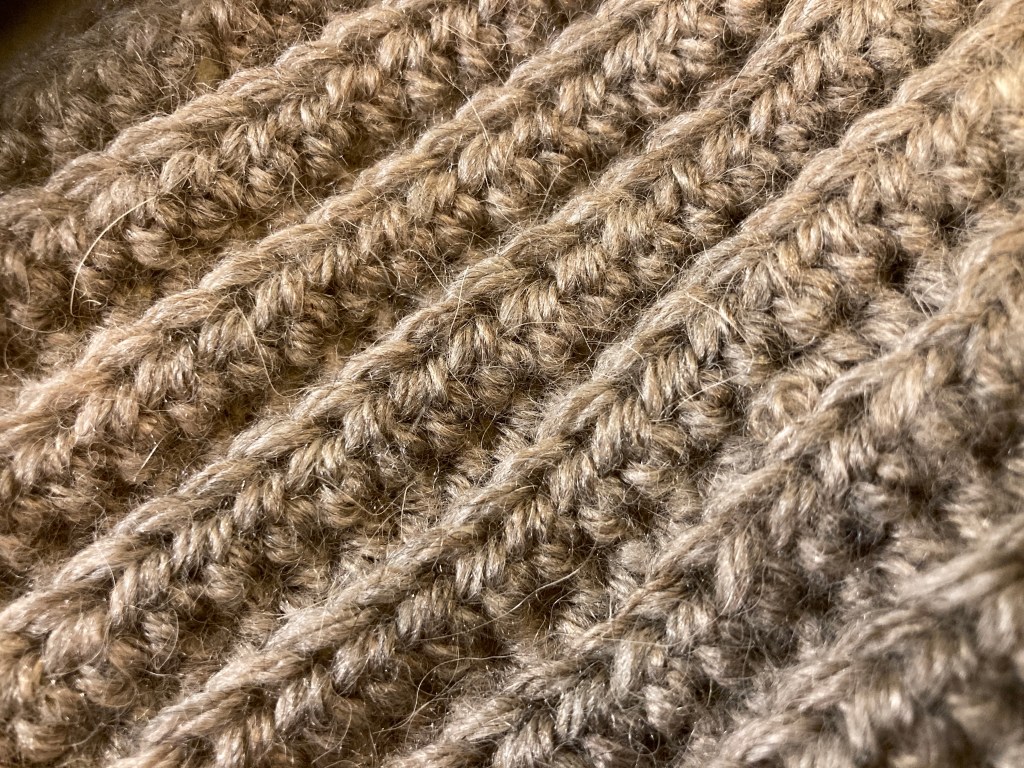
We’ll be perfecting our half treble stitches (UK terminology) and learning how the stitch placement creates the ridged effect, which resembles knitting.
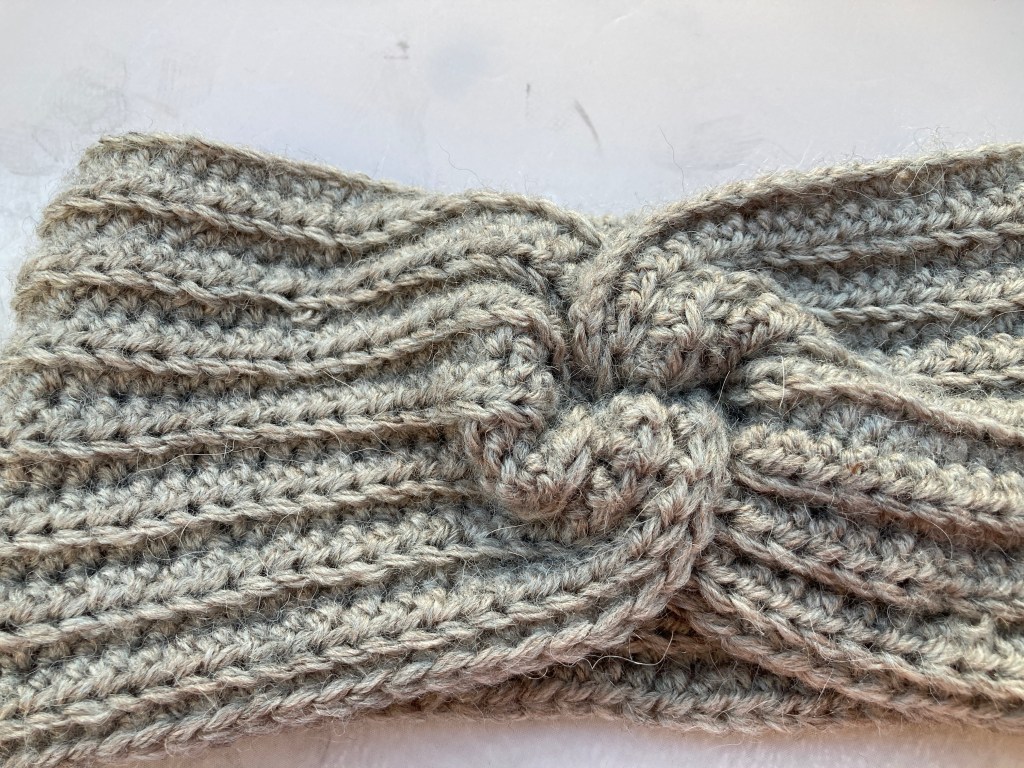
Having mastered the basic stitches, we’ll then go on to make the headband. I’ll be explaining how to adapt the pattern for different child and adult sizes and how to make the central twist.
As usual I’ll provide full illustrated instructions to complete the headband at home, including left-handed versions of how-to stitch guides for those who need them. There’s still places left – full details can be found here.
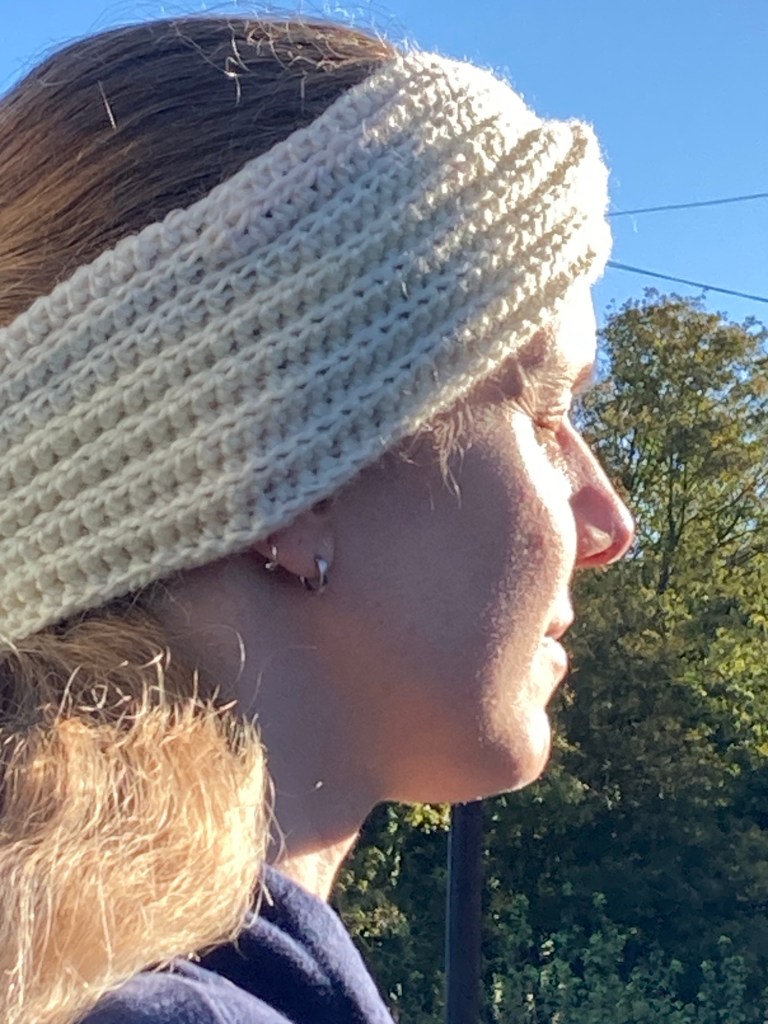
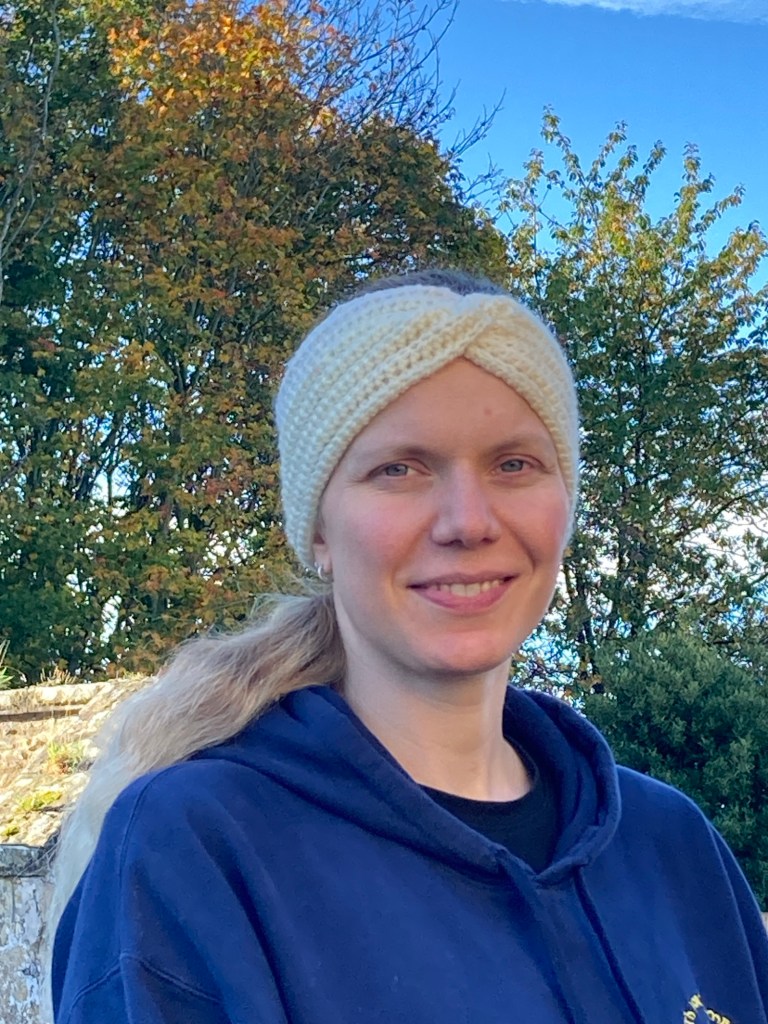
It’s the first brand new workshop I’ve developed in a while and it’s nice to do something new , especially something seasonal…..perfect as colder weather approaches. There’s enough stretch for a comfortable fit, whether you wear your hair up or down and the band is wide enough to keep your ears warm when the wind is biting
My friend Edi kindly agreed to model it so we did a little photoshoot – you can see how great it looks and what a perfect fit it is.
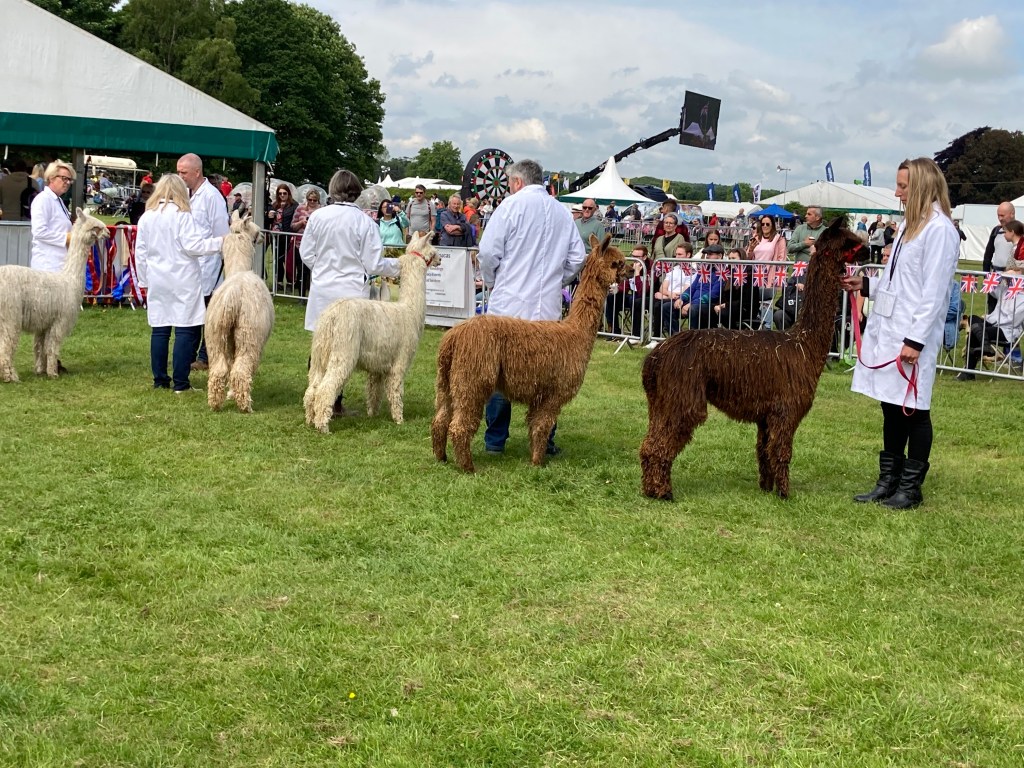
Since the last time the show was held I learnt to spin yarn and was lucky enough to be gifted a large quantity of raw alpaca fibre, much of which has been prepared, spun and knitted up into various items. For this reason I’ve developed a bit of an interest in these charming animals so it was really interesting to watch some of the classes.
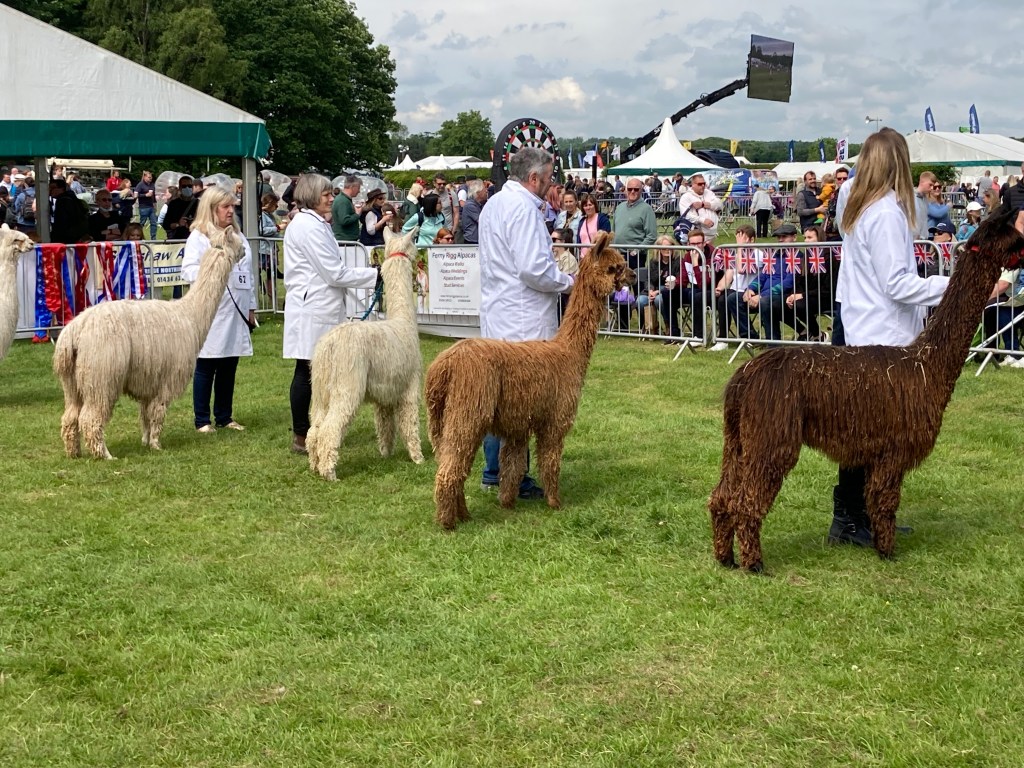
It’s always fascinating to hear an expert share their knowledge and that certainly happened here. The judge took to the microphone after giving the results of each class and explained the reasons for his choices in detail. He described the good (and less good) points on each of the animals. He began by saying what he thought of he conformation of the animal (its basic shape and proportions, as with all animal judging): he wanted to see a straight back, strong legs and good build for the age of the alpaca (youngsters will still be growing). He was also judging the alpaca’s fleece: its length, density, fineness and condition. Some animals seemed to like the process better than others. some were happy being led into the ring by their owners and stood beautifully still while the judge felt their body shape through that lovely thick blanket of fibre. Others protested a bit!
I got chatting to one of the exhibitors who had won an earlier class. Her small herd is a fairly recent venture. She was absolutely delighted to get such a result at her very first show and didn’t quite believe it when the judge placed her animal first.
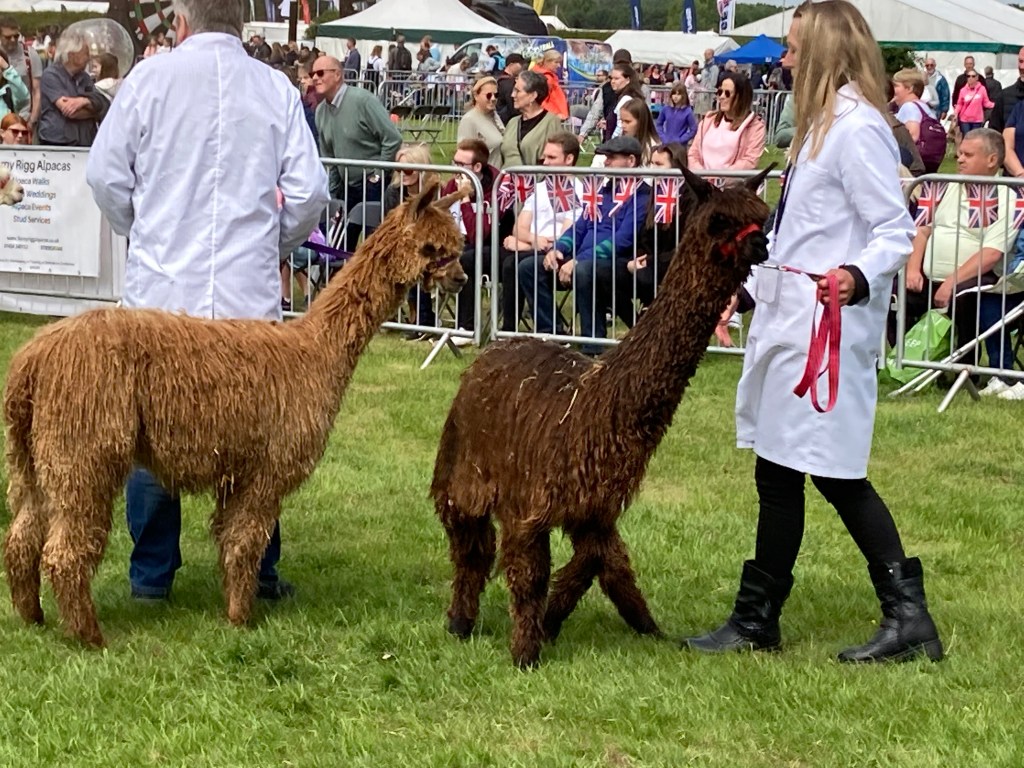
I have been spinning and knitting with Suri alpaca for a while since some was given to me by some lovely friends of my brother and his wife – it’s quite different in texture to the much more common Huacaya alpaca. Having got to know the fibre well, I was delighted that there were some classes for Suri – I had never seen one of these alpacas in the flesh so I waited around to watch them in the ring.
A couple of the Suri competitors
They look quite different from the fluffy Huacayas, . The locks of fibre hang down like dreadlocks. The Suri breed are quite rare, making up only about 10% of the population.
The Suri class
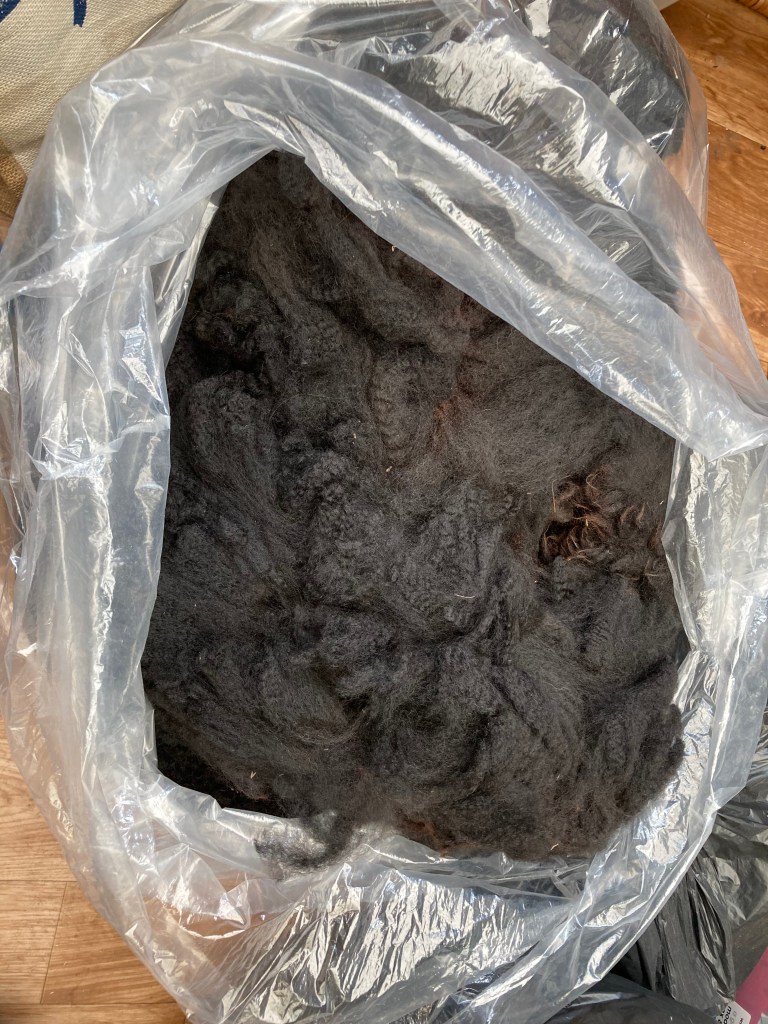
My other reason to visit the alpaca tent was to pick up a fleece. I’ve previously plied hand dyed alpaca singles with black sheep wool and I love the effect when it’s knitted up. At some point I’d like to do a bigger project like a sweater on similar lines in pure alpaca. I have used black acid dye but it seemed a better idea to use a natural black fibre. A couple of weeks back I picked up some grey alpaca for one of my online knit and Natter Group from someone who keeps a small herd near here. She had no black fibre herself, but put me in touch with Debbie Rippon from Barnacre Alpacas. There is a large established herd of some 300 at Barnacre, including black animals. Debbie was exhibiting at the show and agreed to bring a couple of fleeces with her for me to have a look at.
A corner of the marquee was set up with a few stalls selling knitted items in alpaca, made by some of the exhibitors. I’d arranged to meet Debbie there and she showed me what she’d brought – two gorgeous fleeces, one brown-black and a stunning blue-black which I chose. This came from a female names Hippolyta, her first fleece as a youngster.
Hippolyta (photo D Rippon)
I’m looking forward to prepping and spinning this beautiful black cloud of fluff!
Also located in the alpaca tent were members of the Tynedale Guild of Weavers, Spinners and Dyers, demonstrating their work. It was lovely chatting to some fellow spinners and they invited me to come along to a future meeting, which I hope to at some point over the next few months.
Considering the alpaca were only one small part of the show, I certainly got a lot out of spending some time there.
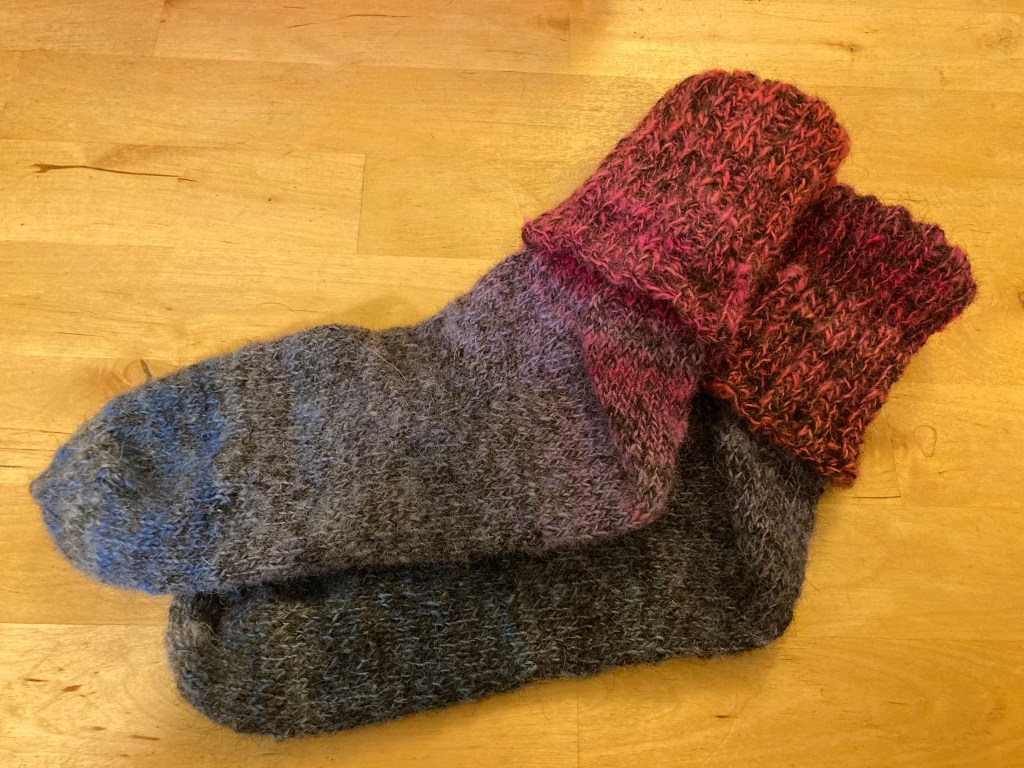
Fresh off the needles today, one pair of socks in handspun alpaca and wool. This is the first pair I’ve made from the toe up.
This pair began its journey last summer with one of my first dyeing experiments. I gradient dyed a braid of alpaca in shades of blue, navy, purple, pink and red. You can read about where my alpaca fibre came from here
I spun the yarn and plied it with black zwartbles sheeps wool.
As I wasn’t sure about the yardage I’d need I decided on a toe-up pattern. If I’d knitted a top down sock it would have been a catastrophe if I’d run out of yarn before I reached the toe. On the other hand, working from the toe up could end up ankle or knee length without it really mattering! This pattern is Route 45’s Basic toe-up socks. It gives lots of options for needle size, and works whether you prefer DPNs small circular or magic loop. There is also a measuring guide so you can create perfectly fitted sock.
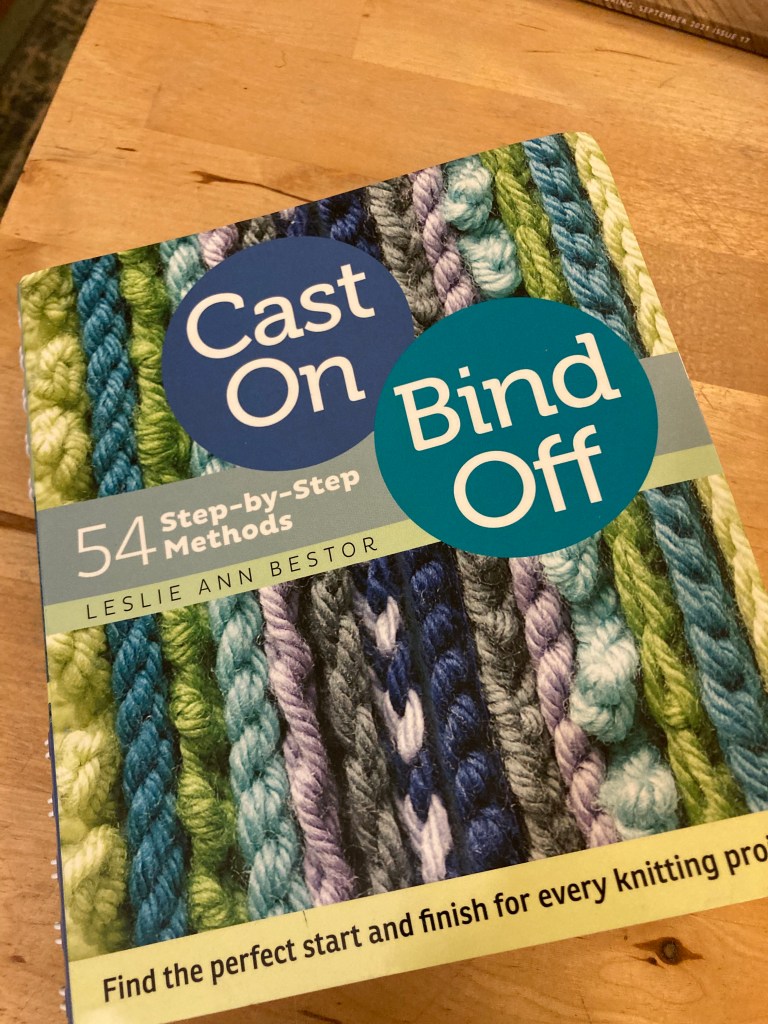
The other resource I used was this book I got for Christmas.
Who knew there were so many cast on/off methods? Several ways of starting off sock toes are included. The pattern uses the Turkish cast on, which was a first for me.
The book came in again for the cast off on the cuff – I used Jeny’s Surprisingly Stretchy Bind off, which is a pretty good description….very stretchy.
I’ve really enjoyed knitting these. I love the the way the colours work, Both the gradient and the way that plying with black tones down the colour and gives a tweedy effect when knitted up. The gradients don’t match but I can live with that.
Toe up construction has been a bit of a game changer. I always disliked picking up stitches on the gusset with top down socks and there’s none of that here. I don’t think I’ll be going back to top downs after this.
And as for worrying that I might run out of yarn….well there’s just about enough for another pair!
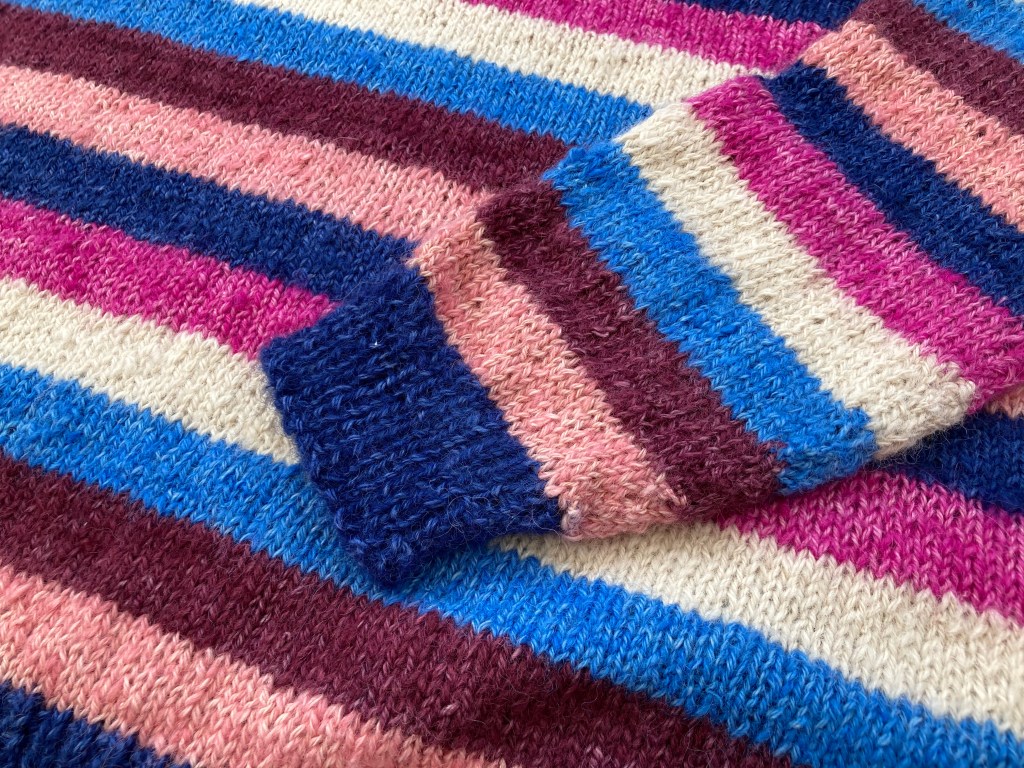
If you read my round up of recent Knit and natter group projects you’ll have noticed that I finally completed my striped alpaca sweater.
It’s been a long process – I washed and carded the fibre, then spun it until I thought I had enough (with plenty to spare) I chain plied the singles to get a more consistent thickness. It stands to reason that the more strands you ply together, the more even the final yarn will be as any variations will average out – I find plying with more than two bobbins a bit fiddly so chain plying seemed like the way forward and my technique certainly improved plying enough for a sweater.
The next stage was to dye the fibre , also something of a learning curve (you can read more about that here)
I was trying to reproduce the colours of a bought sweater I had years ago but always loved. I almost got it right though the coral pink should have been much paler.
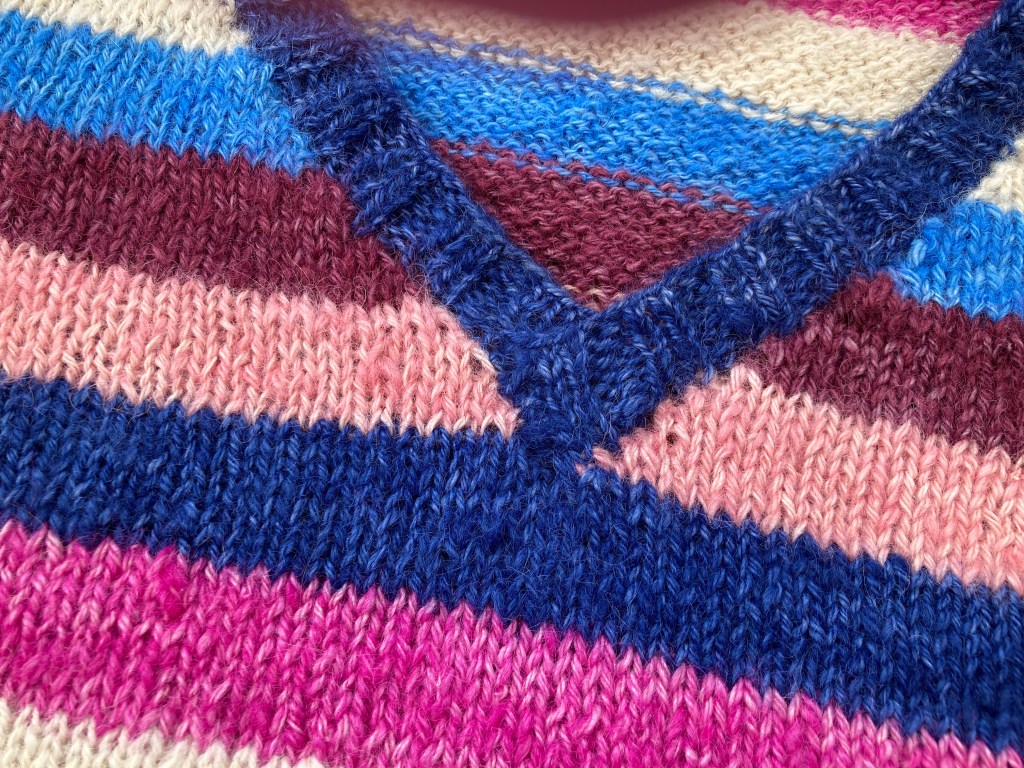
I chose a simple V-neck pattern with set in sleeves as I didn’t wasn’t to worry about matching up the stripes where the sleeves meet the front and back. Unfortunately I hadn’t noticed that there was some shaping there and when I completed the first sleeve it looked totally wrong (and was too long). I fell out with the project for several weeks, then bit the bullet and did some calculations to get the sleeves to the right length and match up the stripes.
This time it worked just fine and it was soon finished.
I’m really pleased with the result. It fits well and the V-neck is just right – not too deep.
This is my biggest handspun project so far, and the first where I’ve dyed the yarn. it’s even more satisfying that I made it from scratch from the raw fibre.
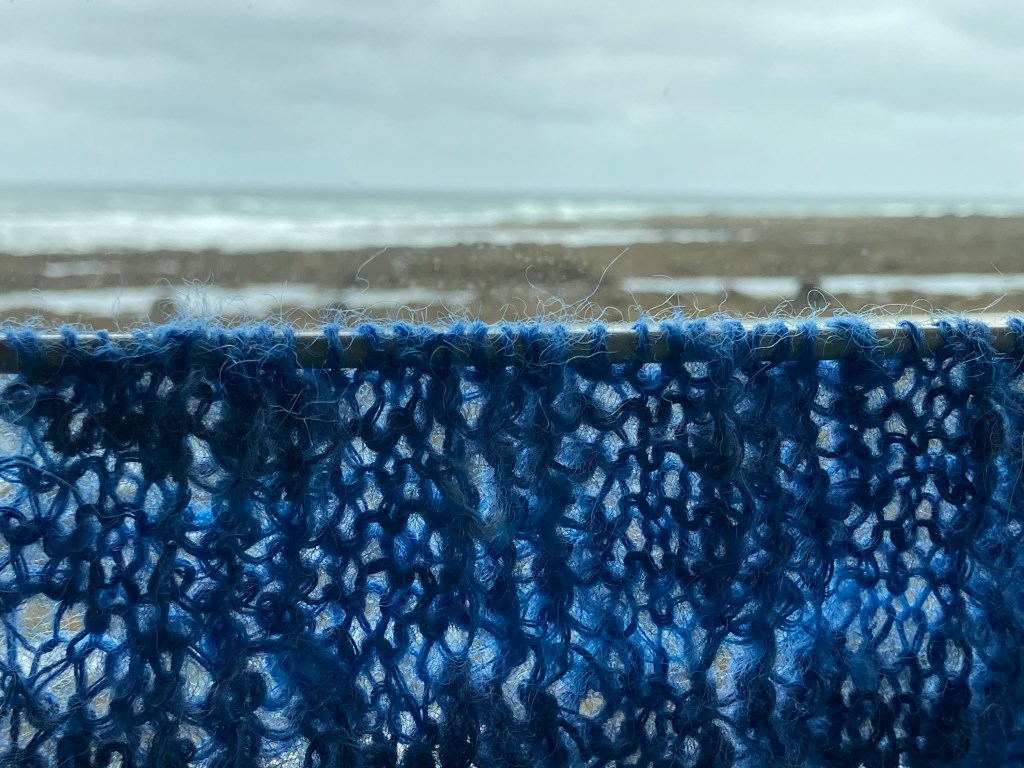
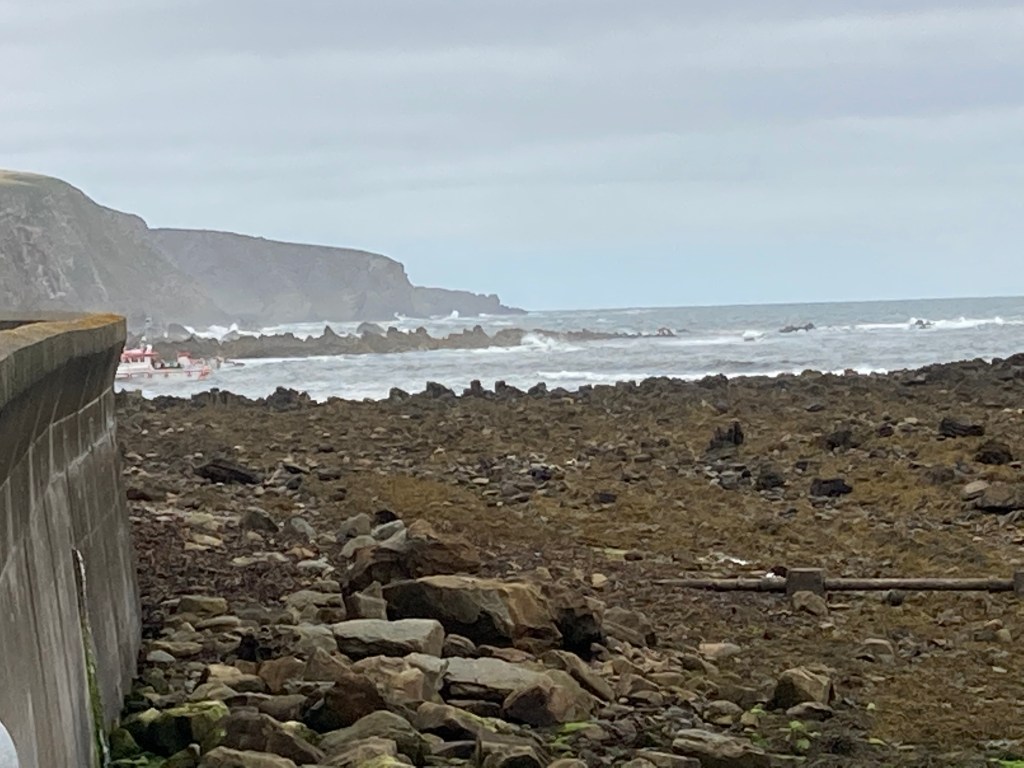
Today we ended up in Burnmouth, a coastal village just North of the Scottish Border, that nestles at the foot of sea cliffs.
The sea was rough but there were a few birds sheltering among the rocks: greater black backed and herring gulls, oystercatchers and a lone heron.
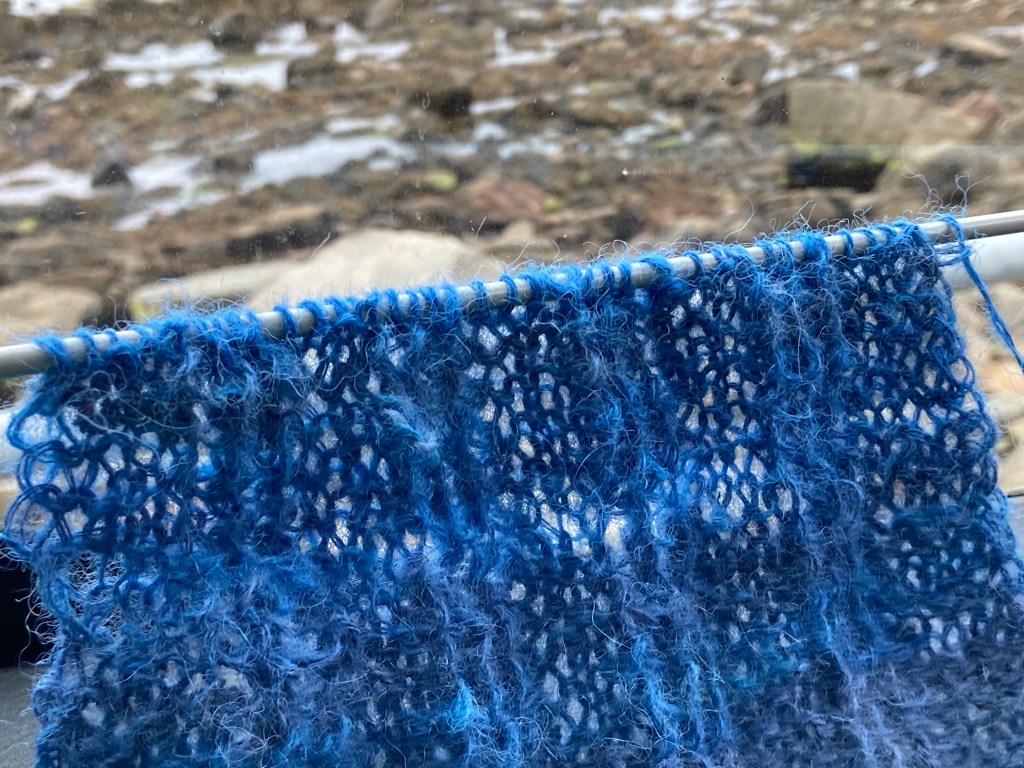
While K took Buddy for a walk I got on with my knitting – I cast on this scarf earlier in the week. It’s the Ox scarf by Angela Mühlpfordt and I’m using 100% alpaca yarn that I’ve spun and dyed myself.
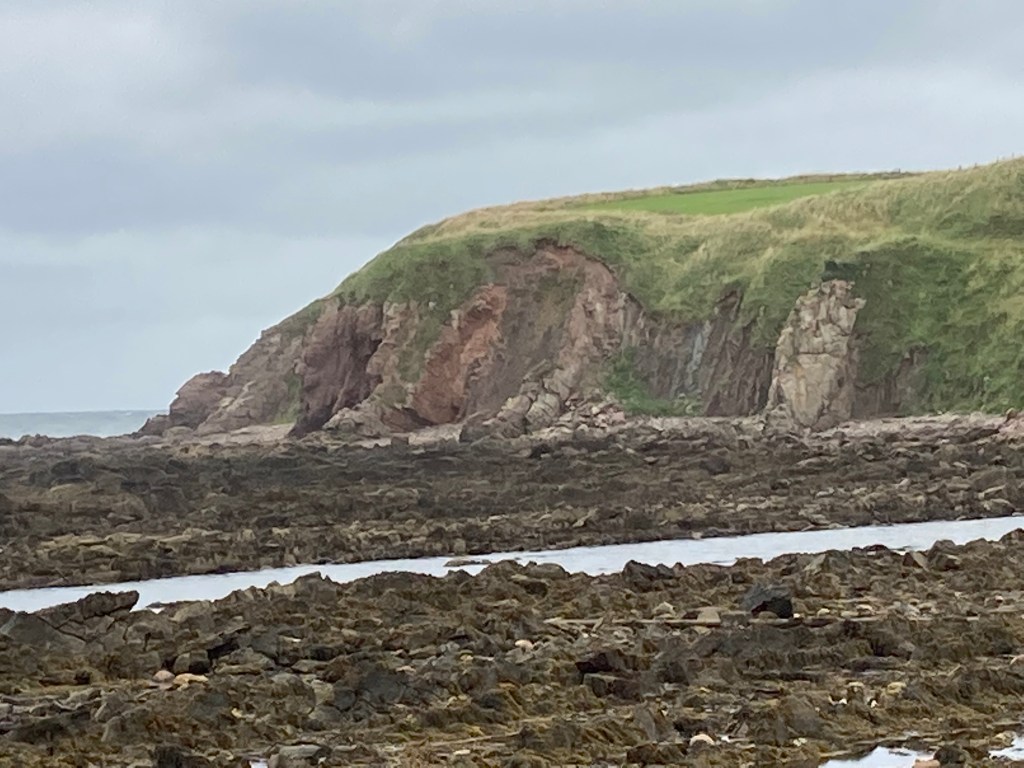
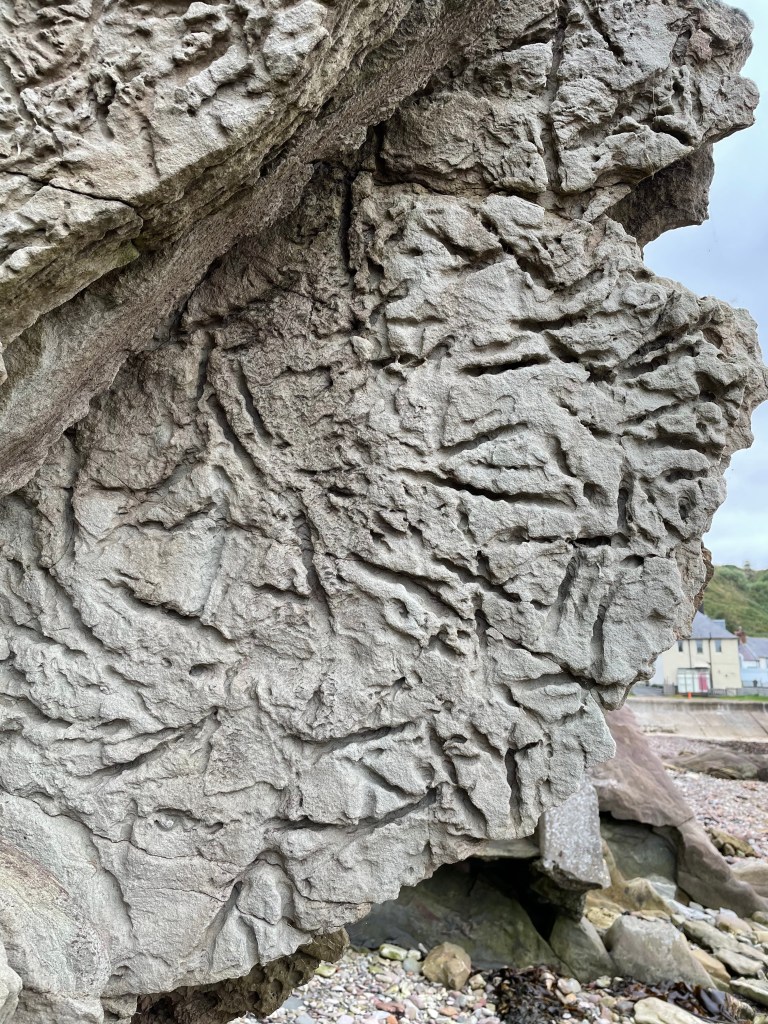
K is interested in geology and informs me that the rocks here are about 345 million years old, from the Carboniferous Period. He and Buddy made their way south towards where a rockfall had come down from the cliff.
They came across this bed of fossils.
These are the remains of burrows made by an ancient worm-like creature.
There’s always something interesting to find on this coast!
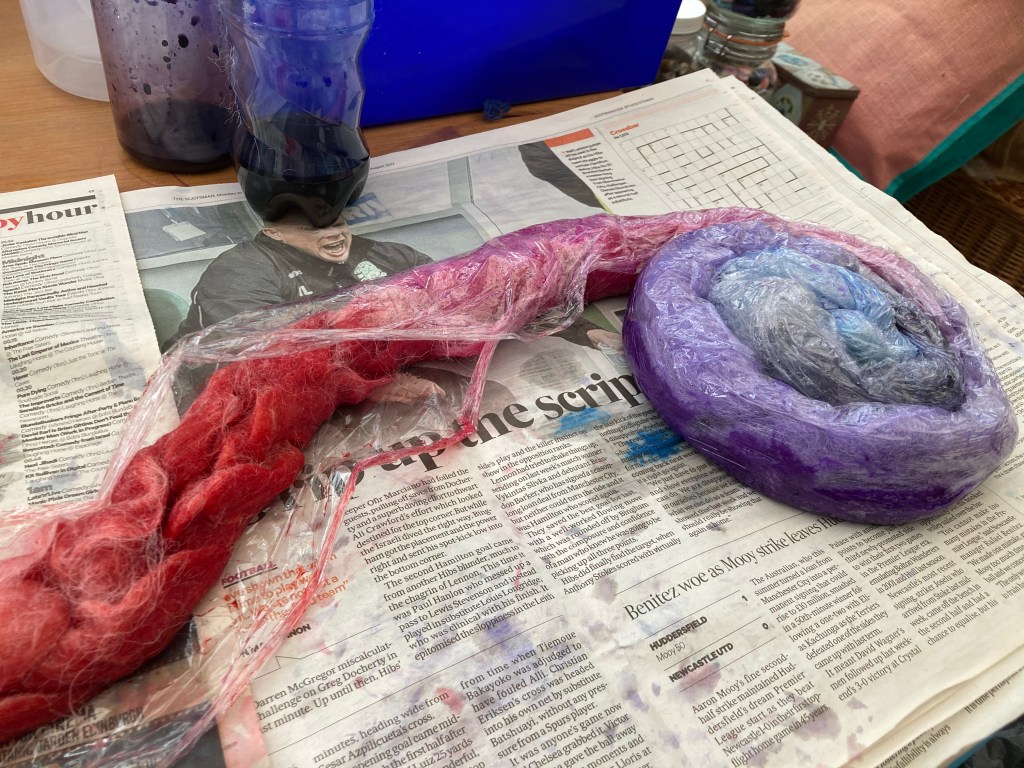
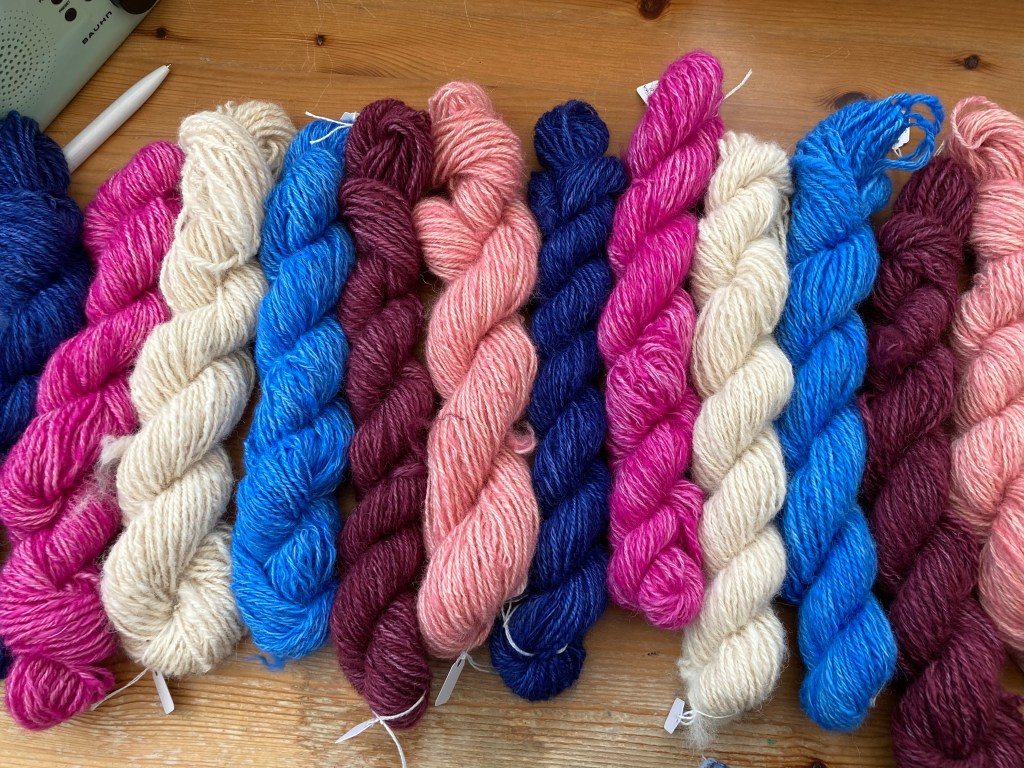
Since my first attempt with acid dyes the other week I’ve been immersion dyeing some of my handspun alpaca fibre. The plan is to make a striped jumper for myself in pink and blue shades. had one in these colours years ago and although it was acrylic and mass produced I always loved those colours so I tried to copy them. I’m using a Drops pattern for the sweater but changing the stripe pattern – I worked out the total yardage needed for the pattern and divided it by the number of colours (6 including natural/undyed to get the amount for each batch (plus more of the colour I’m using for welt, cuffs and neckband). I hope I’ve been generous enough with my estimates!
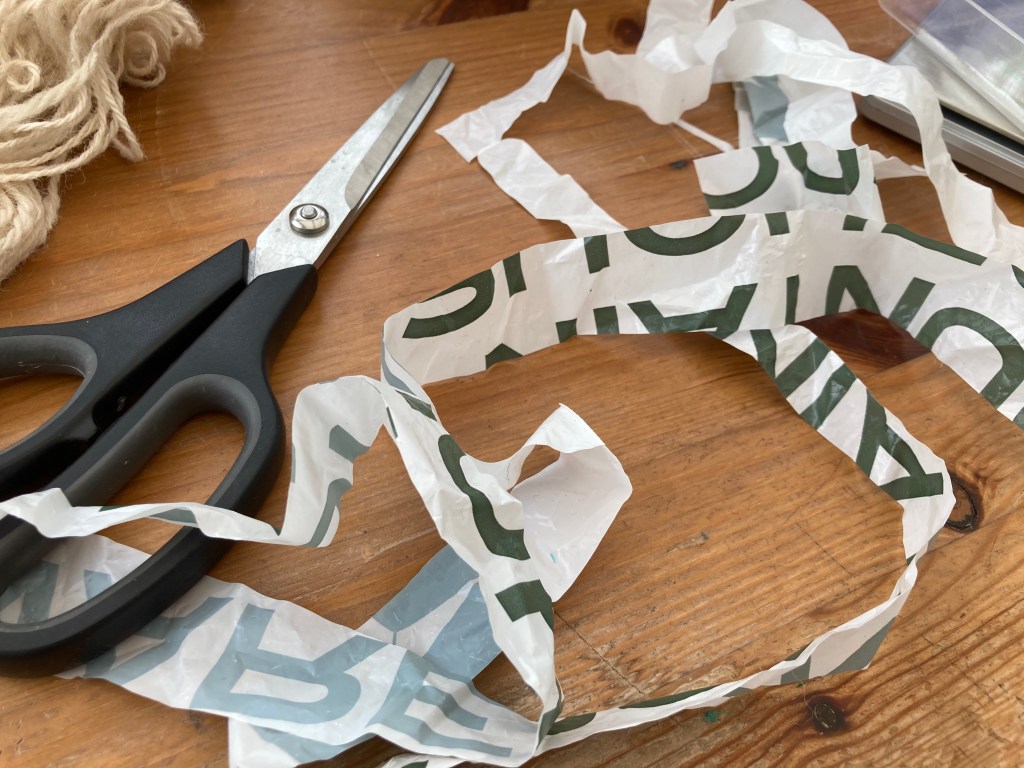
Never one to throw anything away and always trying to find a second life for single use plastics I cut up plastic carrier bags to loosely tie the skeins of undid yarn using a figure of eight – this stops the strands bunching together so the dye reaches them.
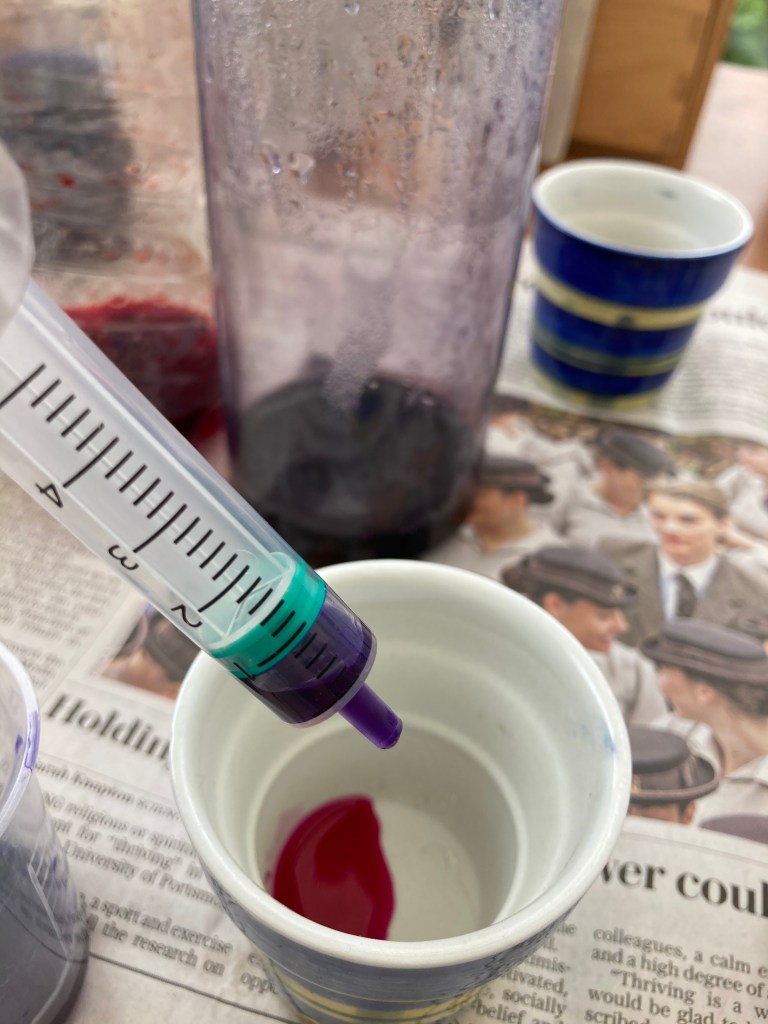
Each batch was weighed to calculate the amount of dye needed and soaked for an hour in plain water.
Immersion dyeing seems to give the best solid colour. I I followed the instructions in the dye kit I have from DT Crafts to mix 1% dye solutions with citric acid. The dye baths were prepared with about 4l water plus the dye solution measured out for each batch of yarn dry weight and heated in the hob to just under a simmer for 20 minutes or until the dye cleared.
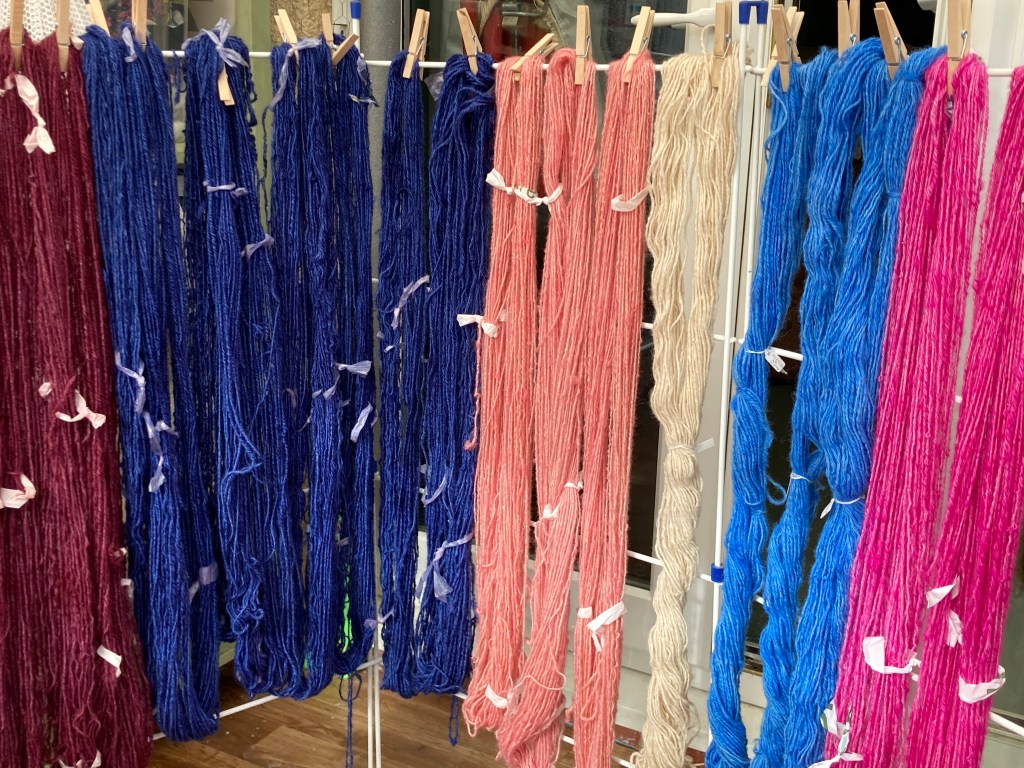
The pan was then left to cool and then the yarn rinsed, gently squeezed in a towel and hung to dry. I hook the skeins over the back of a clothes peg so it dries easier and without kinks.
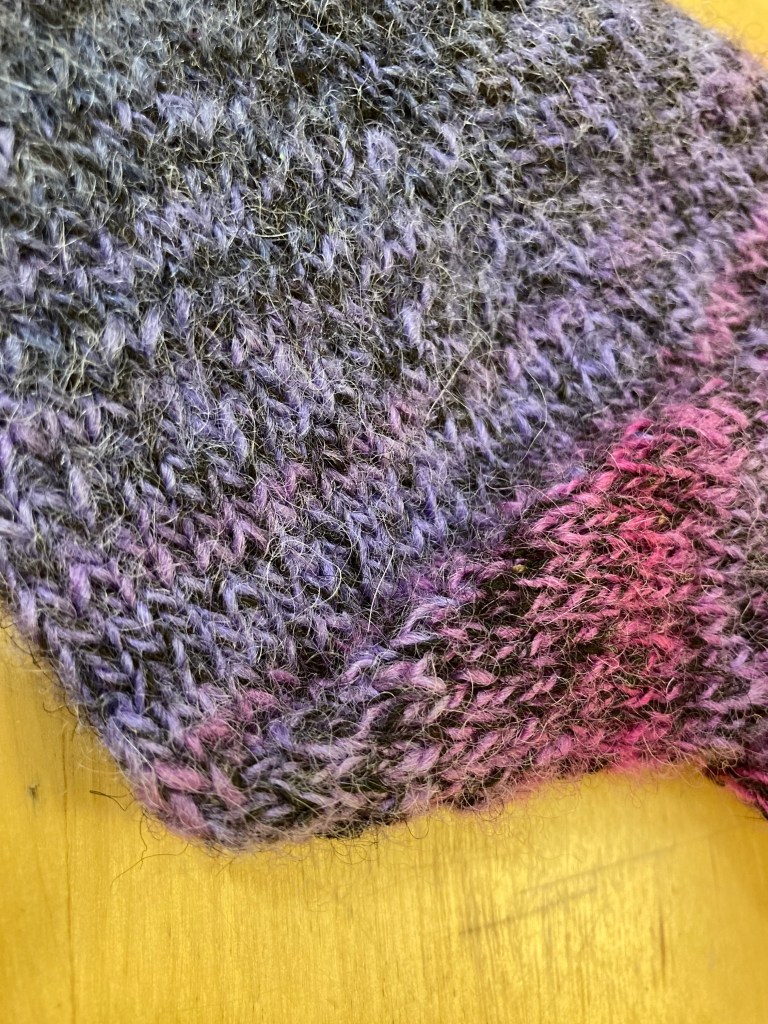
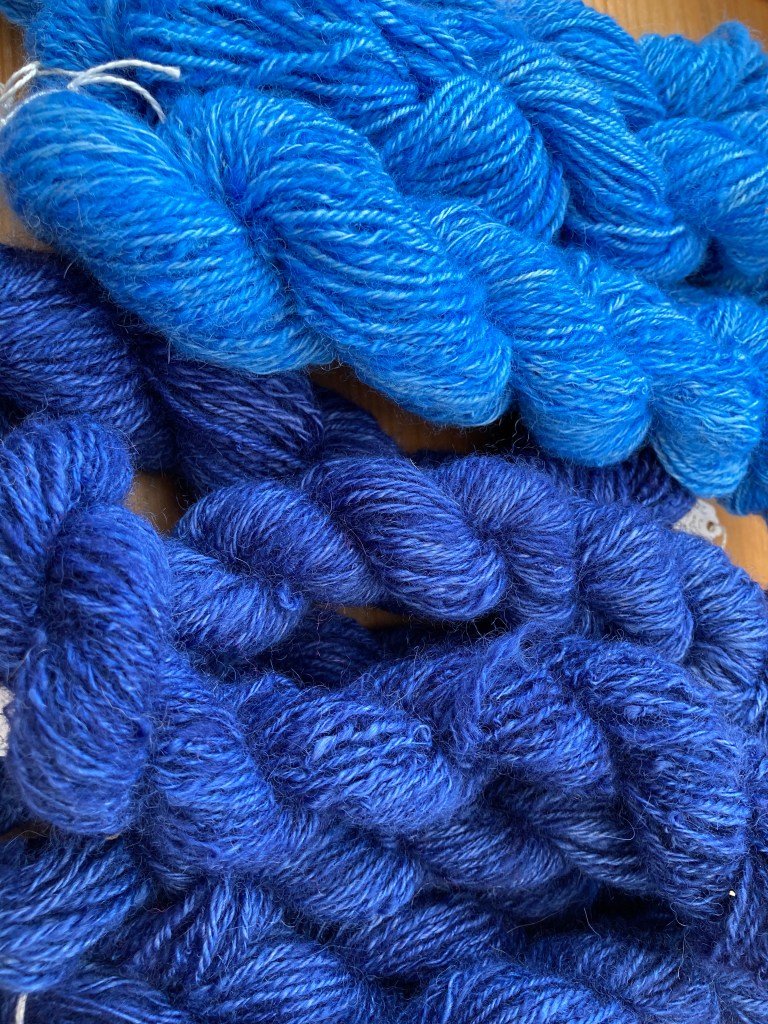
The first batch used Hue and Dye blue, in a 1% solution 100mls for every 100g dry weigh yarn and it gave a lovely cornflower blue – exactly what I wanted. The navy dye in the kit had a hint of purple and I wanted it bluer so I mixed my navy and blue 1% stock dyes 50:50 – the colour needed to be darker so I used twice as much (200mls per 100g dry weigh yarn)
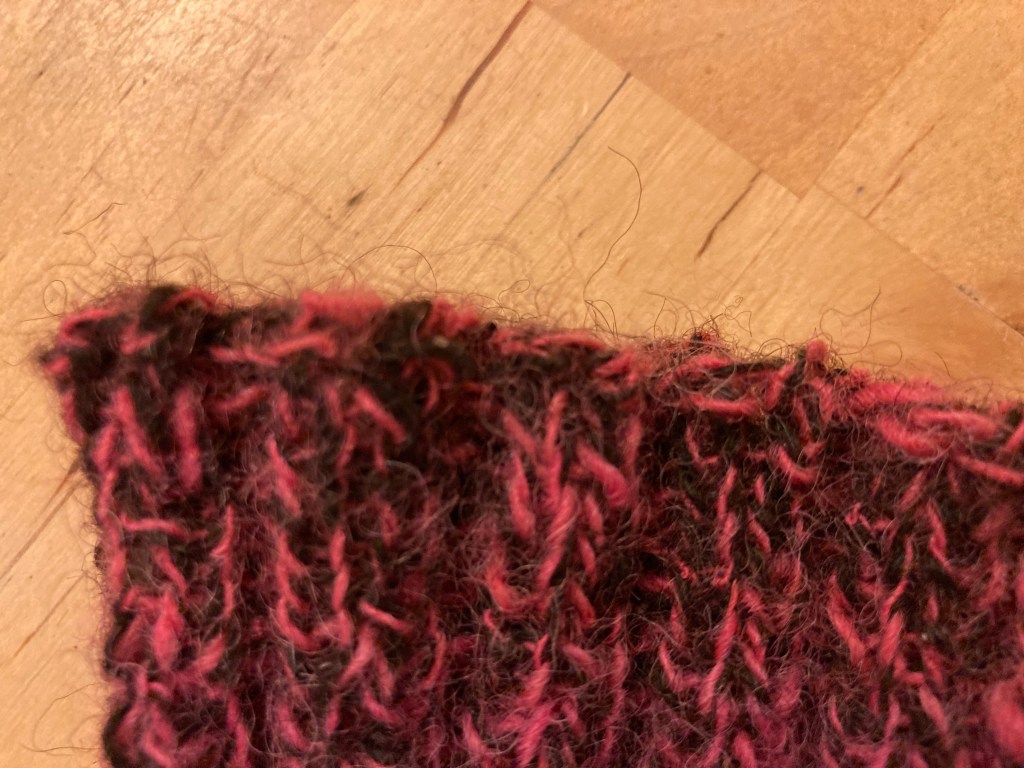
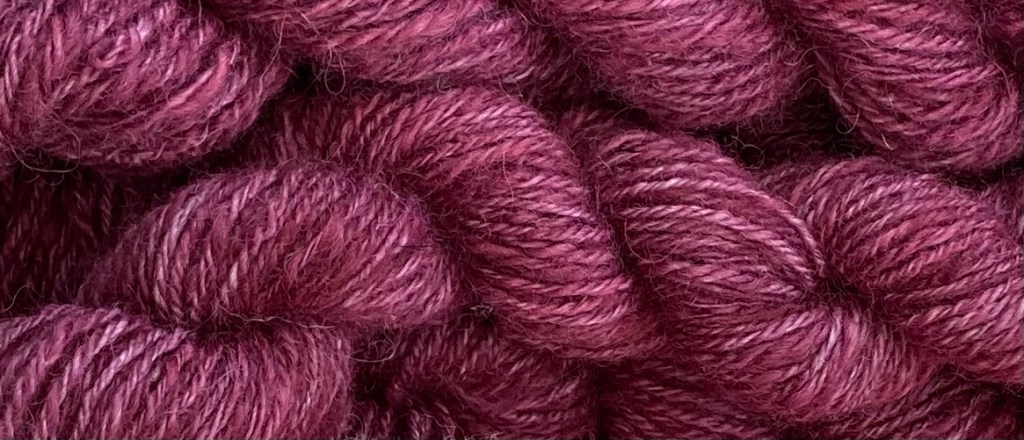
For the deep burgundy colour I used 5 parts red to 2 parts blue with a tiny drop (less than 1ml) of 1% black, at 200mls per 100g – the double strength gave a good deep colour.
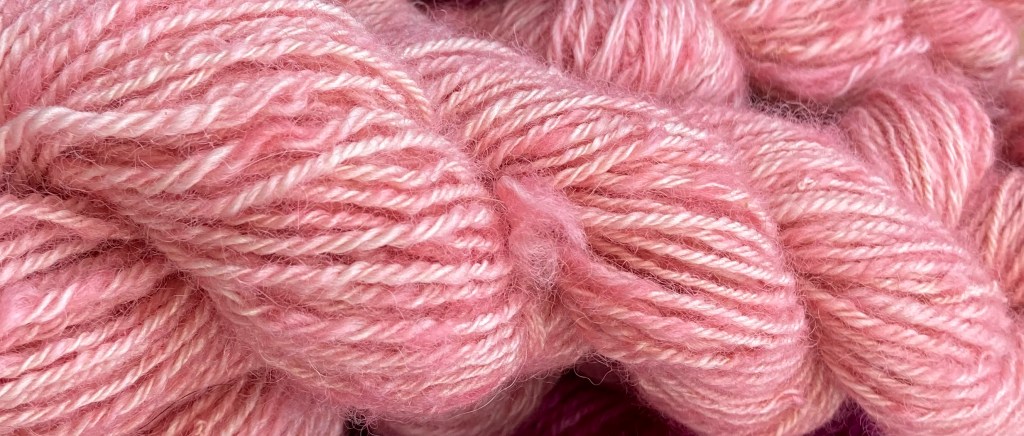
The blush pink needed to be very pale – I mixed 5 parts red to 1 part blue and diluted the mix to 0.1% (a tenth of the original stock solution this came out rather deeper than expected, almost salmon rather than pale blush
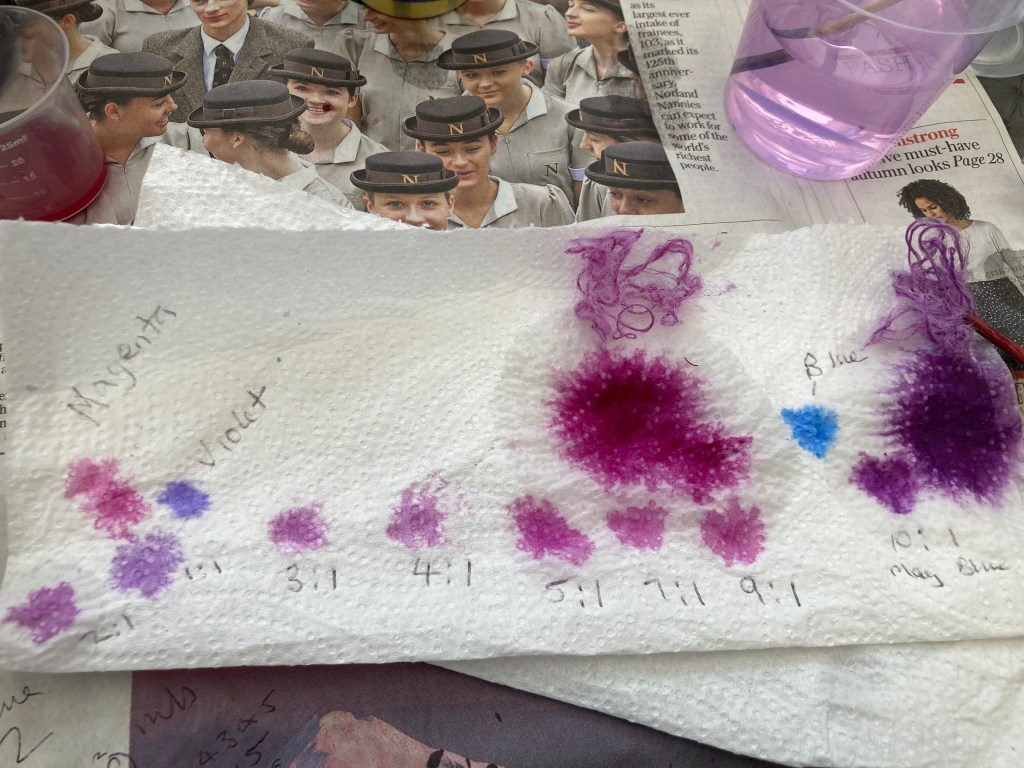
The final dye lot was supposed to be a fuchsia pink with a violet hue – I experimented with different proportions adding a drop onto kitchen paper to compare samples. In the end I mixed 9 parts magenta to 1 part violet. – it looked perfect on the paper but came out more of a cerise pink – it seemed that the red pigment took to the yarn more intensely than the blue pigment.
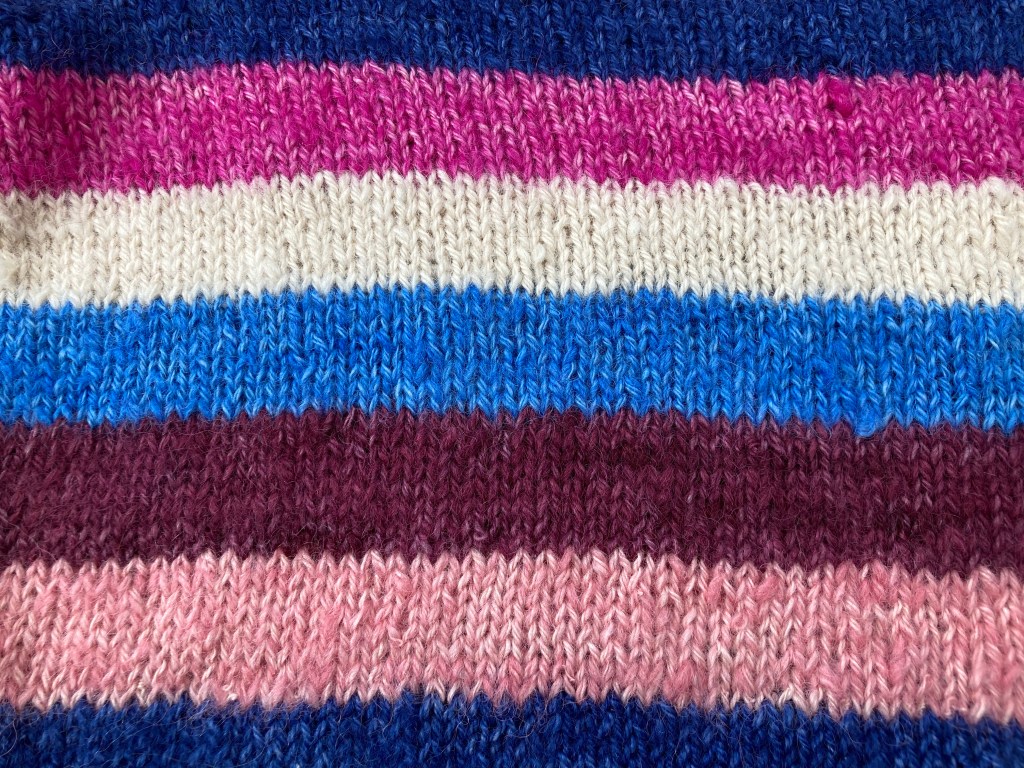
My only worry was the two pink shades (I’m very fussy about colours). I could have spun more yarn and done another batch with a more dilute dye mix to give a paler version. I could have overdyed the cerise pink with a dilute blue/violet to give the desired result. I actually love both the pinks I dyed, so I decided to keep them and just make sure that the knitted stripes of these shades are not adjacent to each other. After trying various combinations I decided on this sequence, starting with the navy for the ribbing.
And now I’m cast on! With sweaters and other large items I tend to knit them on and off over several months so it will be a while but I will post updates, This will be the first Item I’ve made for myself from the raw alpaca I got last year – I have done several small Items as gifts – it’s also my first hand dyed garment – so quite a landmark project.
Have you made something from animal (in my case friends’ alpaca) to finished garment? I’d love to hear about it.
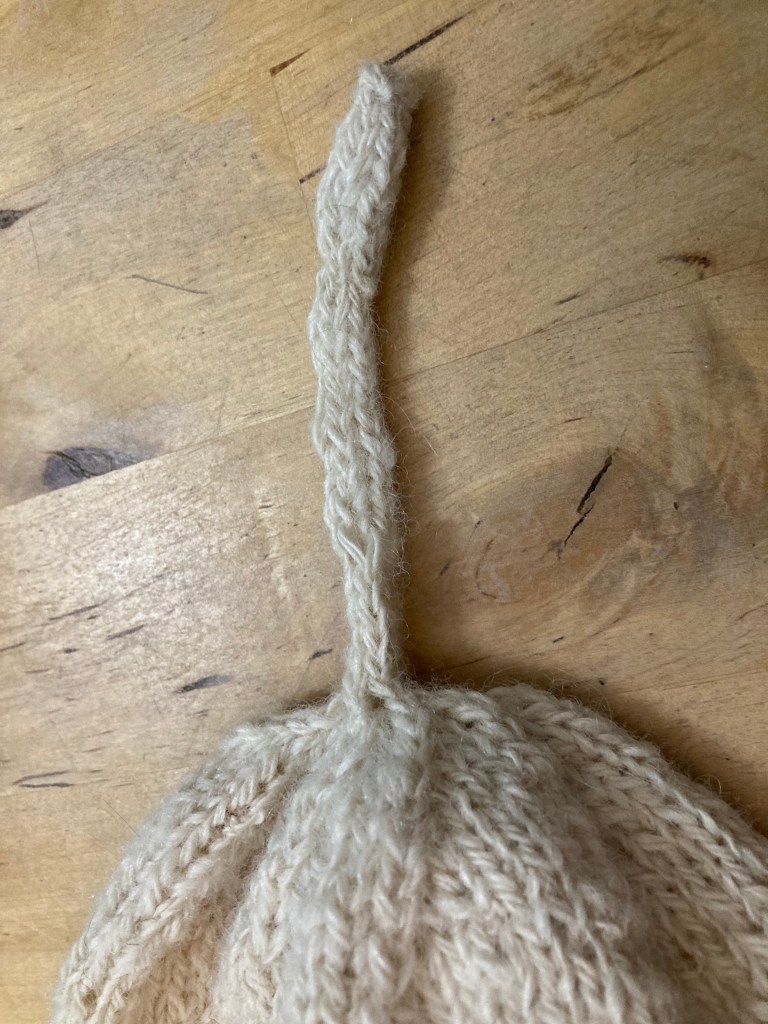
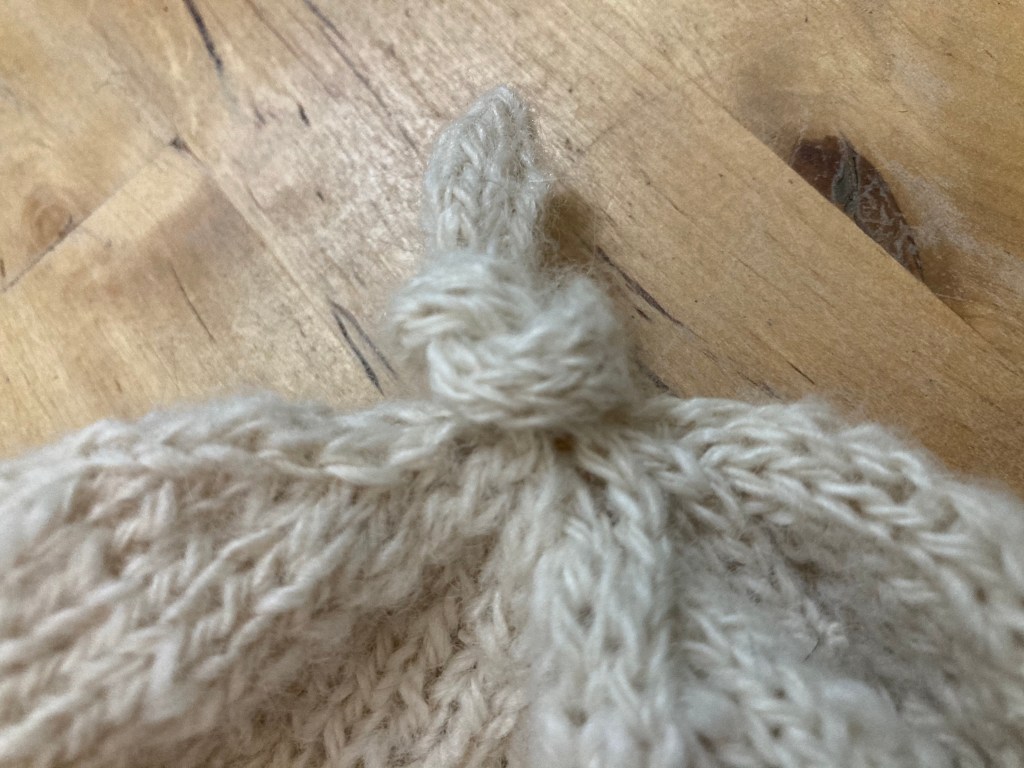
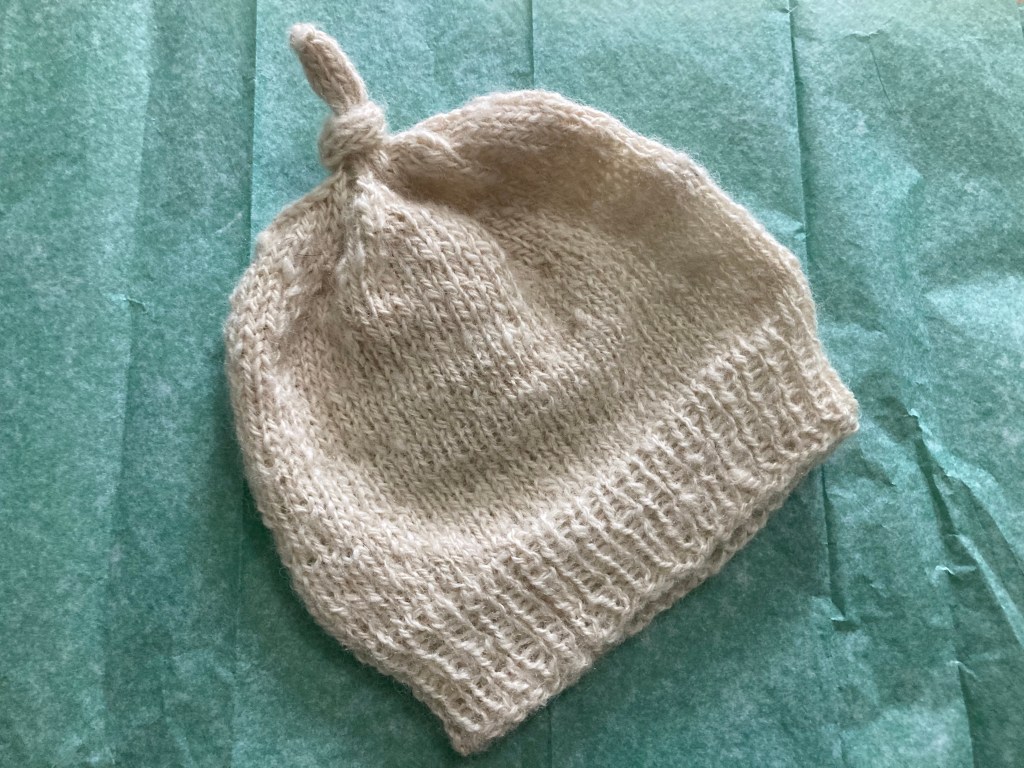
Some friends of ours have a new baby boy so I knitted this hat from my handspun alpaca. The pattern is the Maine Baby Hat – available free on Ravelry. I’ve made it before, but not this version, which has a central knotted pigtail
After the decreases, when there are just a few stitches left, these are knitted into an i-cord. It’s the first time I’ve used this technique and it’s quite easy to do. The i-cord is cast off when it reaches 4 inches long, then you tie a knot in it.
The alpaca yarn makes it lovely and soft and warm.
Do you have a go to pattern that you knit when there’s a new baby among family or friends?
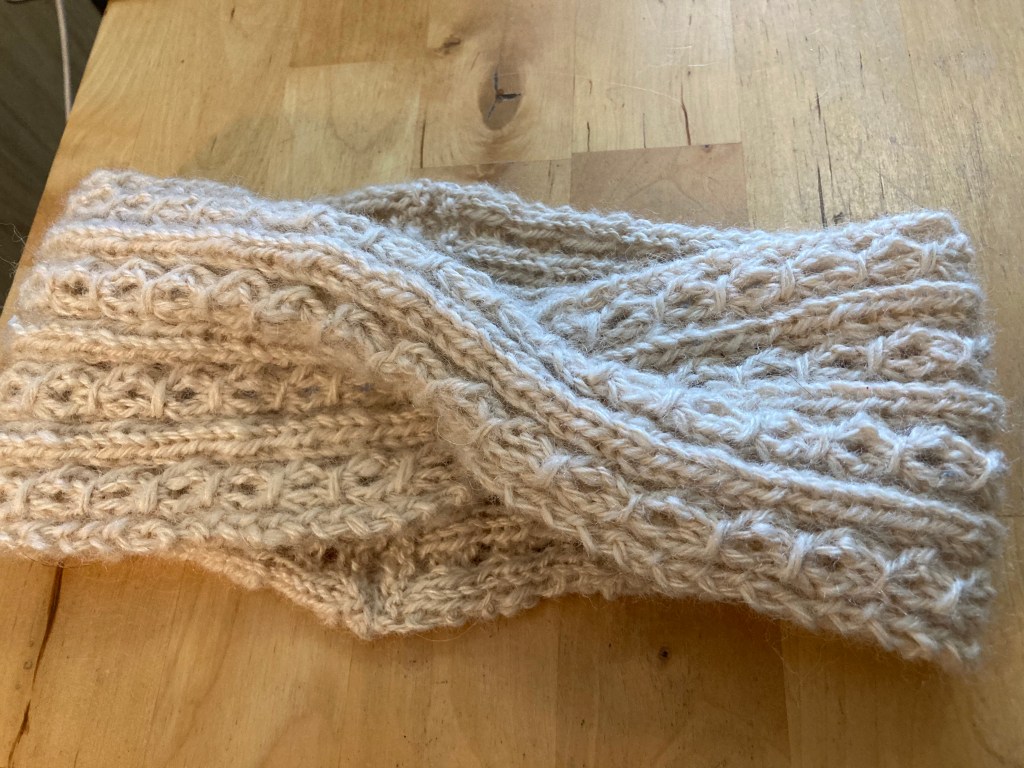
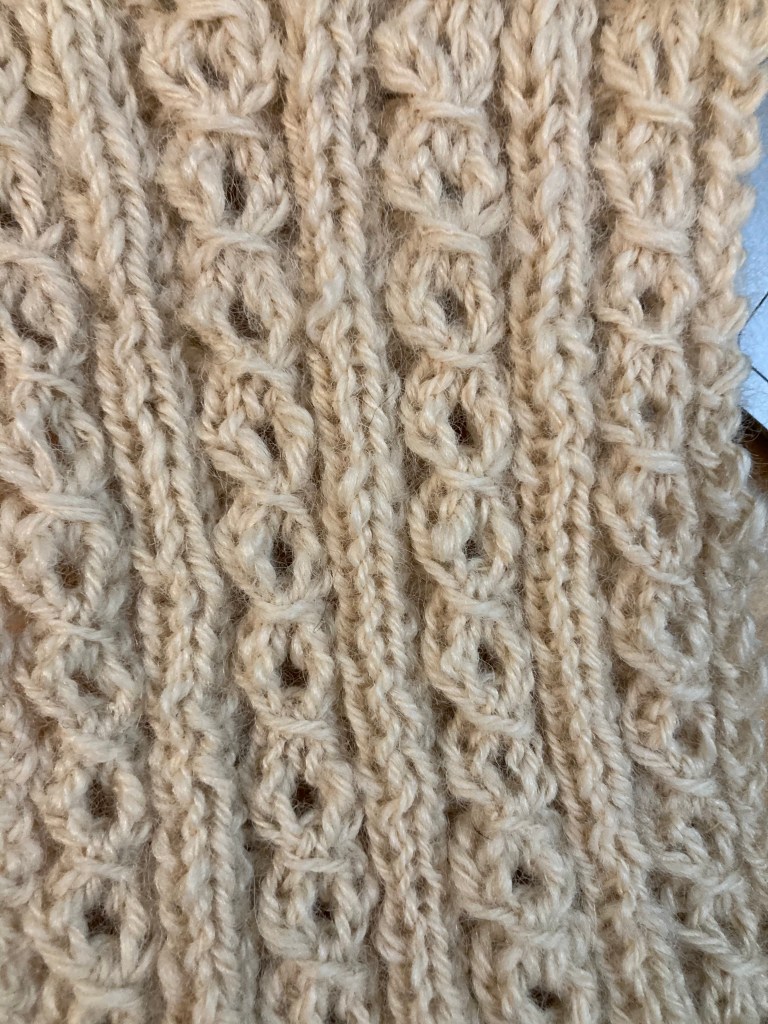
Having seen the cable bobble hat I made with my handspun alpaca last week, daughter asked if I’d make her a headband – she’d seen some similar to this, so we had a look at some patterns and she picked out a few – this one is the Twisting Taffy headband from Drops Yarn (a huge selection of Drops Patterns are available free on their website). She wanted it in natural white undyed alpaca, so I spun a bit more and got started.
The pattern said to use circular needles back and forth, but that always seems a bit pointless to me so I used straight ones. The pattern is not a true cable, but it was fun to do and the pattern repeat is only 4 rows so you don’t lose your place.
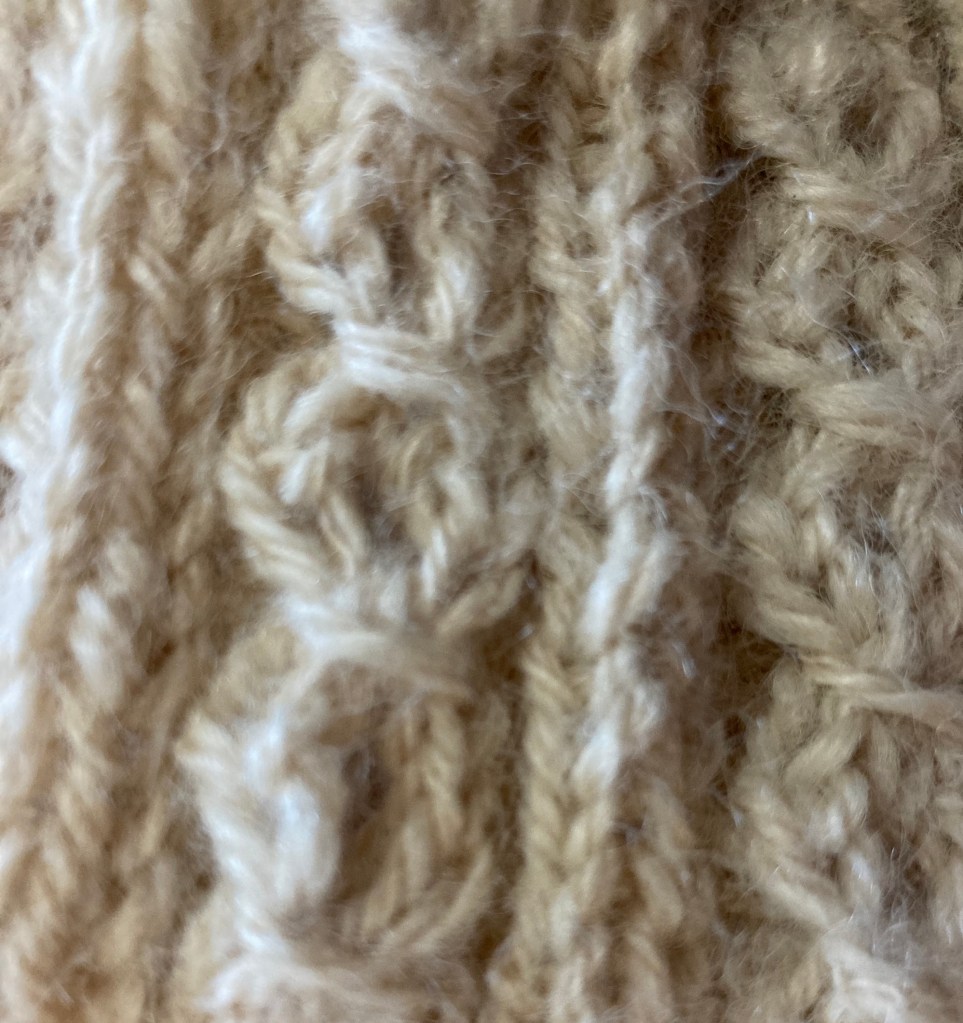
The hardest part was the twist, halfway along the strip. – You put half the stitches on a cable needle, knit the rest in pattern, then knit rest off the cable needle. As there are a lot of stitches this is extremely tight so if took me a few attempts (knitting this part more loosely). Once that’s done you just carry on with the second half of the strip, cast off and sew the two ends together.!
Daughter loves it – she wore it for a walk on a very cold day over the weekend and she says it really keeps her ears warm!
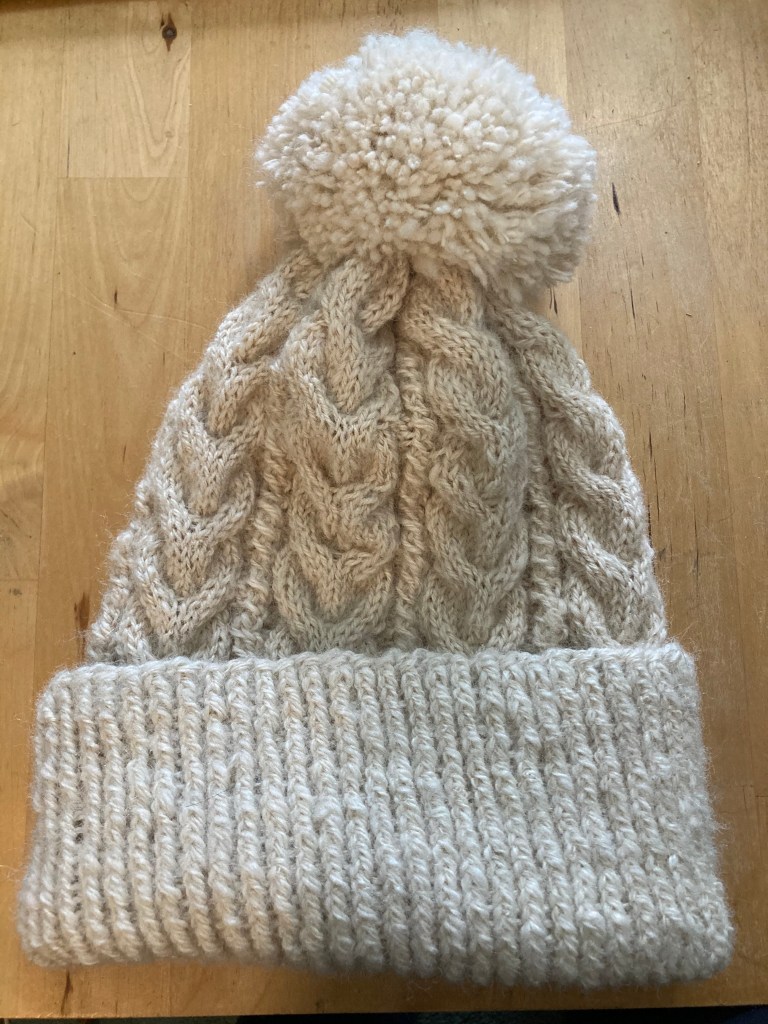
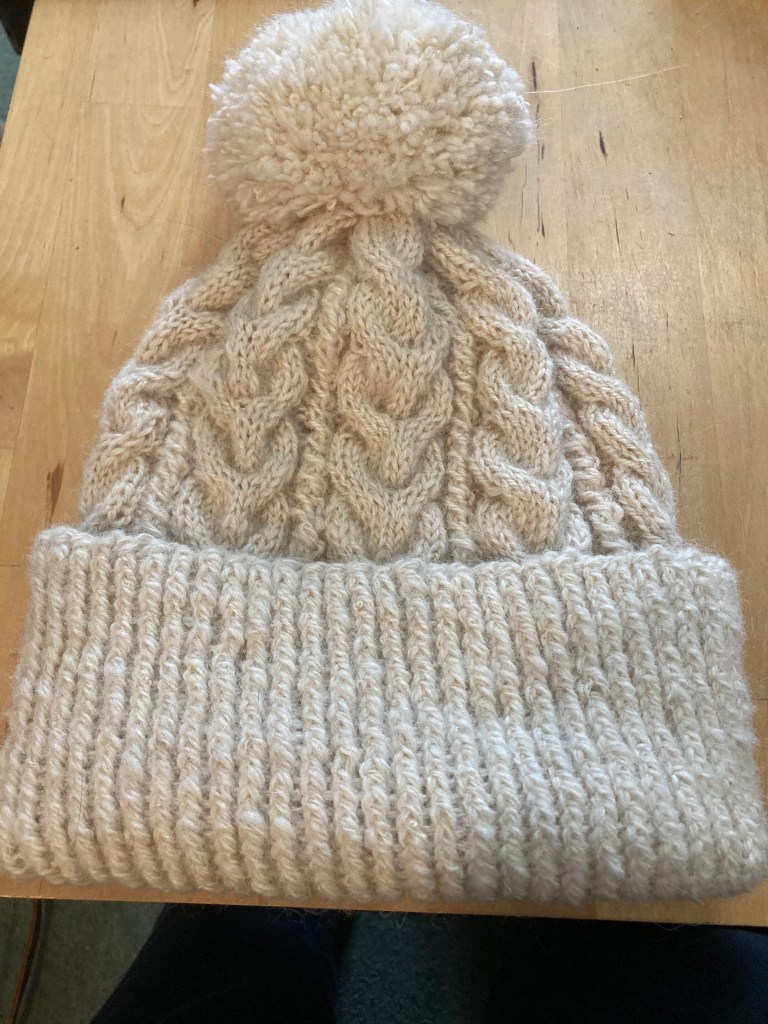
I finished this hat last week. The pattern – Hello Yellow – is available as a free download from Ravelry. I’ve now sent it off to our friends who own Wispa and Aero – the alpacas that keep me supplied with gorgeous fibre to spin.
I spun some more yarn especially – a 3 ply (I’m loving playing with my new Christmas presents, especially the ball winder)
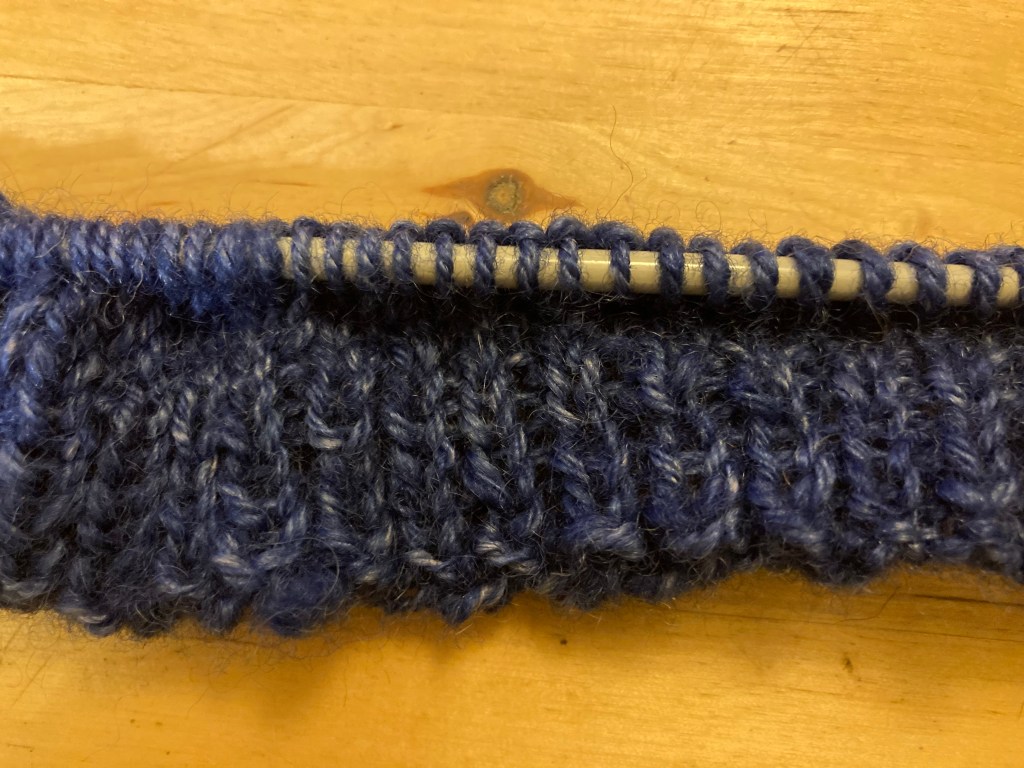
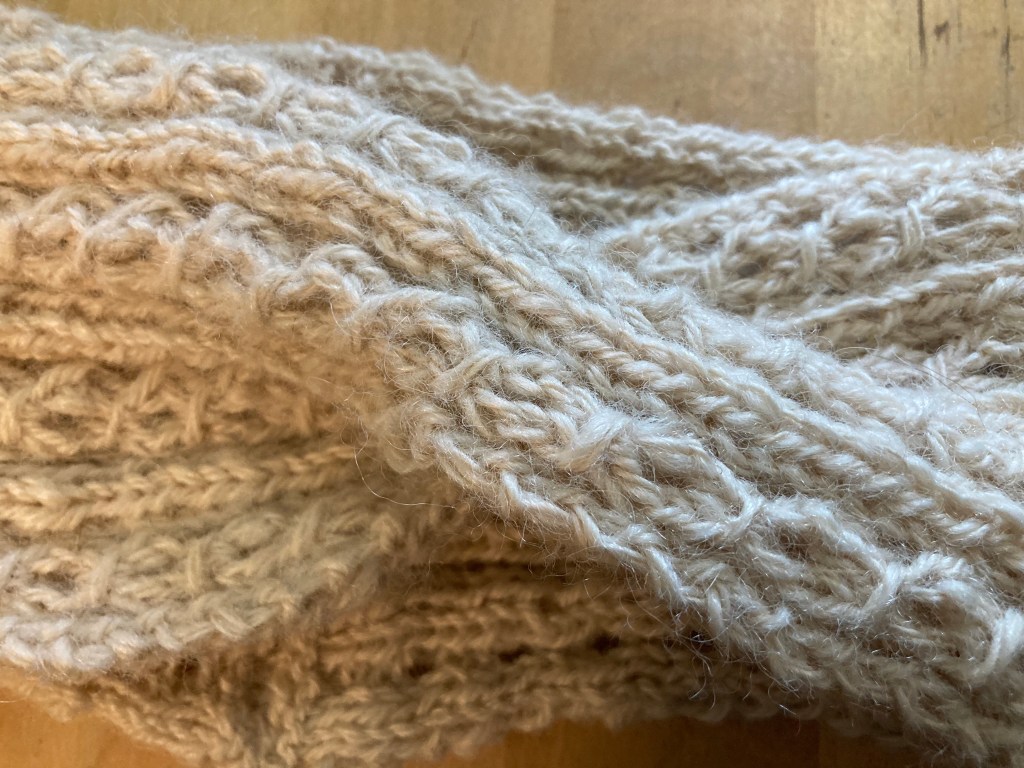
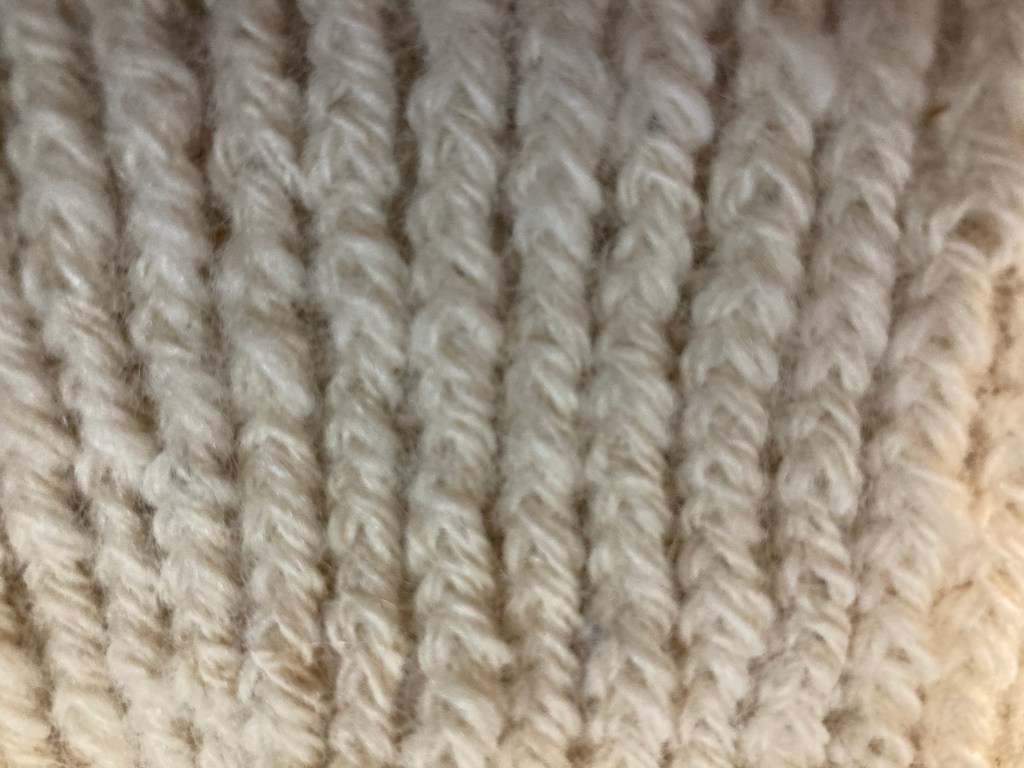
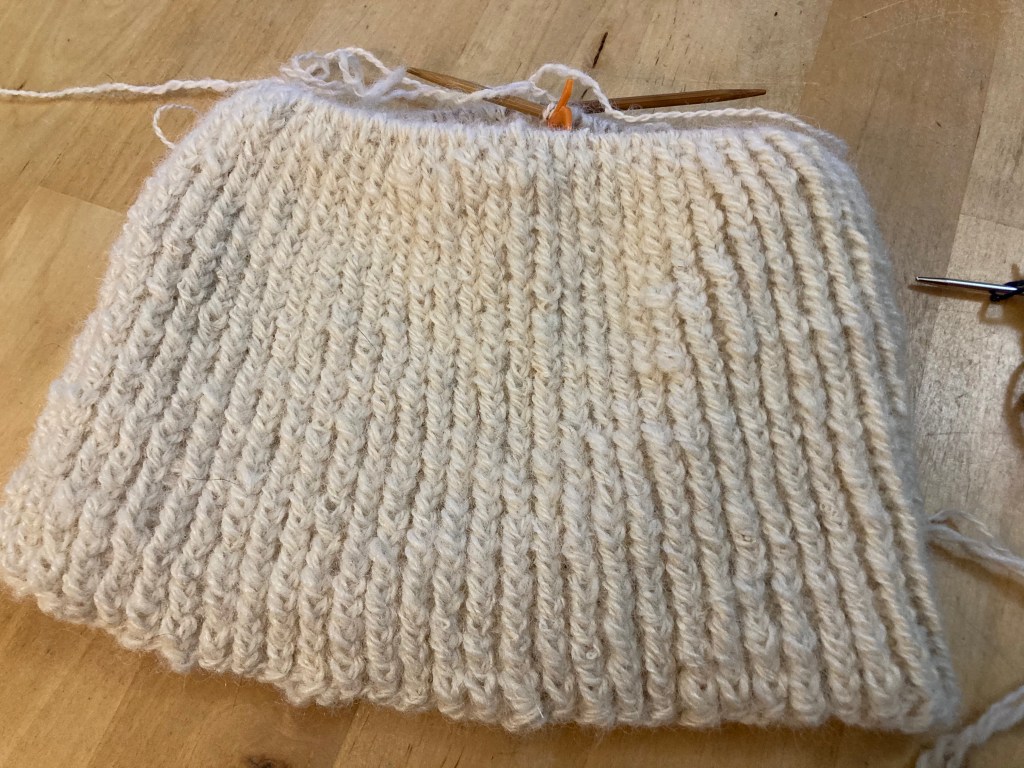
The hat has a deep band in twisted rib.
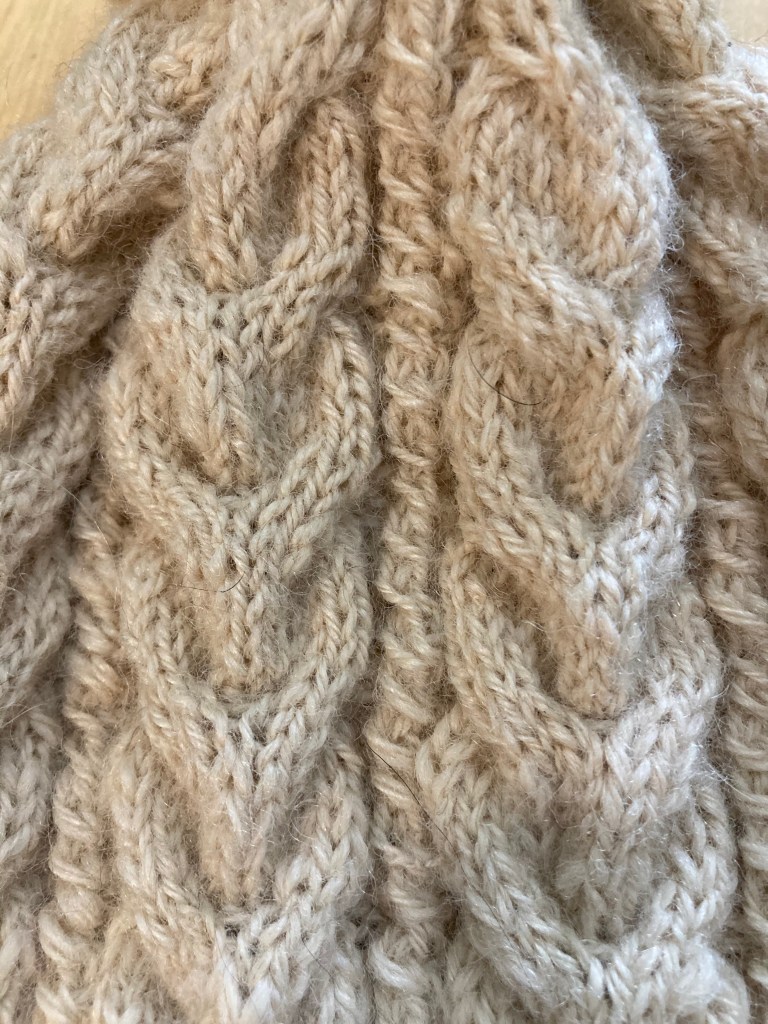
The cable was quite straightforward to do and I love the way it looks.
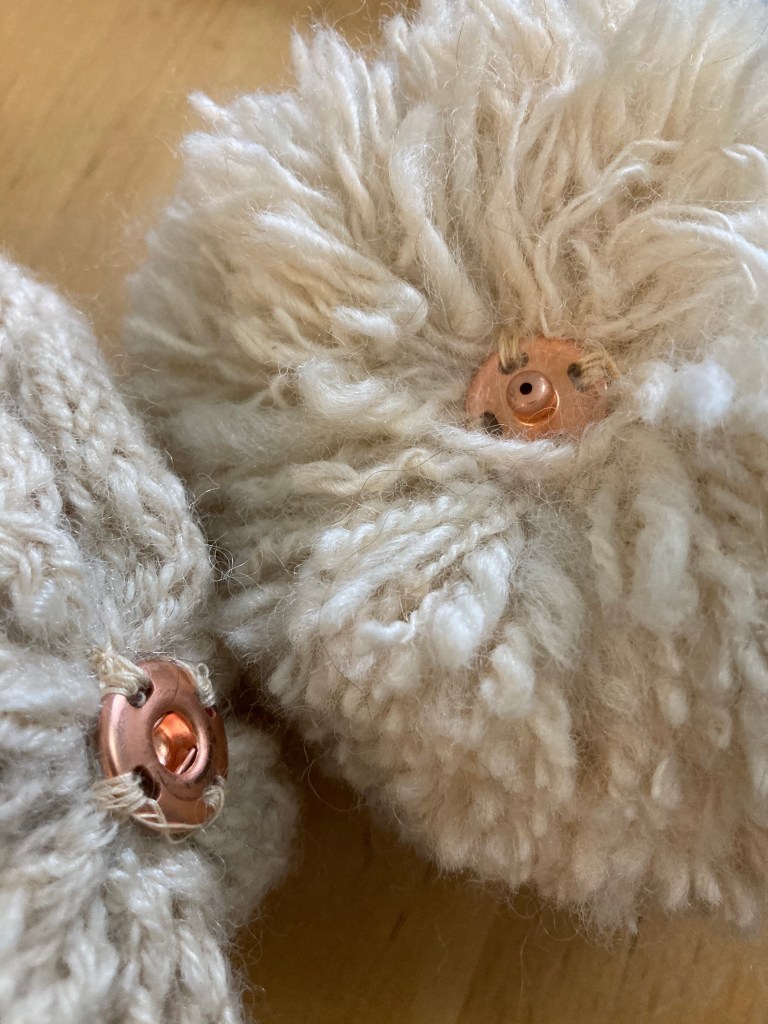
To finish I used the pompom maker to make a nice fat bobble. I’ve added a press stud to make it detachable.
No sooner than I’d finished off a couple of projects last week I was itching to get something on the needles so I started a couple of new projects.
The first one is the Hello Yellow hat which is a special request from my lovely friend who keep me supplied with alpaca fibre. It’s a cable beanie with a pompom, knitted of course in undyed alpaca spun from her own alpacas, Wispa and Aero.
I’ve now completed the deep edging band which is knitted using a twisted rib., so now I can start the fun bit – I love cable!
I spun some more yarn for the next bit and had great fun using my new gadgets, especially the ball winder.
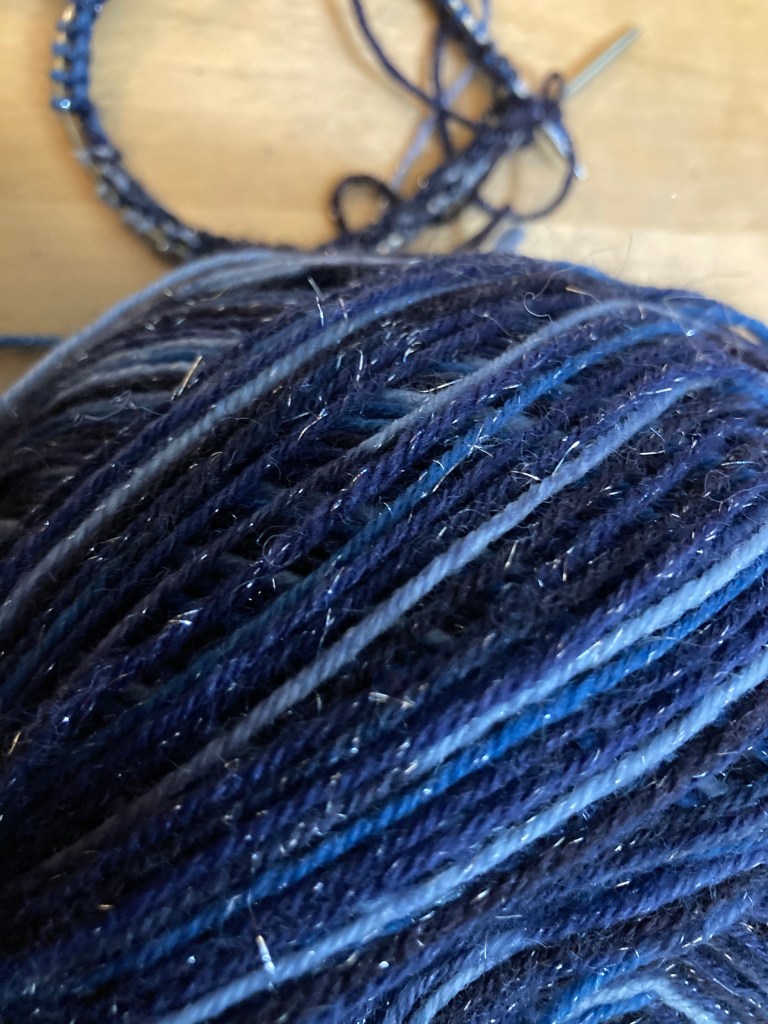
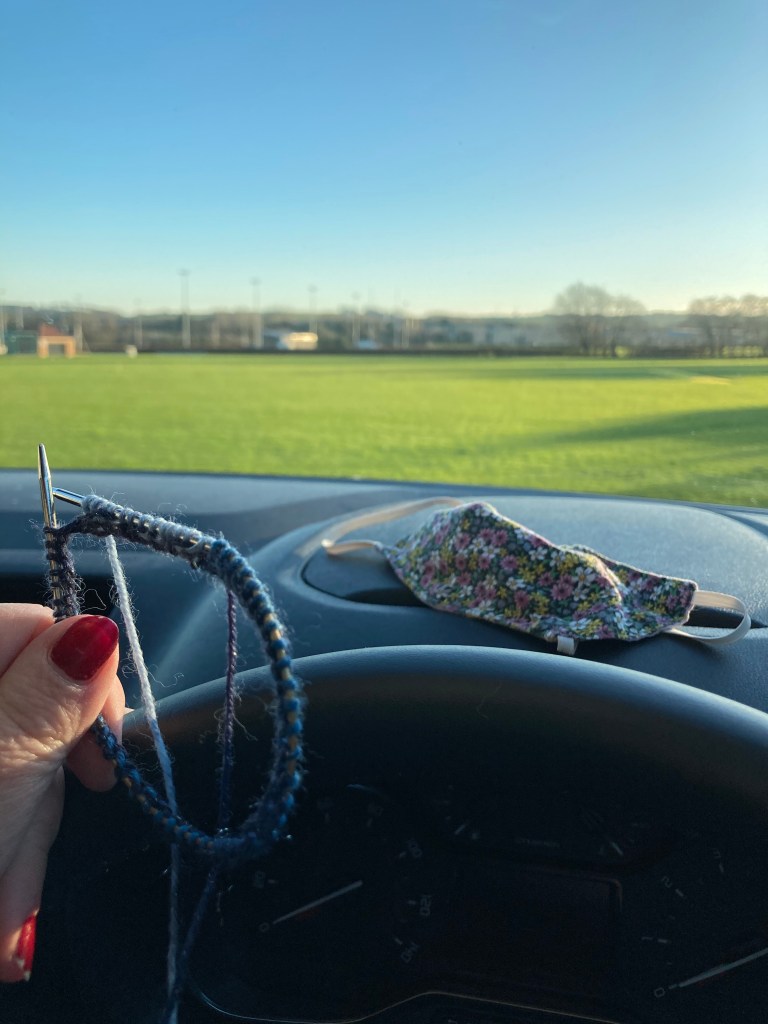
I also cast on another pair of socks last week – I couldn’t resist this yarn – it’s one of the limited editions from the West Yorkshire Spinners Signature range – Silent Night, in shades of blue with a subtle metallic silver thread running through it.
Socks are my go to project if I’m going anywhere – I can slip it in a bag if I find myself needing to wait around anywhere – often I’ll sit and knit in the car with a beach view whole K walks the dog. When I cast this sock on I had a rather different view: Alnwick Cricket Club’s Pitch.
It was quite a special occasion. I was waiting in the car while my mother was getting her COVID vaccination. She is in her eighties and therefore in the first priority group to receive the vaccine. The Cricket Club is being used as our local vaccination centre and everything was extremely well organised. As we drove up cars were asked to stop by a steward in ahi-viz jacket – it was so nice to see that it was one of the managers from Alnwick Medical Group who used to attend our Knit and Natter Group. He explained to my mother what would happen and directed us to a colleague who guided us into a parking space. Mum was checked in (she had a pre-booked appointment), temperature taken and directed to a waiting area, with screens between the chairs to maintain COVID safety. She was then called over to a nurse, who administered the injection and after that to a heated marquee at the back of the building, where she was handed a timer and waited for 15 minutes (a precaution in case of adverse reaction). At every stage a member of staff sanitised her seat as she vacated it. Everything was running like clockwork and before long she was back in the car.
I’m so glad Mum has had the vaccine and will have some protection from the virus. An important day indeed!